
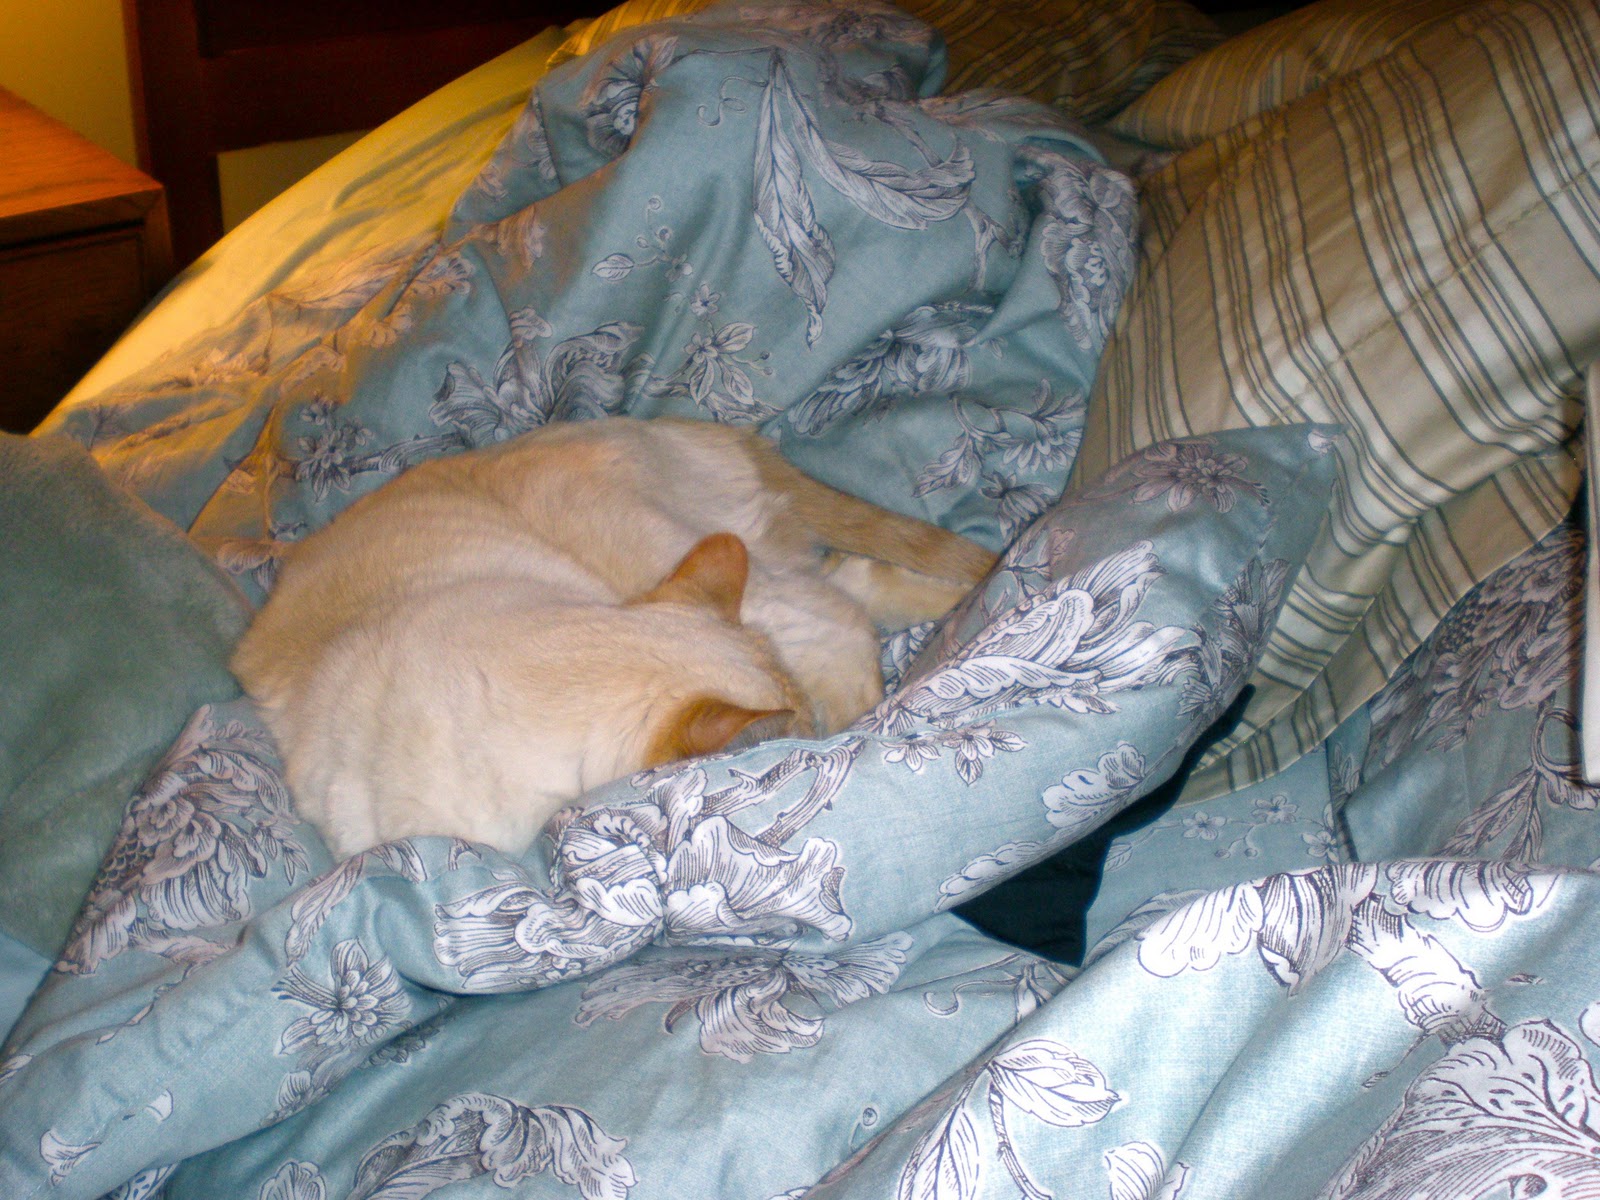
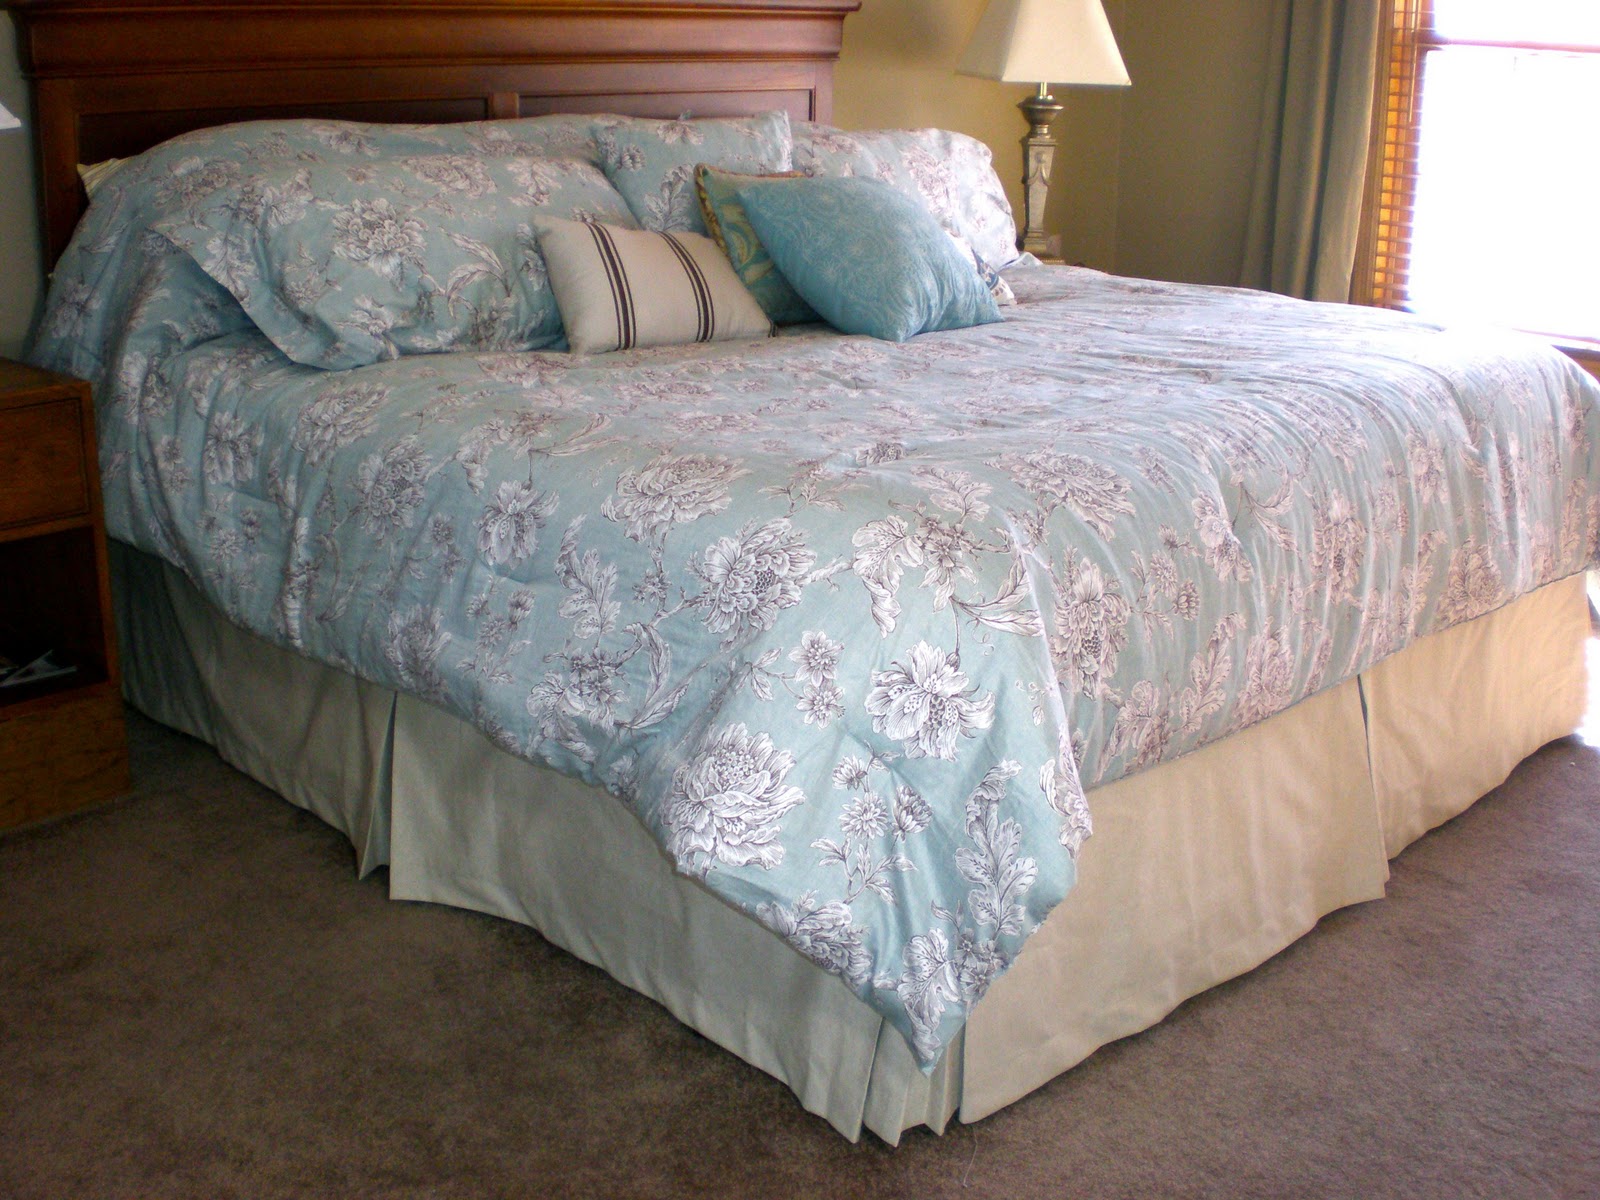
We updated the bedding in the MB in September.
It was a great deal at HomeGoods!
I LOVE Homegoods!
I love the comforter and the pillows….and so does “Dave”!
The fabric was too lightweight….and for whatever reason….it just would not stay put!
The fabric that is supposed to stay between the mattress and the box spring was always hanging over and the skirt itself kept dragging on the floor!
Don’t you just HATE when that happens….(like this is something to really stress about in the big scheme of things)
But since I can’t cure cancer or stamp out world poverty….
I will have to be satisfied with the fact that I cured bed skirt droop!
My solution….Velcro…..and it is almost No-Sew!
This will actually be a tutorial with pictures and everything! Big Whoop for me!
And it meets the “Use what I’ve Got Challenge” criteria too!
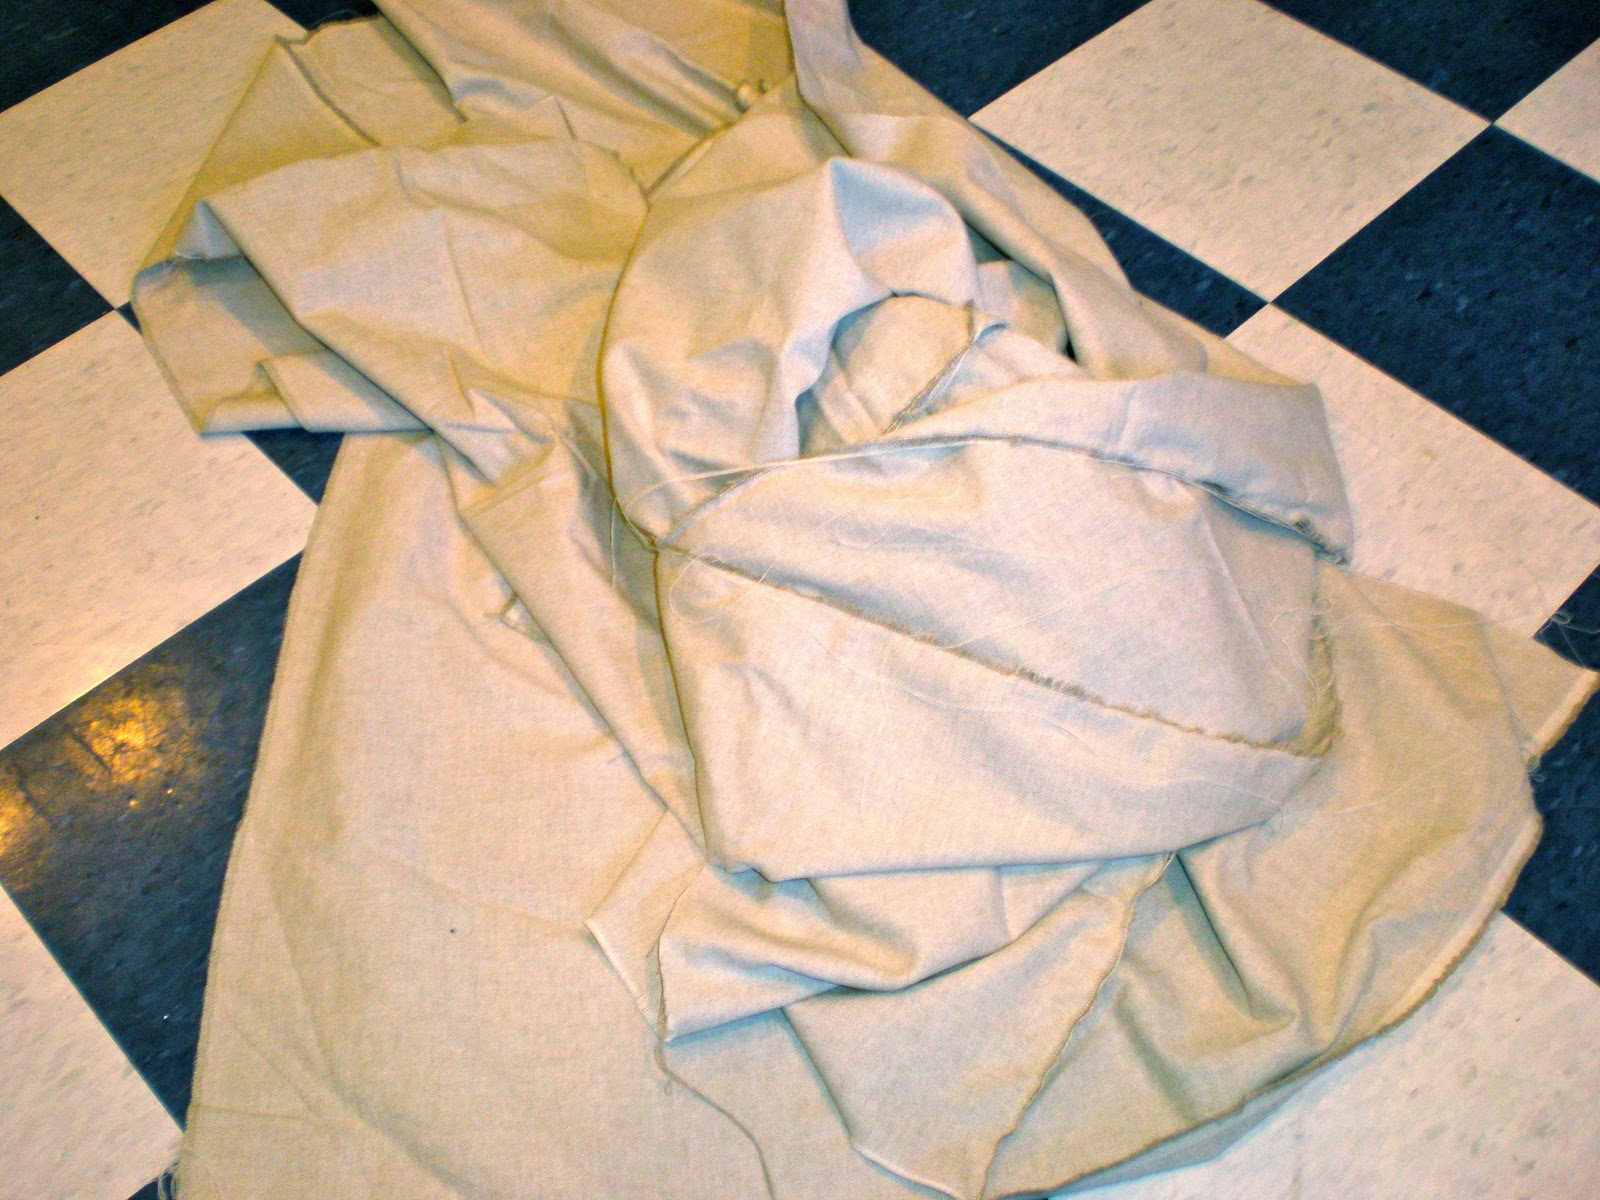
Let’s start with the fabric….
I bought 7 yards of this heavy beige drapery fabric early this summer….
It was going to be the covers for the “summer couch look”….but alas it was not the right color….(I used sheets instead and here is the post about that) 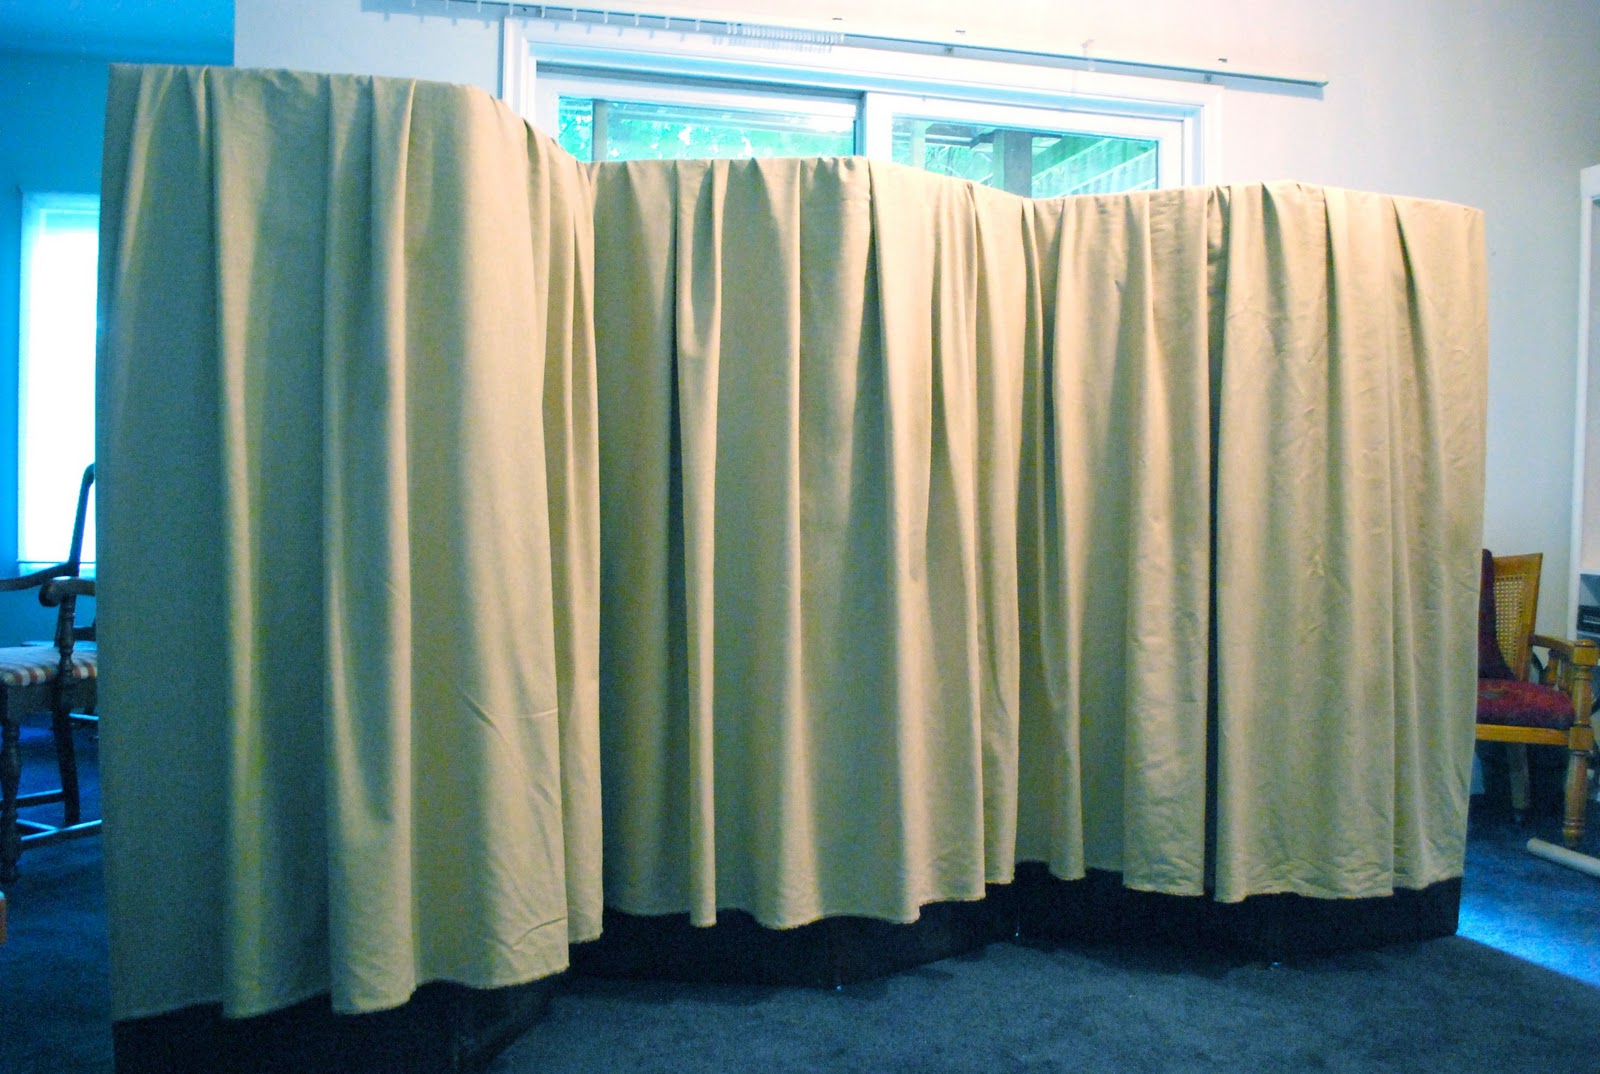

So when we needed a way to display the wedding photos at Tonia and Michael’s wedding without using nails…we used the fabric to cover some foam core screens…
When the wedding was over….the fabric went back to the “stash”!
It was just waiting to become the solution to the “droopy bed skirt”!

I had 15 feet of iron on velcro that I bought using a coupon at Hancock Fabric….
I was ready to get this project going!

After our near “run in with the law” with the Library Chairs…..I have been dwelling on “going straight”…tee hee….
So…..
Much of this tutorial will be tips on making it easy to sew perfectly straight edges on a project.
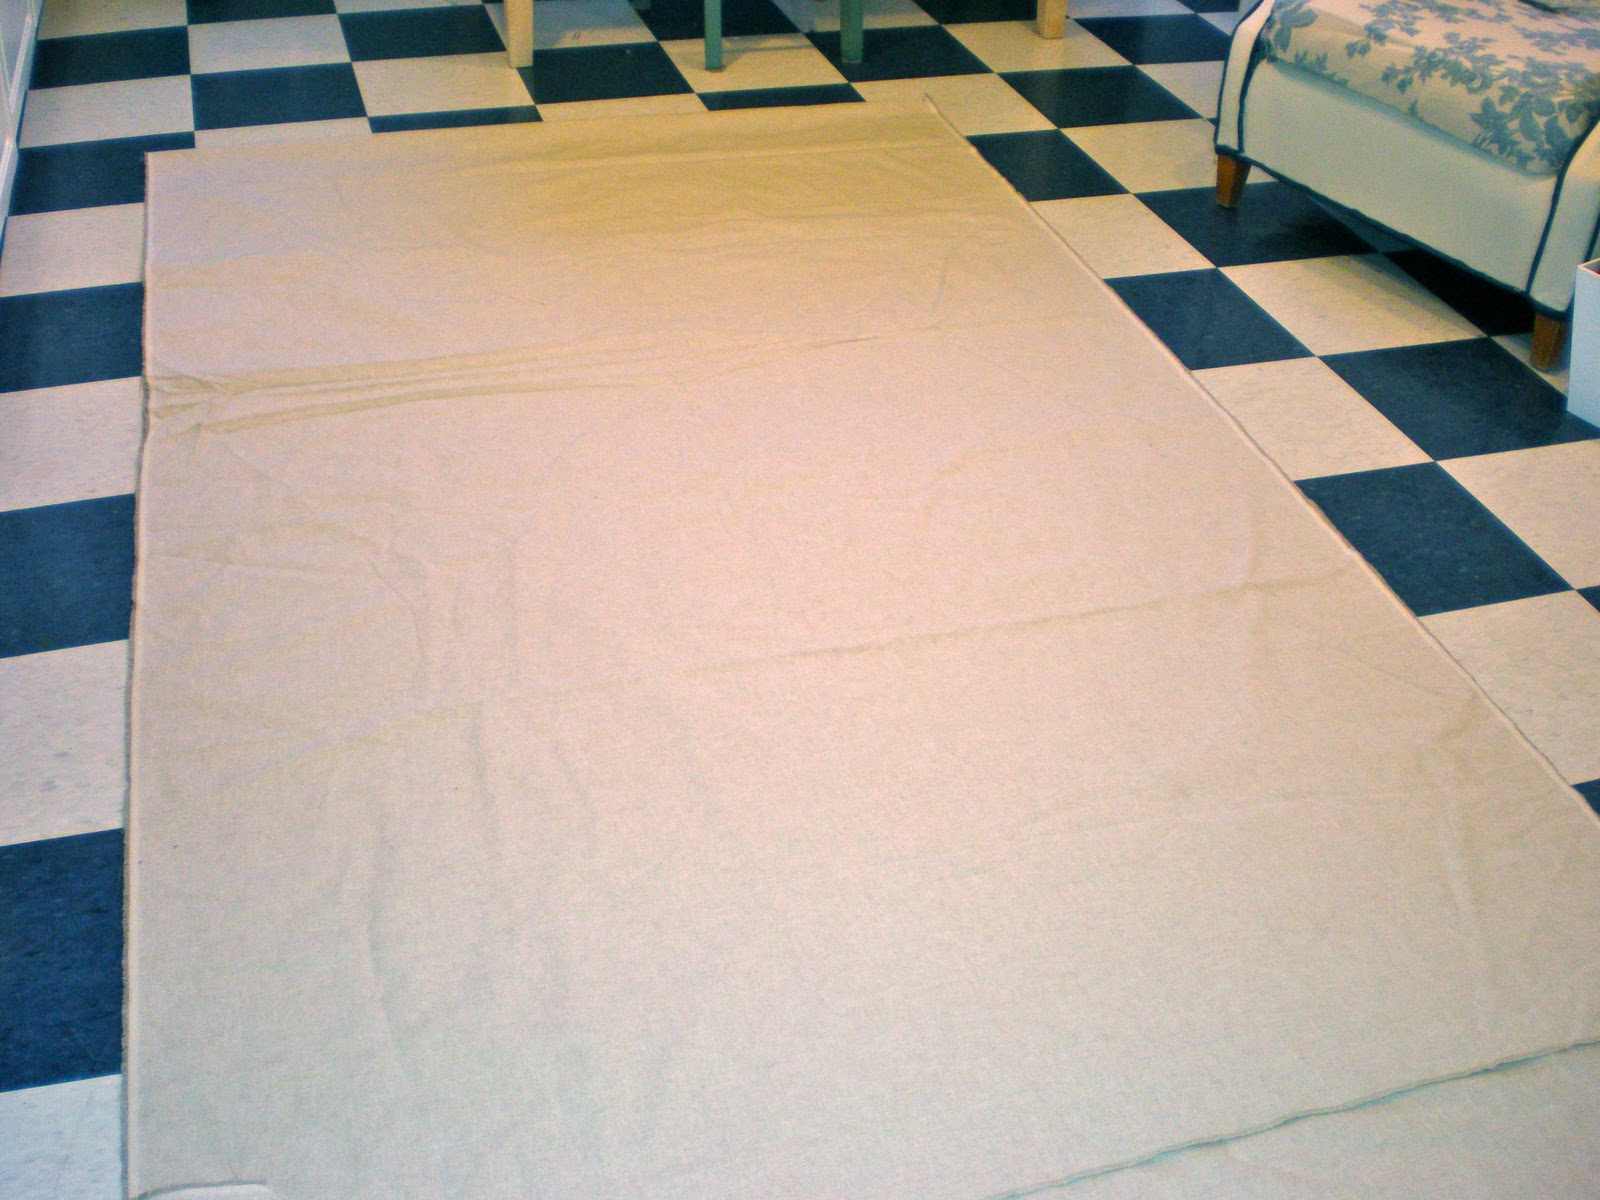
Whenever I have a big cutting project, I find myself crawling around on the sewing room floor….
that is because those blue and white floor tiles are exactly 12 inch squares….and they are perfect for laying out the fabric for cutting.
I did some quick measurements to determine the length of the 3 sides of the bed…and the drop I wanted for the skirt.
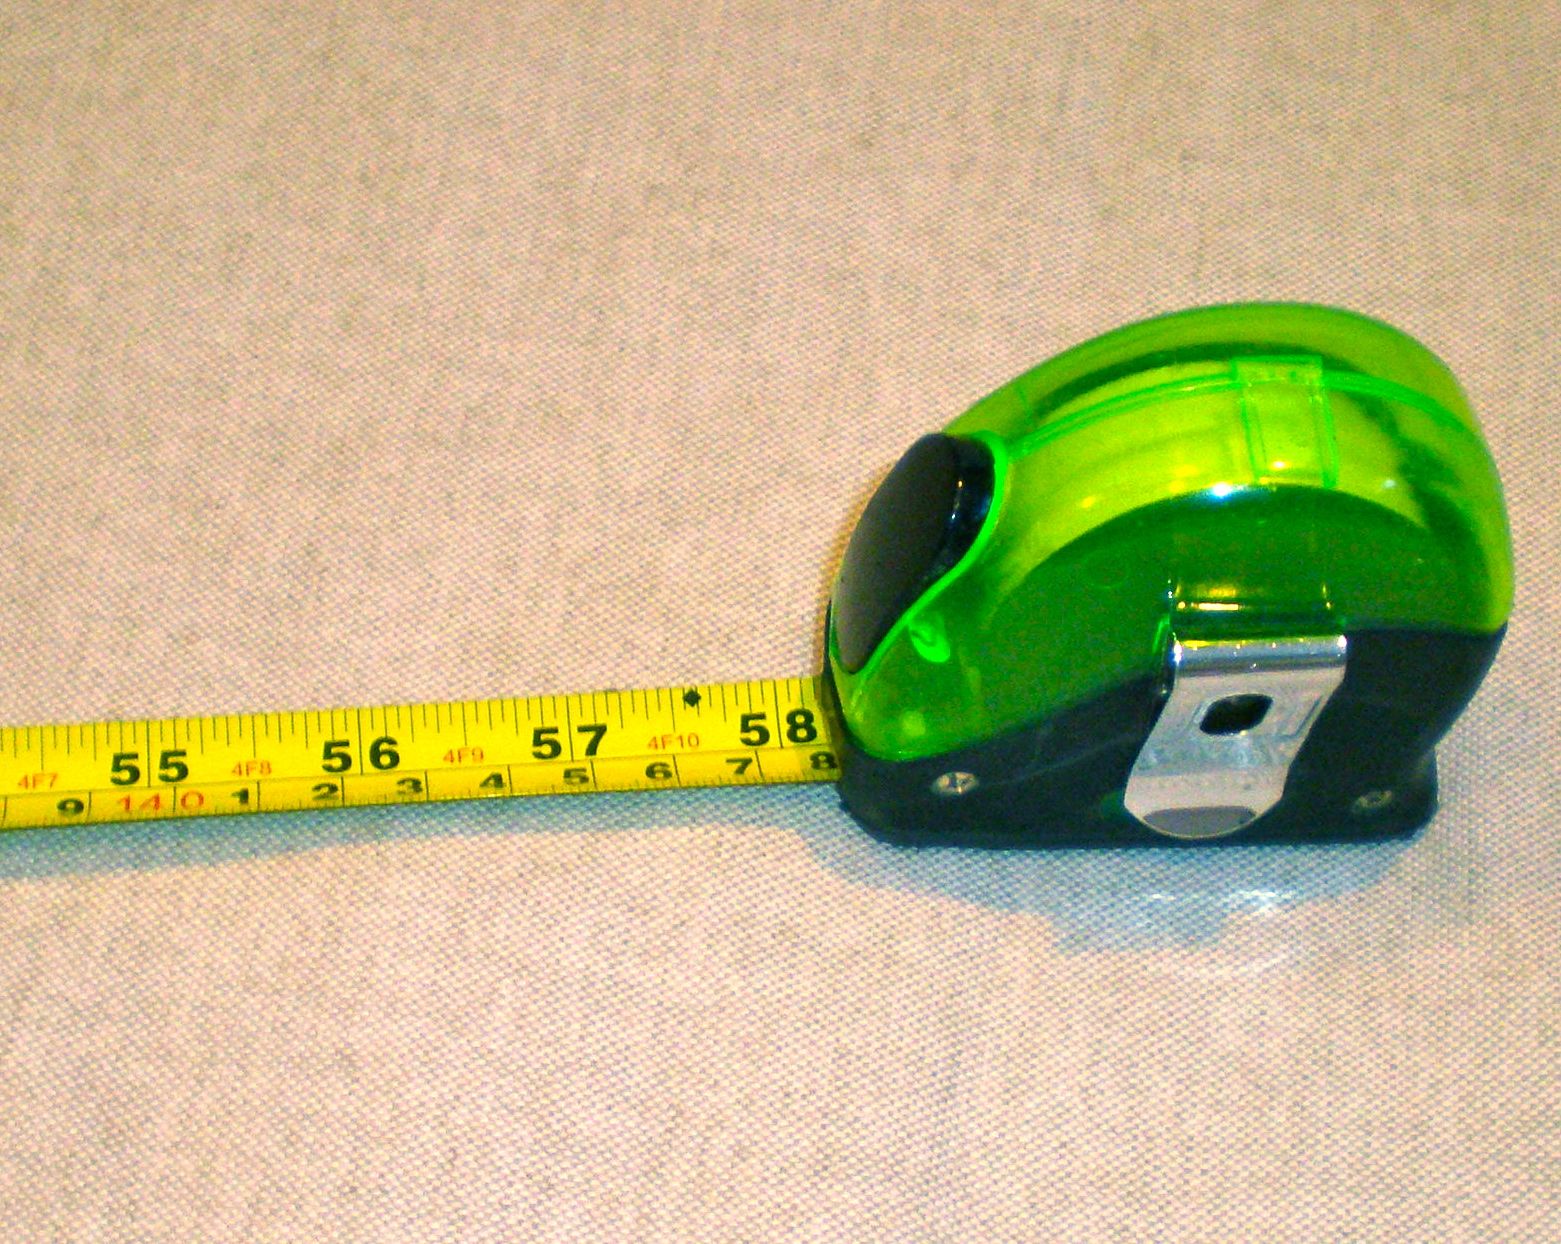
I cut 3 pieces of fabric…
20 inches deep x 7.5 feet
This gave me a nice deep 2 inch hem and 2 inches to lap over the box spring.
The length allowed for a 3 inch deep center pleat and a 3 inch pleat at the corner.
Then I cut 2 pieces of fabric that were 20 inches deep and 18 inches wide….to use at the 2 bottom corners…
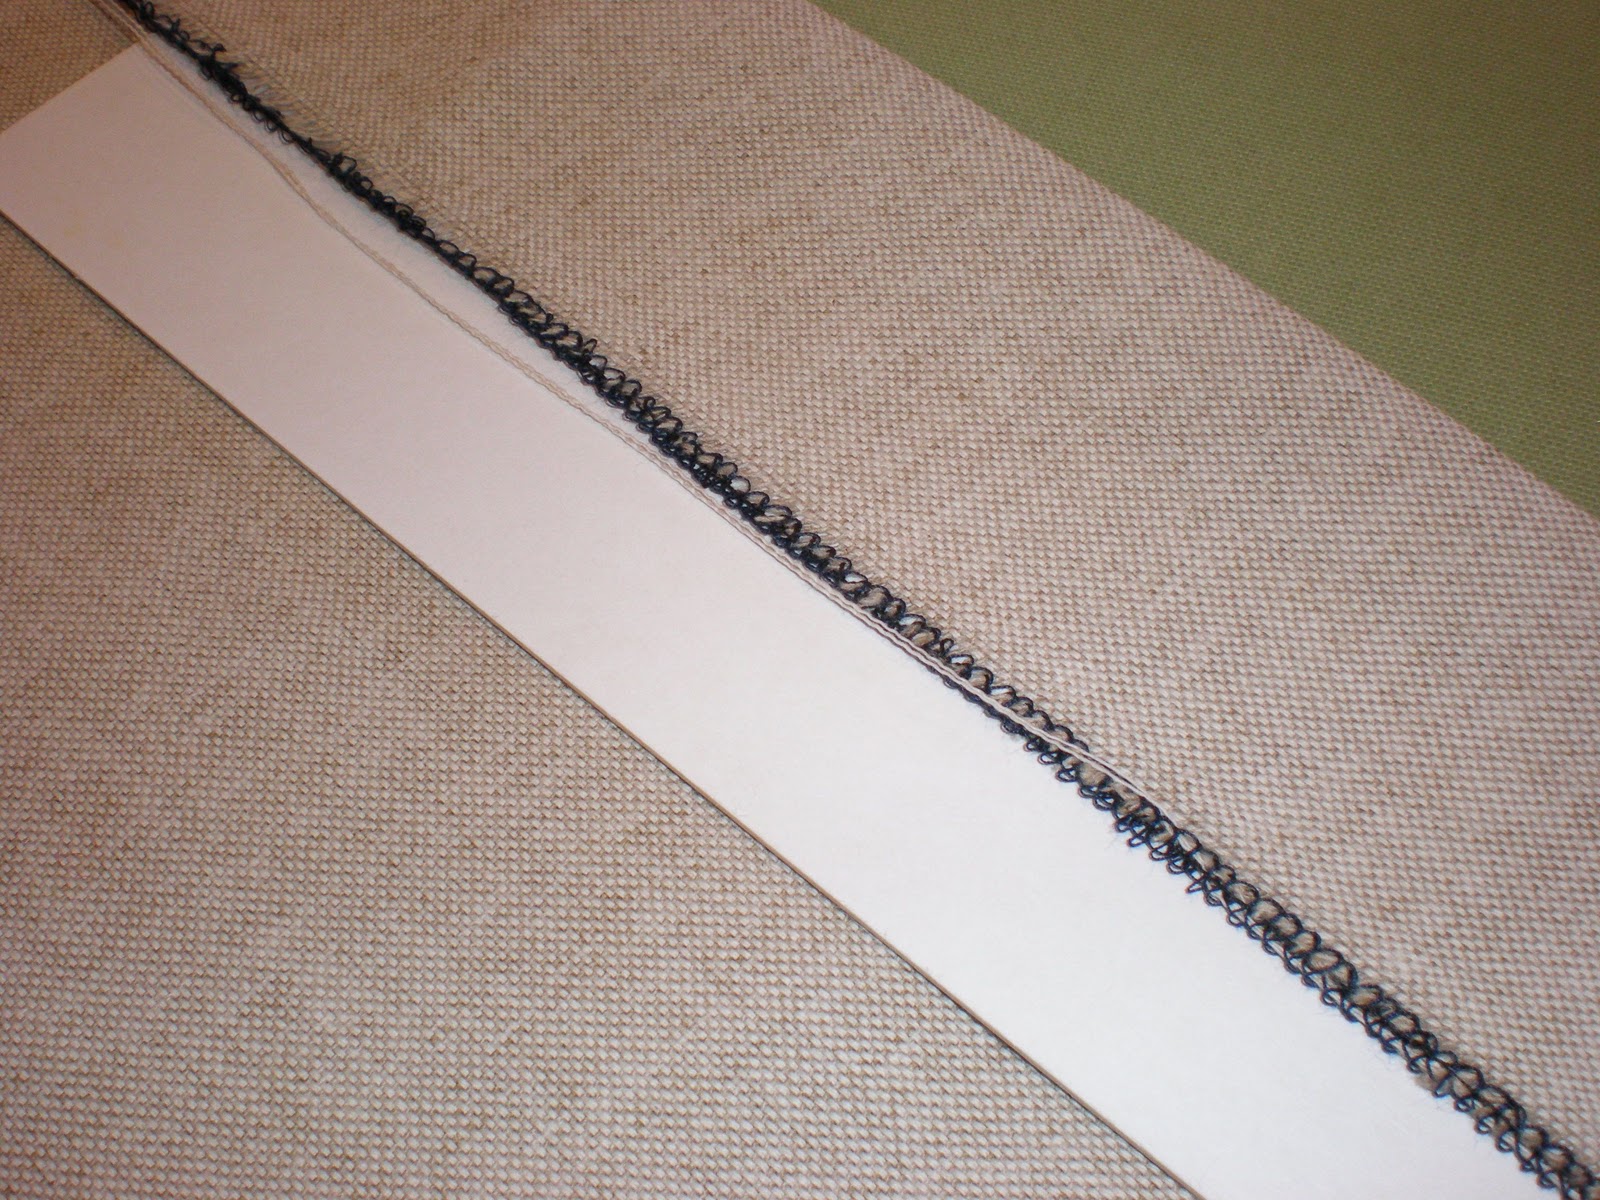
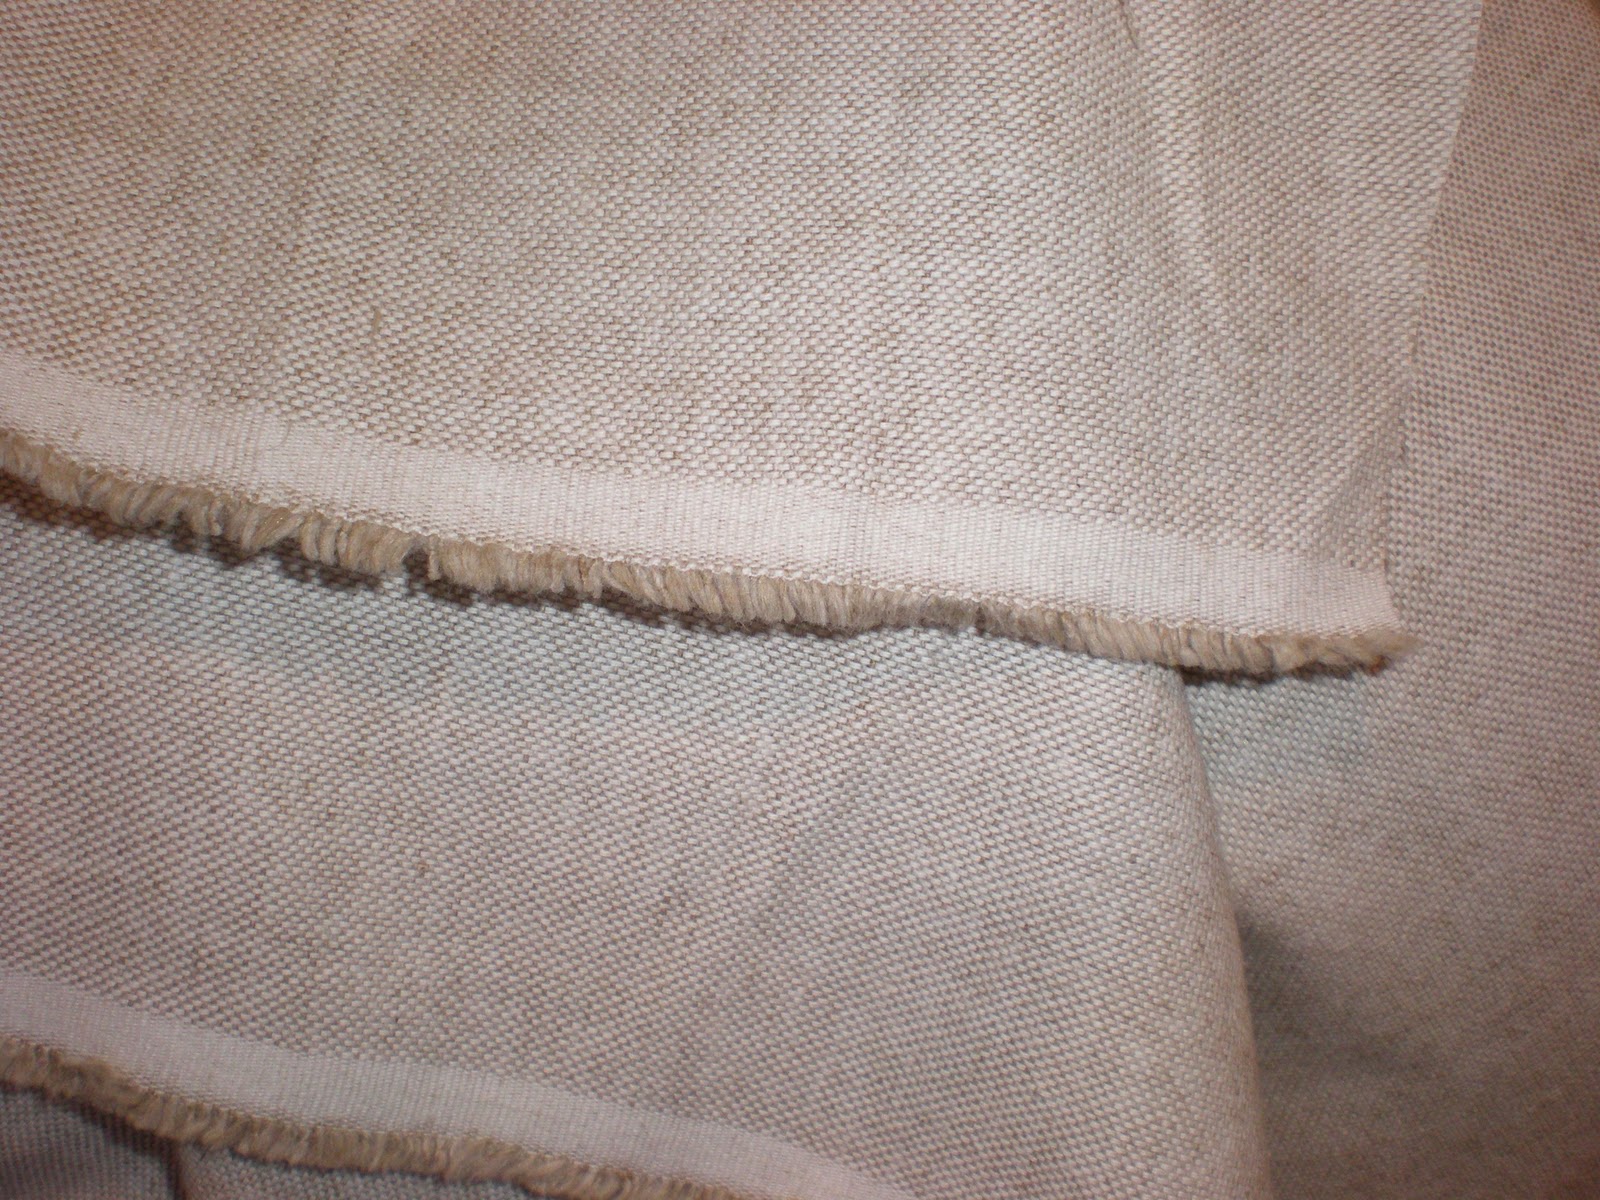
I started by serging all the raw edges….leaving the selvage on the top length of each section….
Yeah…I know you are thinking….”Why did she use black thread for the serging?”
But if you have a serger you know the answer….
I didn’t want to spend the 20 minutes it takes me to change thread in the serger…..
and I knew it wouldn’t show anyway…..
Here is the next “going straight” tip: I used the pressing template I taught you about in this post when I ironed the hems on each piece….
This made those long edges come out perfectly straight!
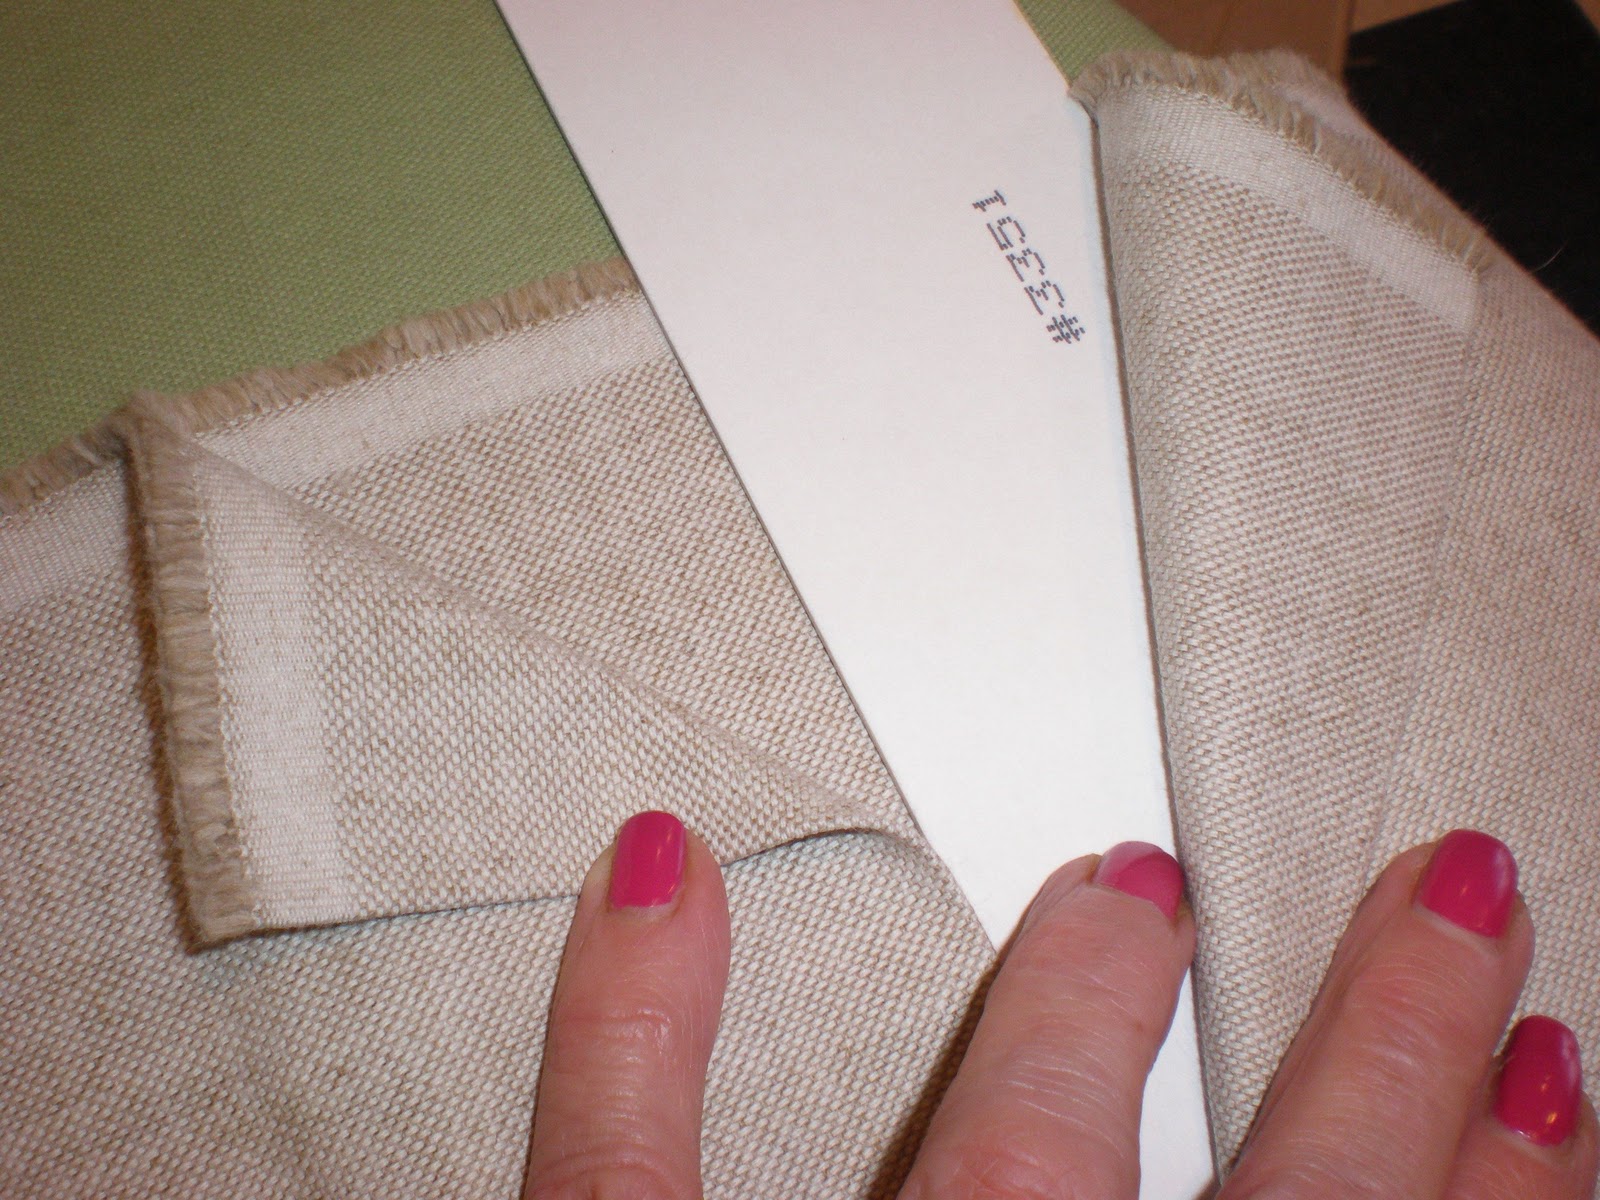
I used the templates to make the pleats too!
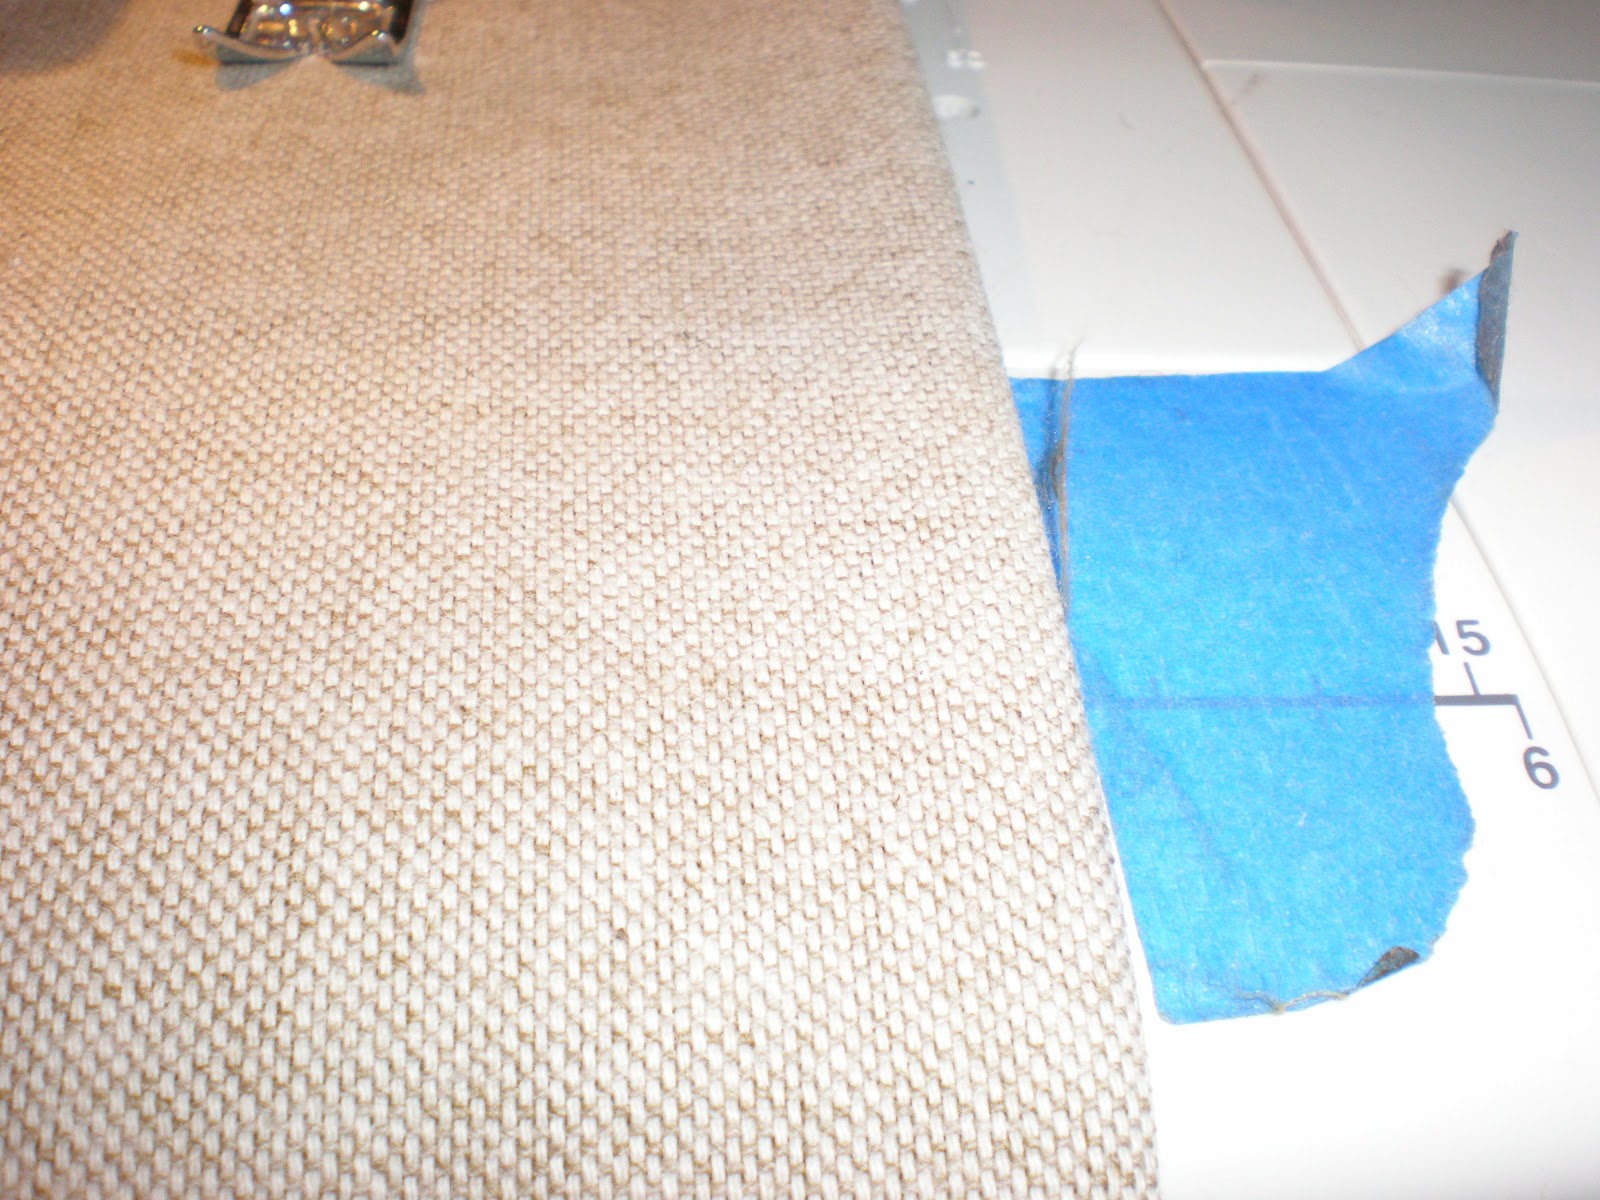
Since I knew I would be sewing long, long hems….
think 25 feet of hem….
I used this fancy piece of masking tape on the deck of the sewing machine as a guide….
I find this works better for me than the lines on the machine….

The carpenter’s square sure came in handy!
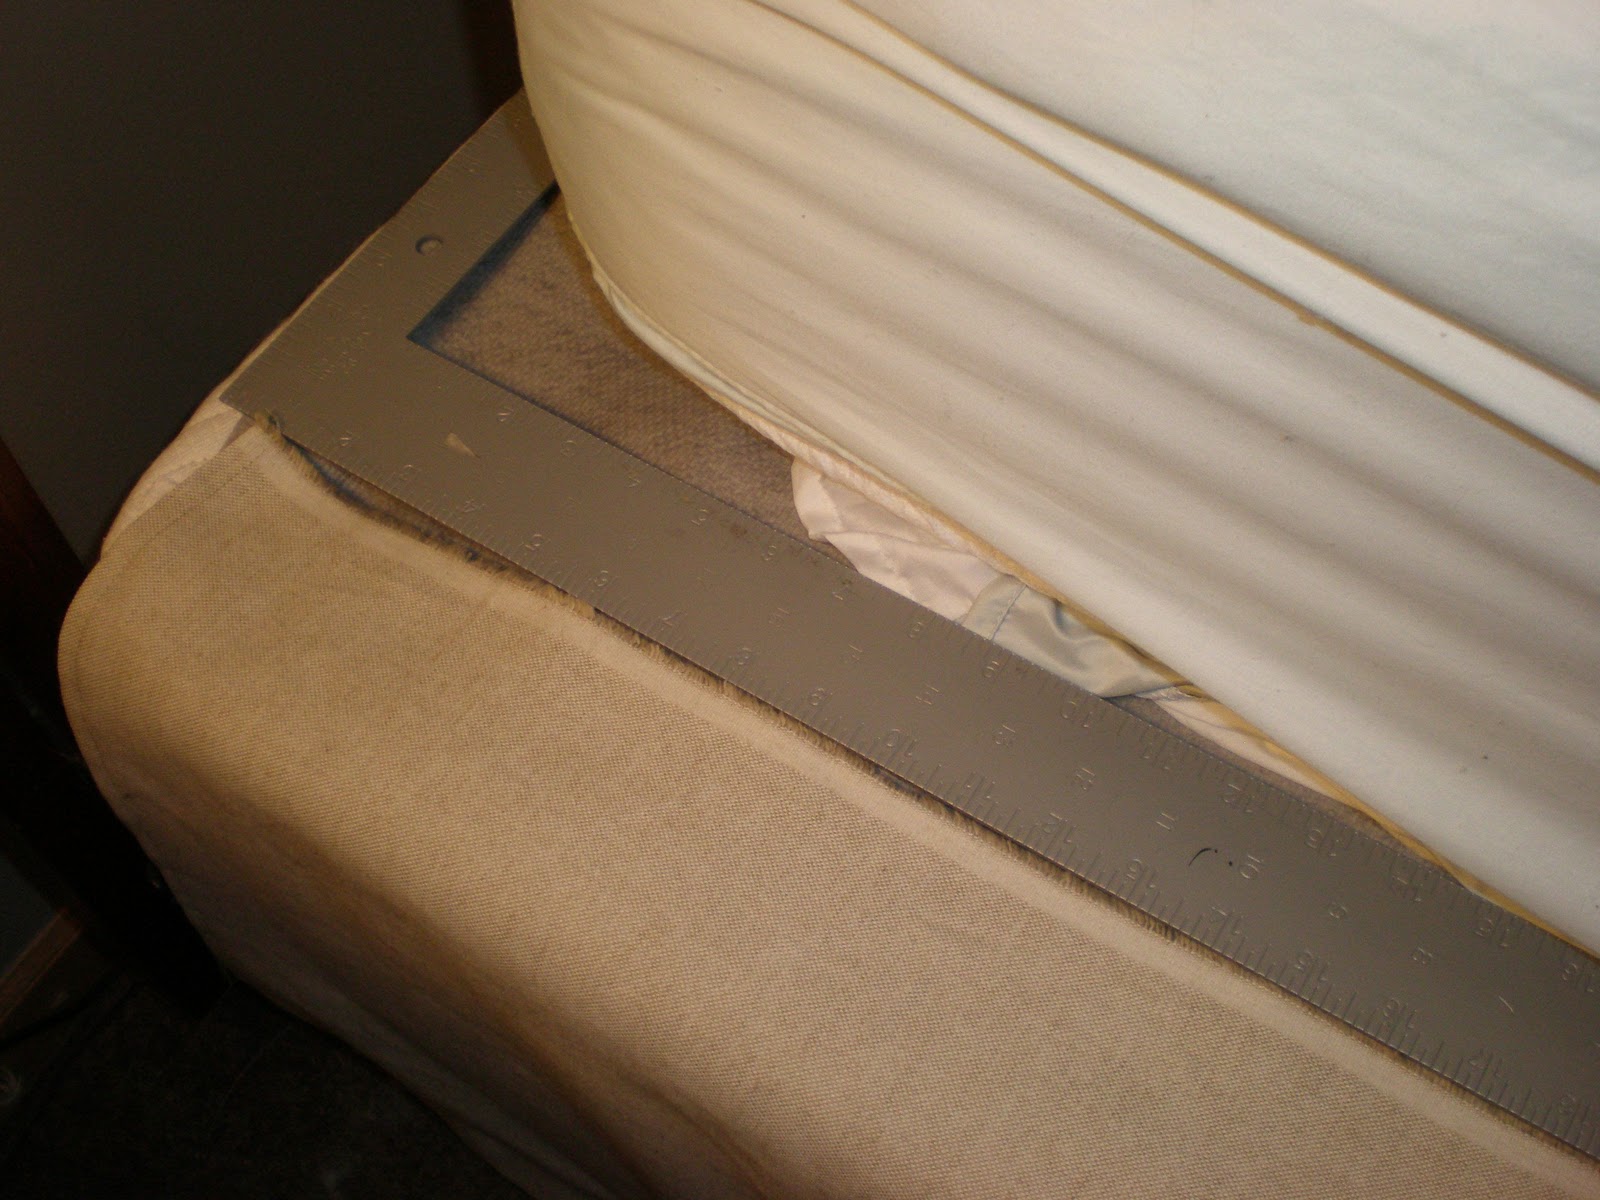
Look how it helped me make sure the Velcro went straight along the box spring.
I was too cheap (thrifty) to use one long strip of Velcro….
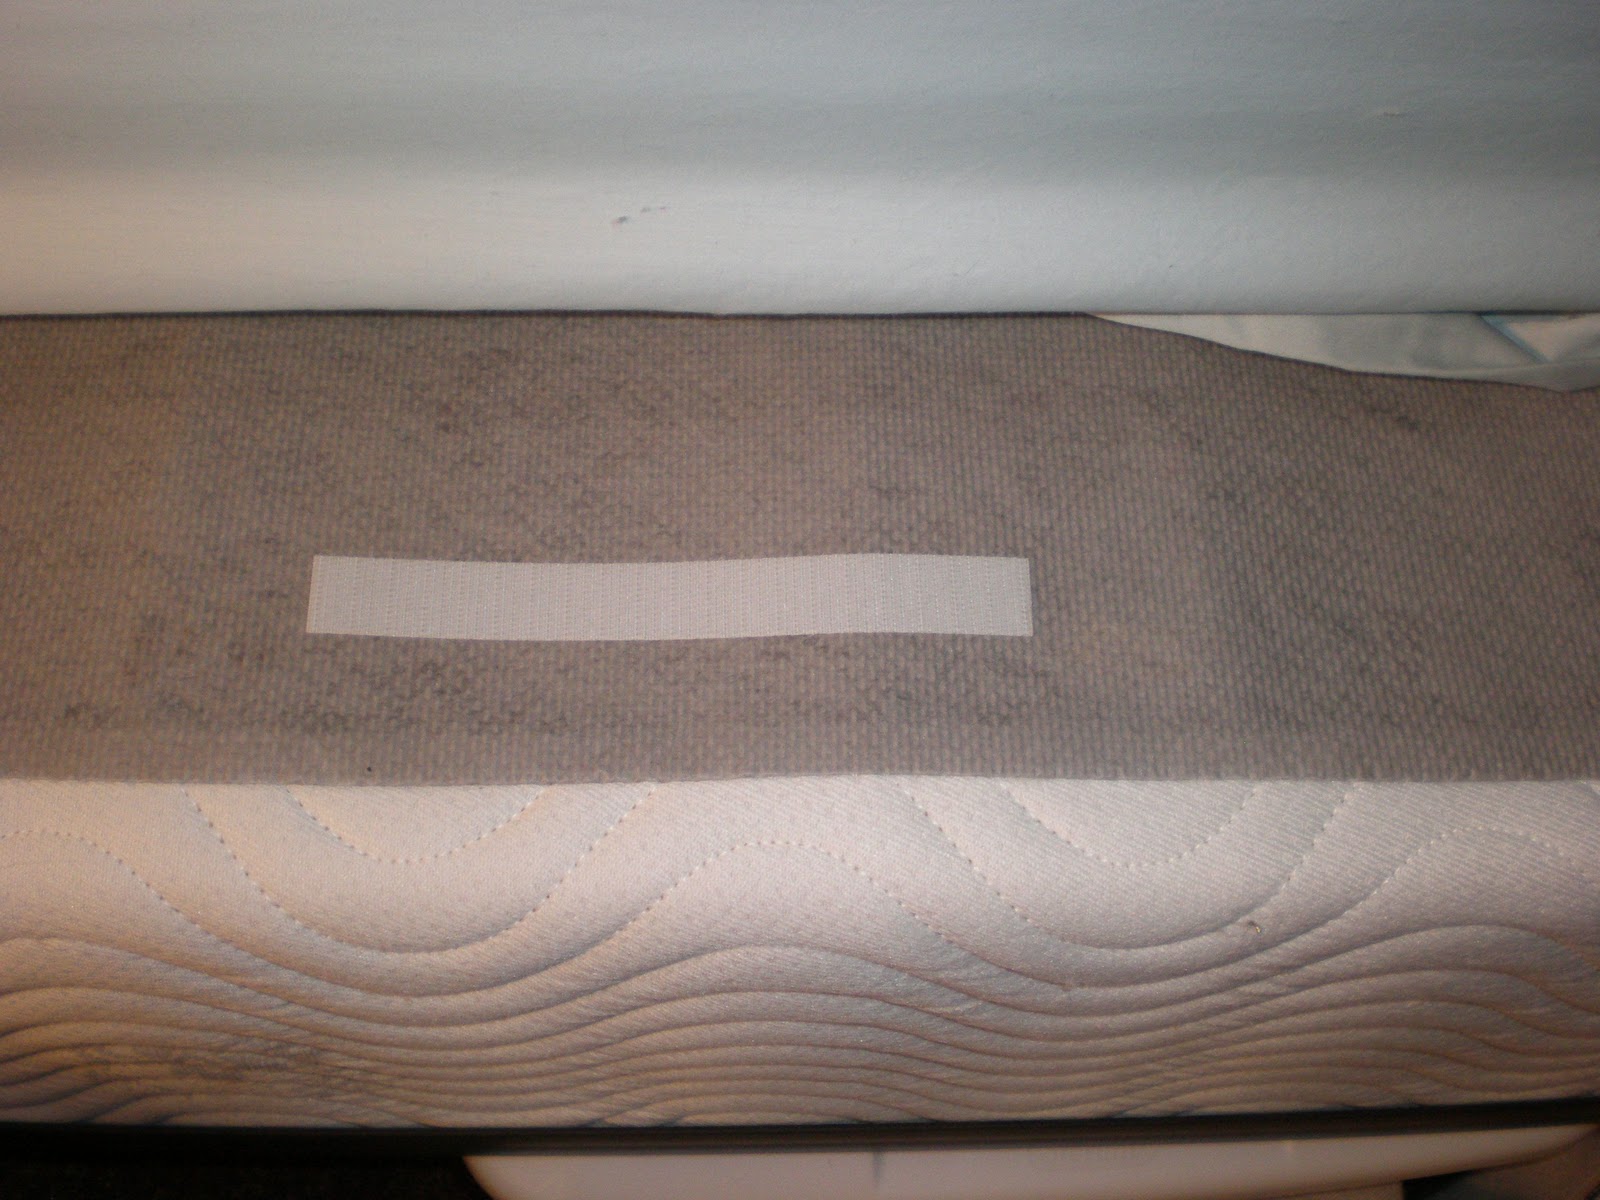
I cut 6 inch pieces and spaced them along the sides. I figure if it isn’t enough I can add more later. If it is enough….then I have lots of extra Velcro for another project.

I used the 18 inch corner pieces to make a faux box pleat on each corner
Probably the hardest part of the whole project was chasing the cat off the bed in order to wrestle with the gigantic mattress….all by my little lonesome….Since Mr. S was again away ice fishing…I was on my own….recovering from the flu…..oh poor me!

By Your Hands
Cure for the Common Monday,
Coastal Charm
Sugar Bee Crafts
Terrific Under Ten
The Project Queen
Resons to Skip the Housework
Type A Decorating
The Kurtz Corner
Creations by Kara
My Girlsih Whims
Sew Much Ado
House of the Hepworths
Fireflies and Jellybeans
Tales from Bloggeritaville
Potpouri Friday
French Country Cottage
Katherine’s Corner
Stuff and Nonsense
Miss Mustard Seed
Freckled Laundry
The Answer is Chocolate
A Pocket Full of Pink
Days of Chalk and Chocolate
Addicted To Decorating
Six Sister’s Stuff
Funky Junk Interiors
You are Talking Too Much
We Are That Family
Home Savvy A to Z