

Yes…you read that right….the starfish in this photo are made out of PLAY DOUGH…..
HOME MADE play dough that cost virtually pennies to make!
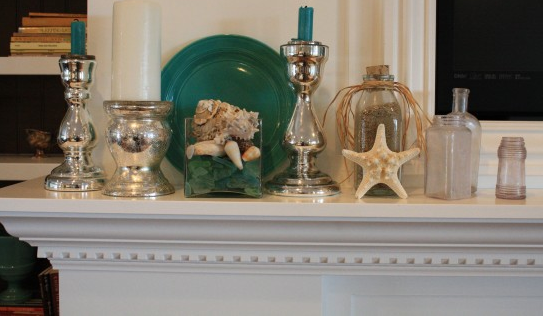
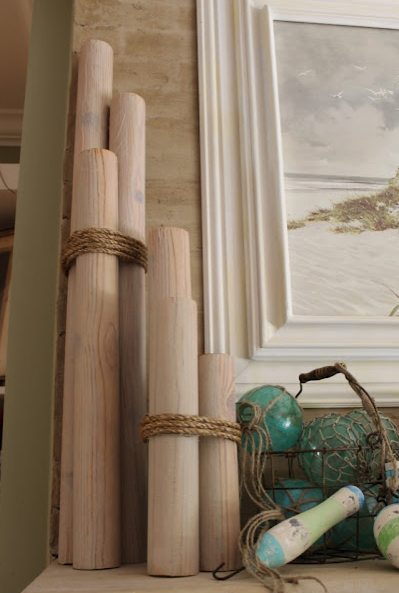
It all started a couple of weeks ago with my attempt to create a “nautical themed” mantel!
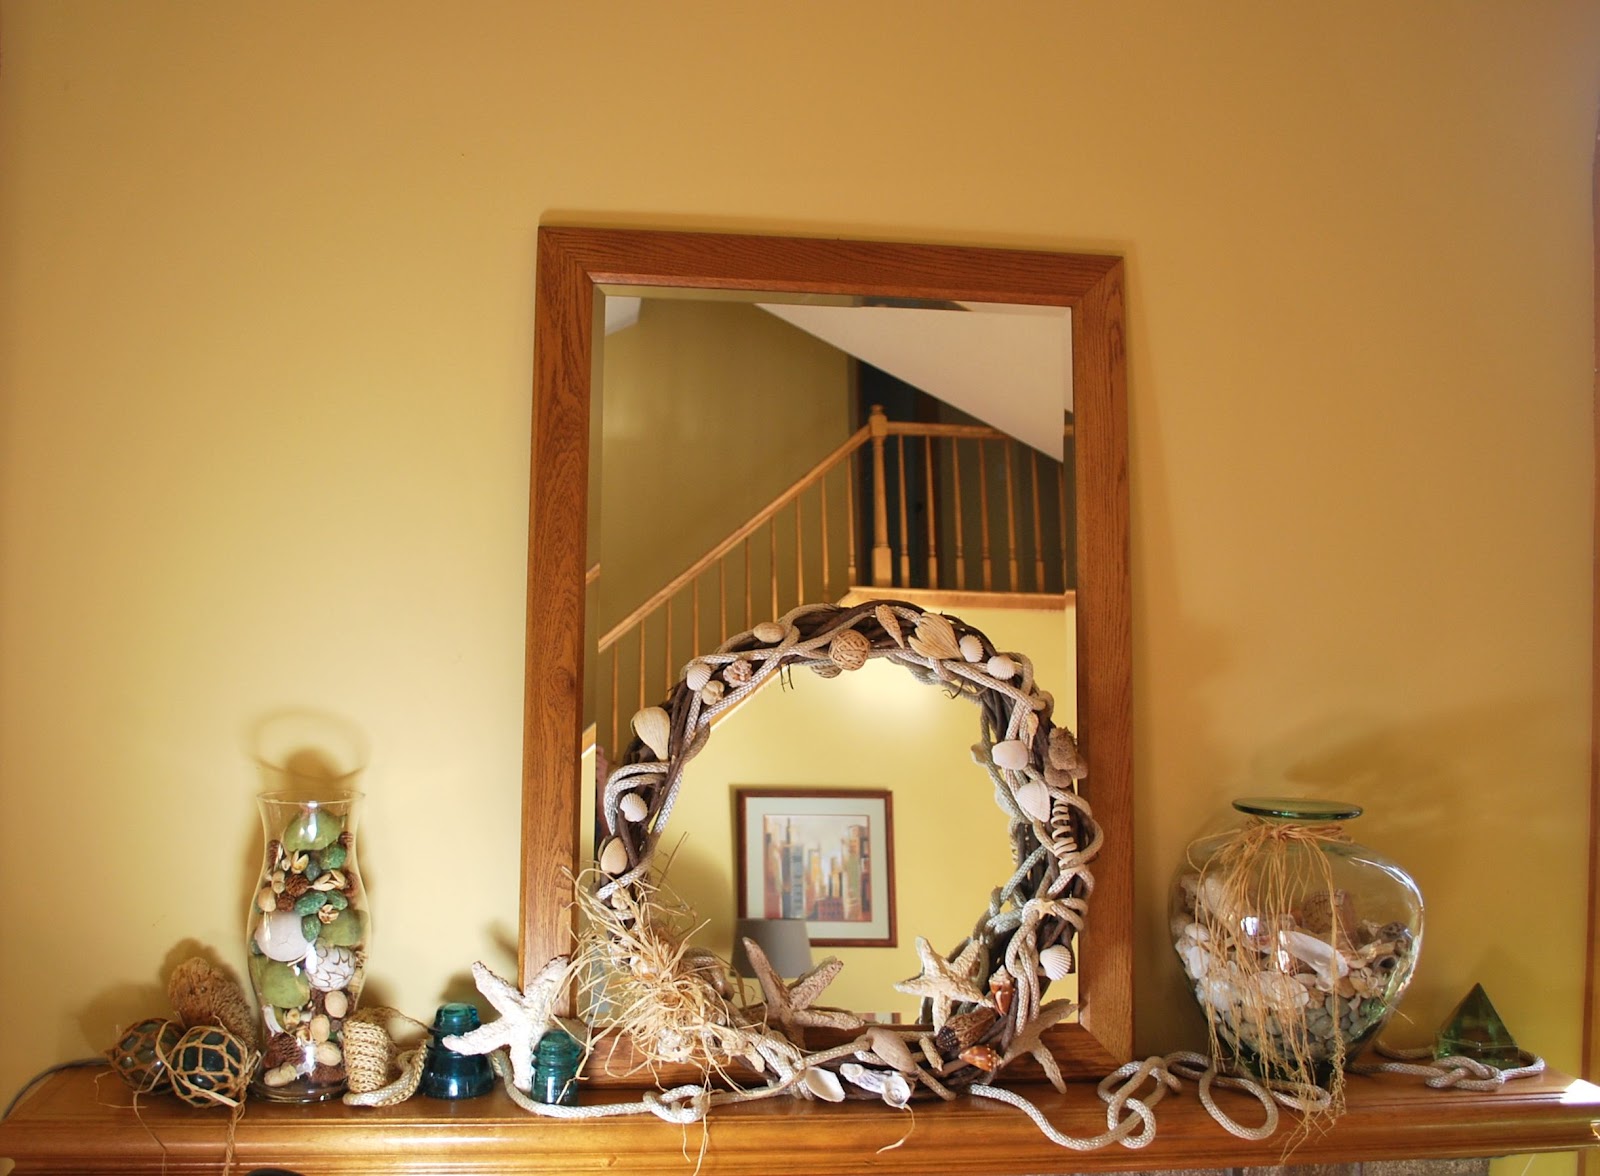
I asked Mr. S if he had any rope….well as luck would have it….he had some in the truck and was just about to throw it out….

I stuck the wreath in front of the mirror…added some other nautical themed items….AND….
I really didn’t like it….
Boring…Bland…..but I had other stuff to do….and it wasn’t AWFUL….just not great!

My inspirations were….
this from DYI Projects
and from the Pleated Poppy

- 1 cup flour
- 1 cup water
- 2 teaspoons cream of tartar
- 1/3 cup salt
- 1 tablespoon vegetable oil
Put 1 cup of flour, 2 teaspoons of cream of tarter, and 1/3 cup of salt in a pan and mix together. Add 1 cup of water and 1 tablespoon of vegetable oil.
Turn your burner on medium/low and stir until the mixture “comes together”. This usually takes only a couple of minutes. Remove from pan and cool. Knead to a smooth consistency once the dough is cool enough to handle.
Then I made my starfish…..
Like Aimee…I looked at lots of pictures to get ideas for shapes and textures…
But basically I just played around!
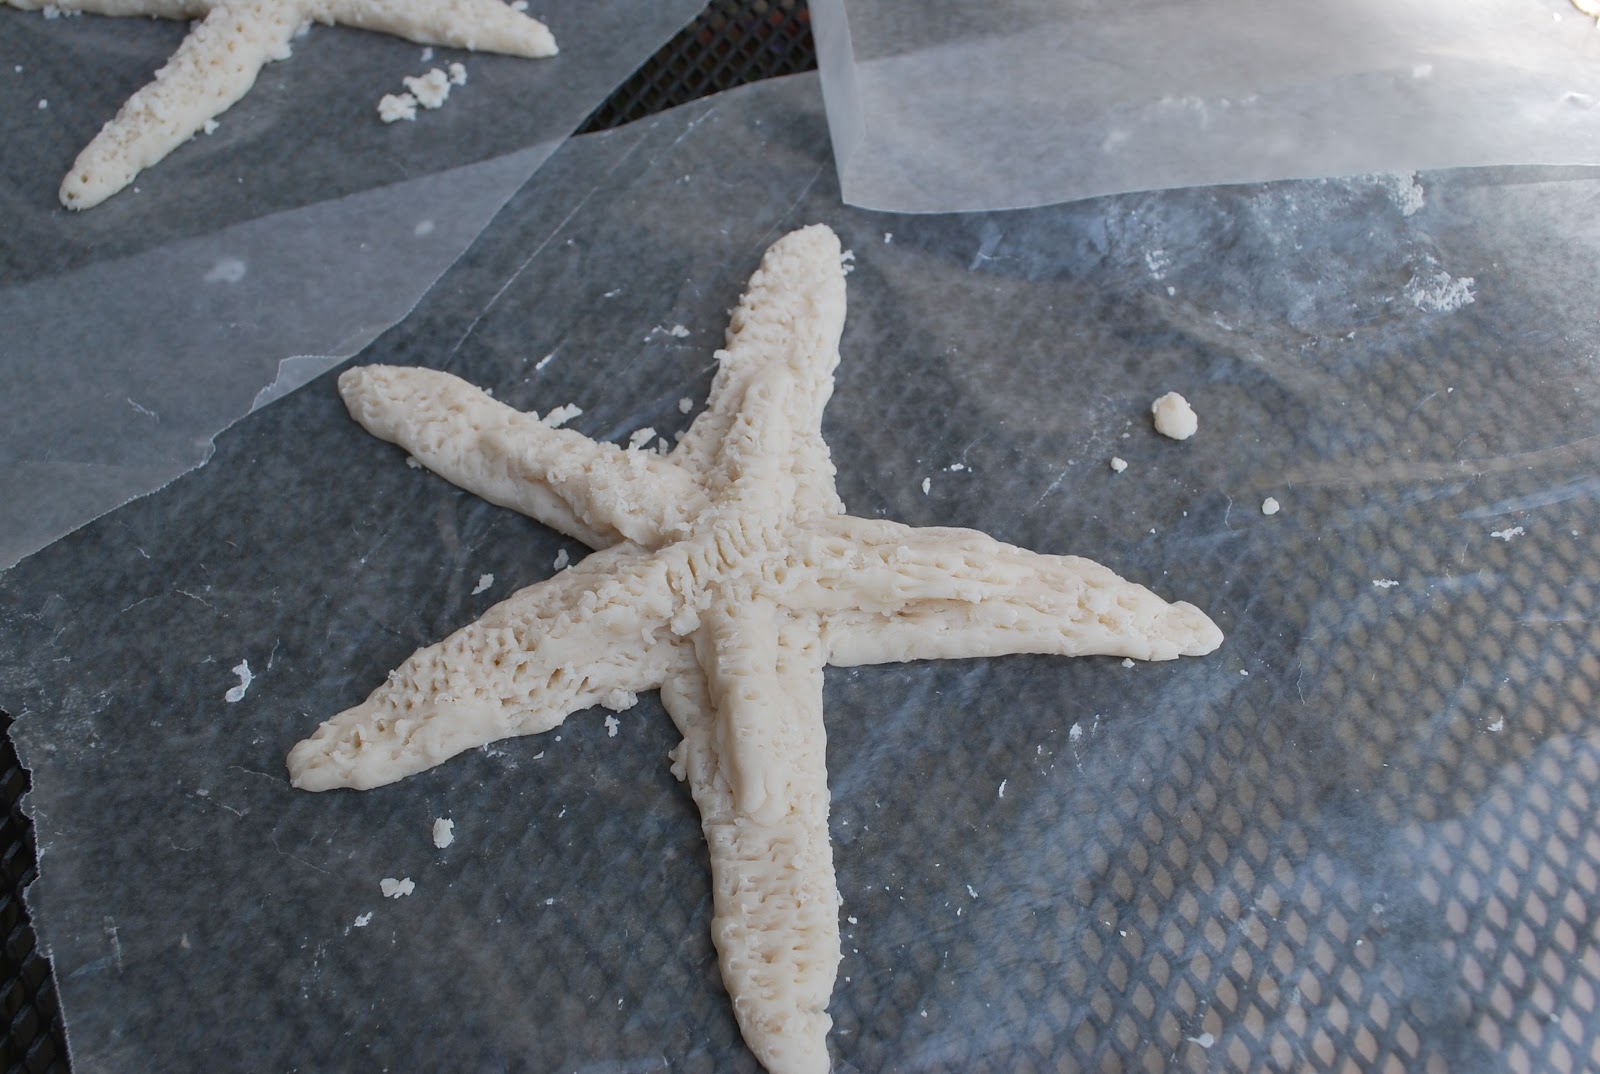


I used a fork to make textures….and just pinched and shaped them into reasonably “authentic looking” starfish shapes…
I put them out in the sun to dry….figuring they would dry quickly….
except the humidity the day I did this was about 98%….
and then I left them outside overnight!
BIG MISTAKE!….they were almost dripping with the dew….what was I thinking!!!????
So I popped them on a cookie sheet and baked them at 200 degrees for a couple of hours….
That got the drying process underway….and they completely dried in 2 more days!


Then I just used craft paint to give them a finished look….forgive the AWFUL photos…at this point I really didn’t think the project was going to work and took the pictures with my phone in some pretty lousy light!
But wonder of wonders….the paint worked wonders!


Link Parties
Funky Junk Interiors
Your starfish turned out great! They look wonderful! There is so much humidity here, too, that nothing feel "dry" and yet we need rain desperately. Hope you have a great day- xo Diana
Love the idea and your mantel looks so fresh for summer!
Great blog…. I'm a new follower, your daughter sent me your way.
Check out my blog at: http://nostalgic-summer.blogspot.com/
Great ideas, love the choice of materials. visiting from the Naptime Hop, hope you have a chance to stop by @craftyspices :).
http://www.craftyspices.com
Super and creative
I found you through Crazy Mama's fun blog hop. I linked in a post about an artist that specialized in painting horses. Have a good week.
good craftiness.
That playdough starfish idea is brilliant! I have wanted starfish for different decorating ideas for a long time, but didn't want to pay the price for them. Well, well, well, does this open up possibilities!!! By the way, I'm your newest follower, yay! Would sure appreciate you recipricating and following back! Thanks a bunch!! Hope you have a great day, despite all the high temps. you guys are getting!
FUN FUN!!! I gotta try this!!!
Thanks so much for sharing this at The DIY Dreamer.. From Dream To Reality! 🙂
The starfish turned out wonderful!! I just added a new project to my "to do" list.
It turned out really great!!
Love this. I like yours better than Twigg's. Going to try this for sure! Found you on Hometalk.
Wow.. How amazing do they look! Thanks for linking up at Friday Fun party.. Have a nice weekend.