The nursery is almost finished!
What I love about the decor in the room is that it isn’t “too BABY”!
Helping with the nursery has been alot of fun!
When I told Mr. S that I was “in charge” of creating the fabric covered cornice for the window, he suggested that perhaps my usual Styrofoam cornice wasn’t quite good enough for our “grandbaby”!
Never one to turn down assistance with my projects…..I let him have at designing a wood base for the fabric upholstery!
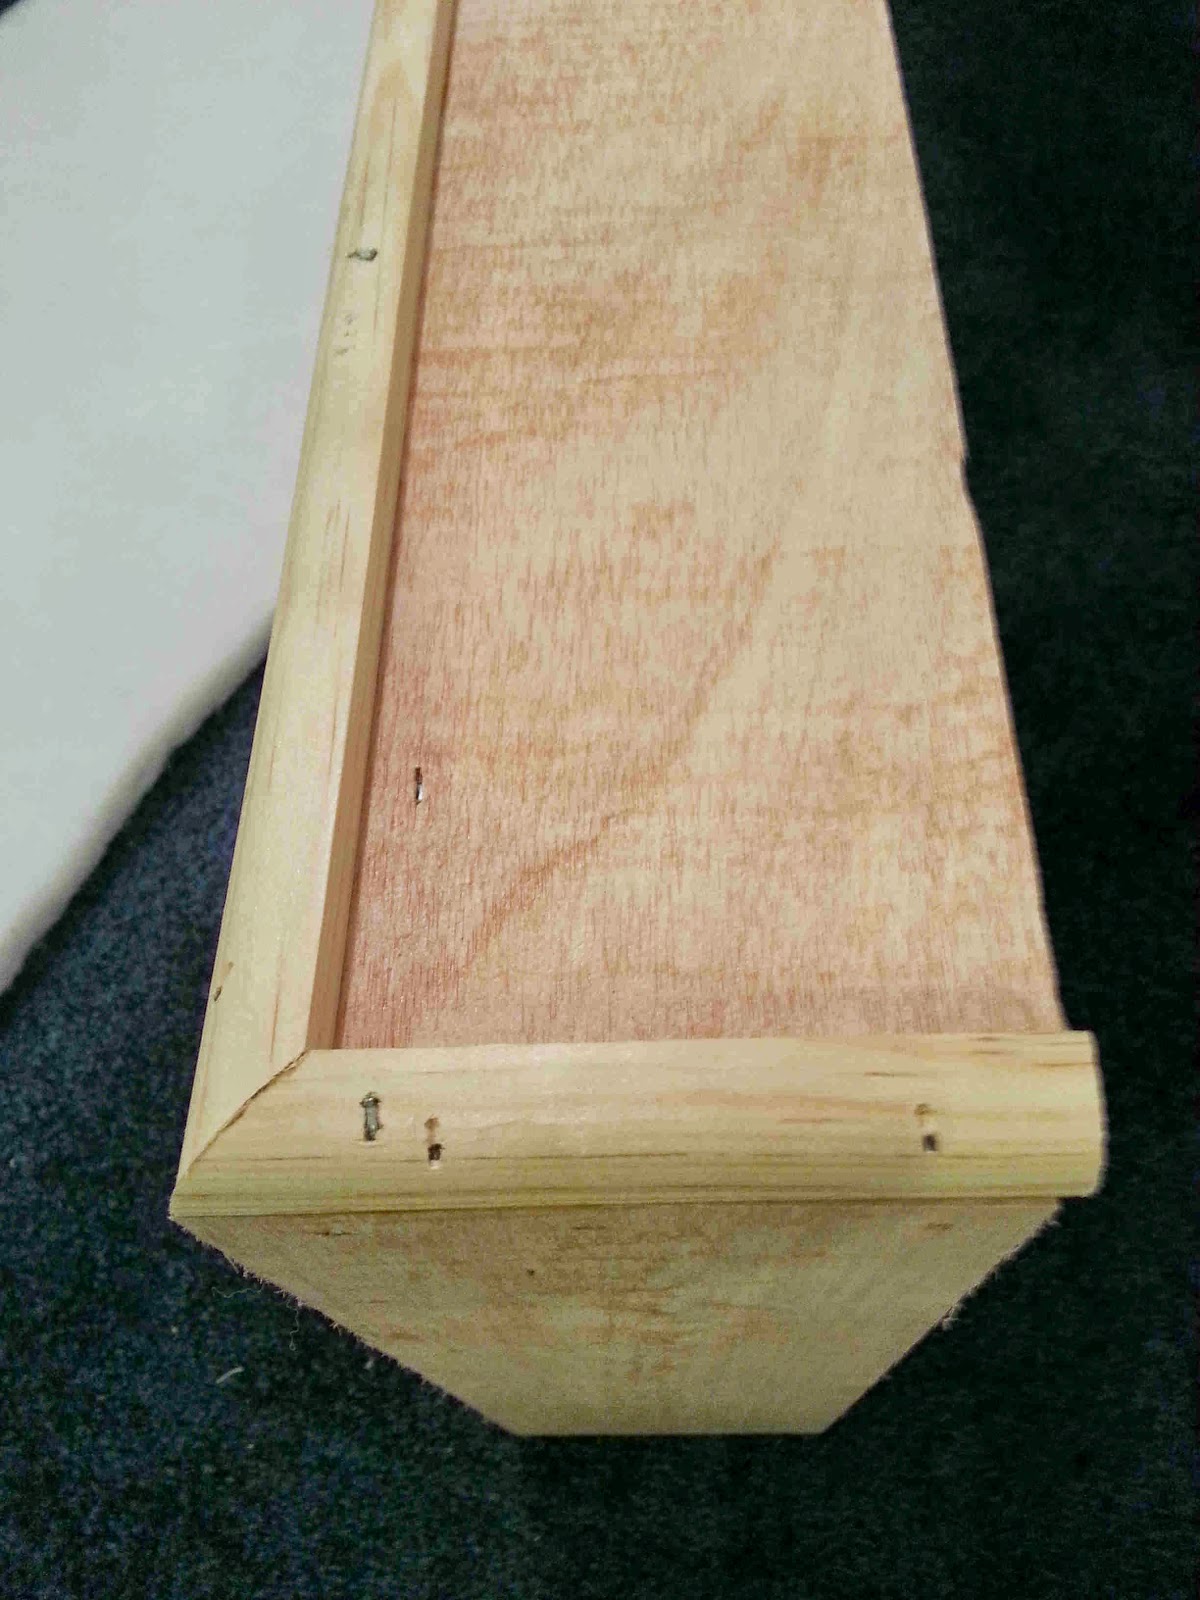
He used 1/4 inch plywood and 1 x 2 boards to create the cornice.
The light weight of the wood makes it perfect for this project.
I just stood back and let him build the base….and I have to give him a lot of credit for how it turned out!


Once the base for the cornice was complete, it was time to cover it with1 inch batting.


The pattern on this lovely fabric wasn’t quite so “lovely” to match and align….
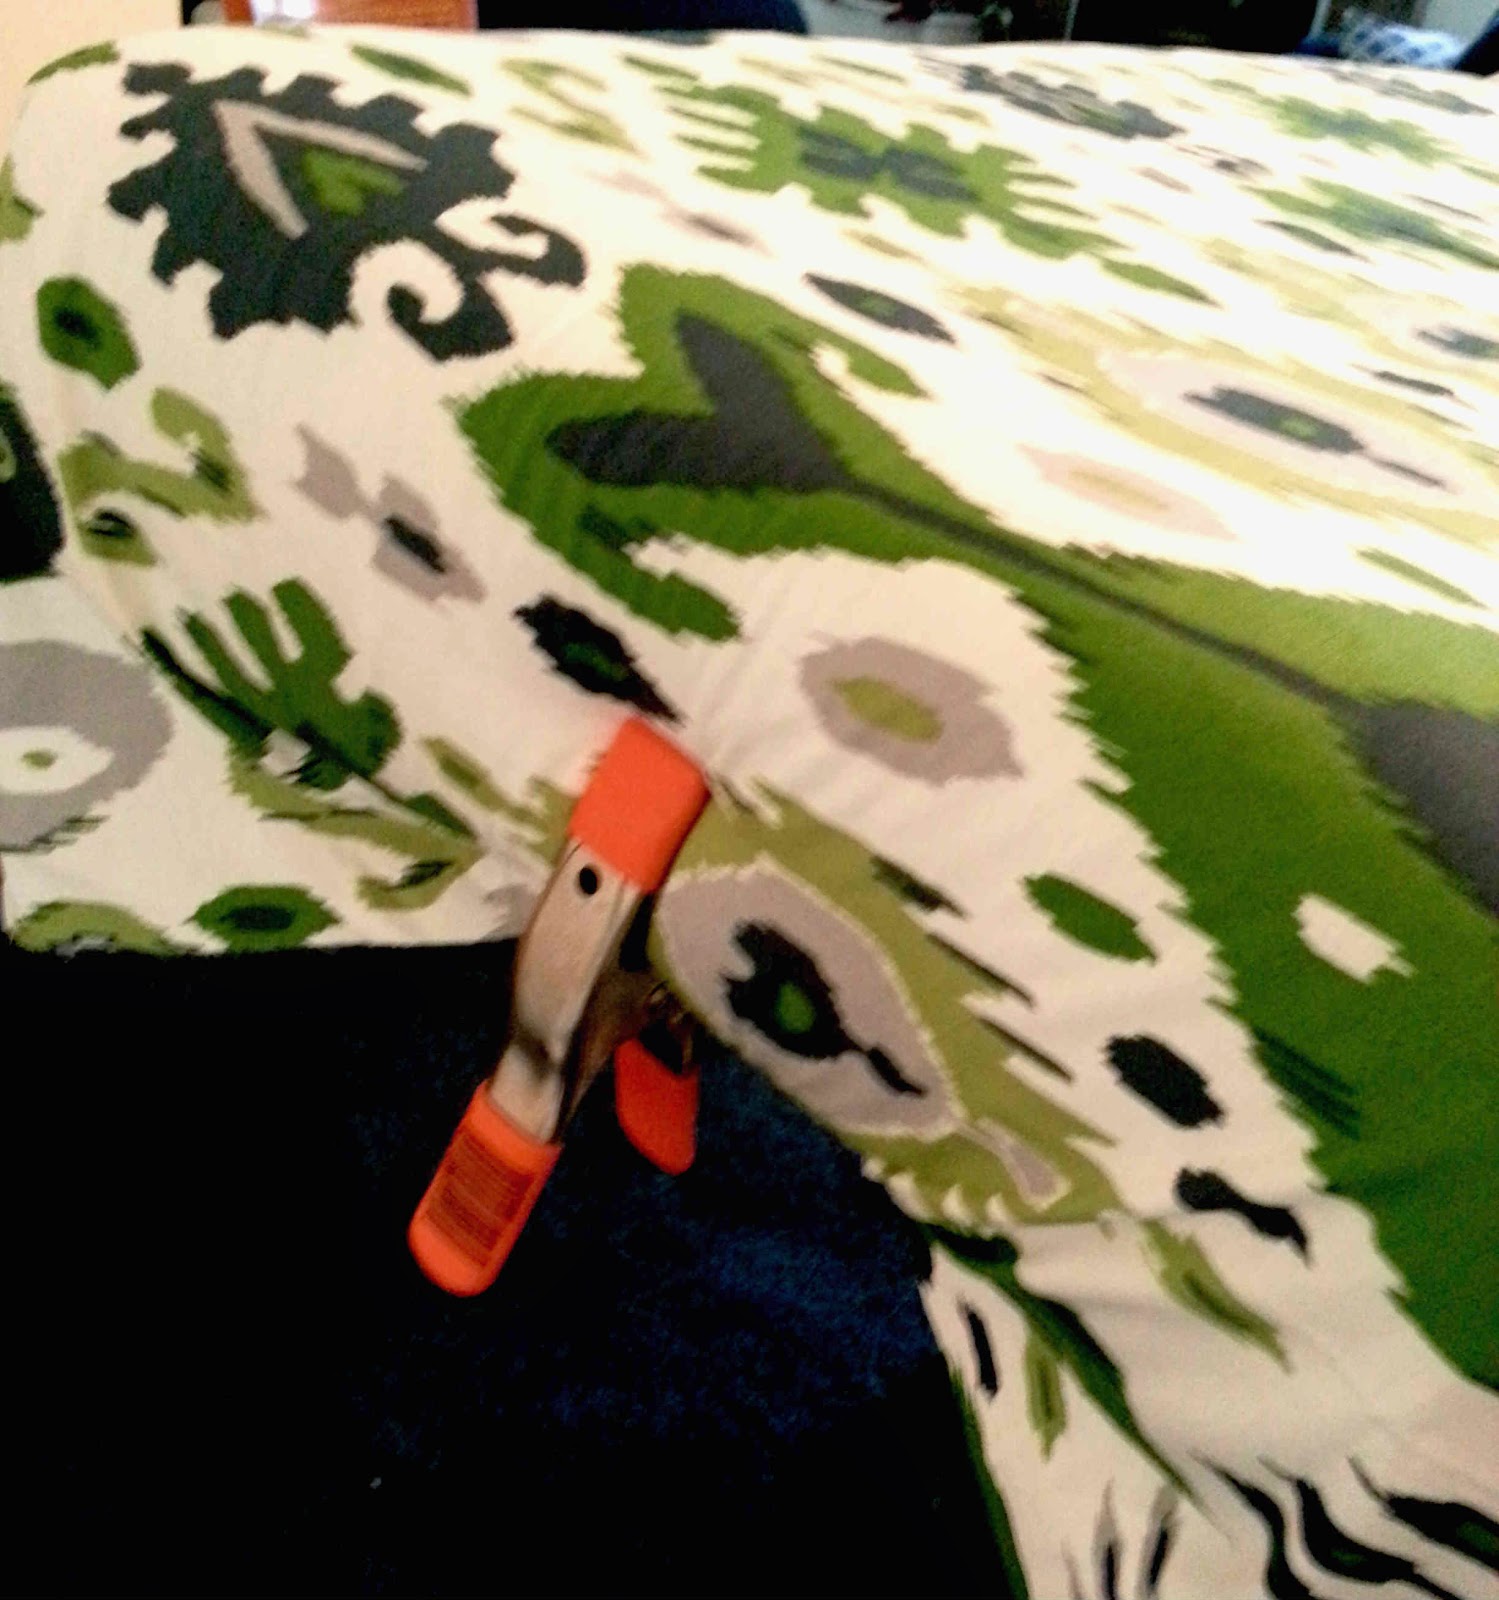
The next step was attaching the fabric with staples.
I couldn’t use my trusty power stapler because the only staples available for it are too long…they would end up going through the quarter inch thick board.
I have a simple electric stapler that uses shorter staples….so I used that for most of the attachment.
In areas where there were support boards that could be stapled into….I could use the power stapler!
So with lots and lots and lots of staples…..the job got done!
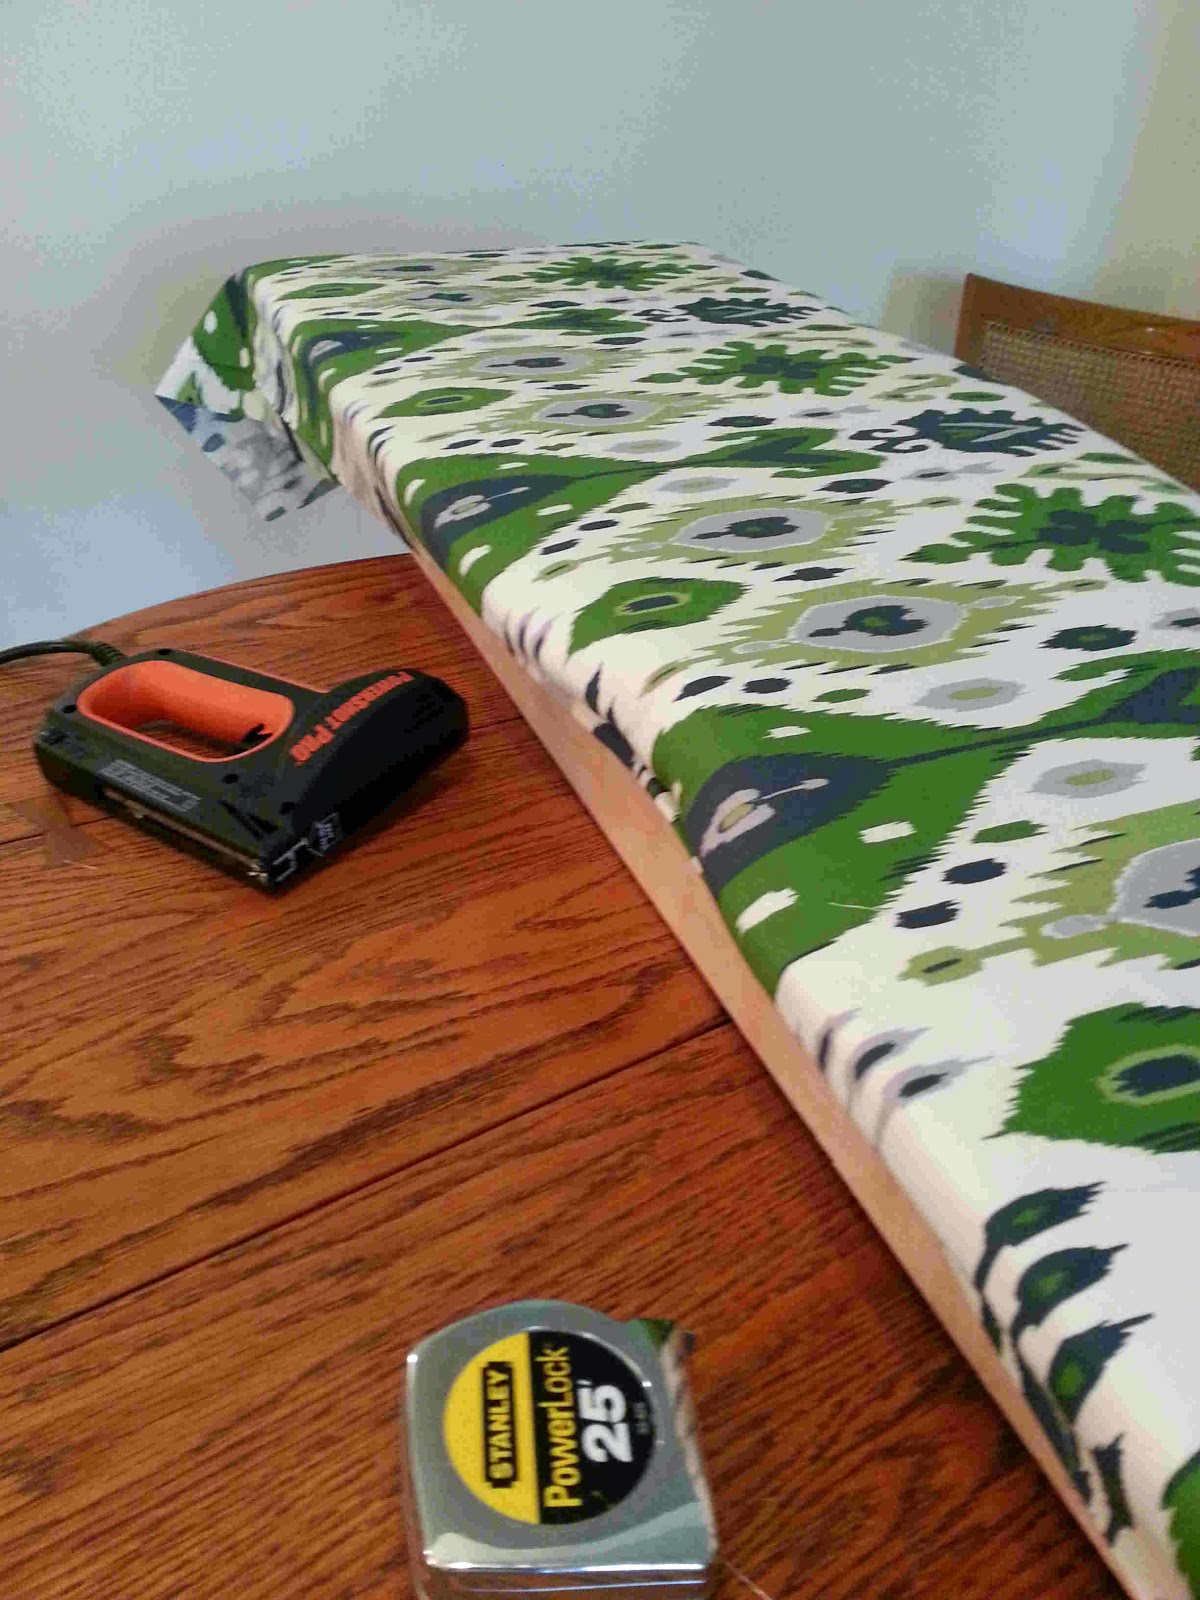
You might notice the “tools” of the trade that helped a lot….the tape measure to be sure the fabric was centered….and the T-square to make sure the vertical line was straight!
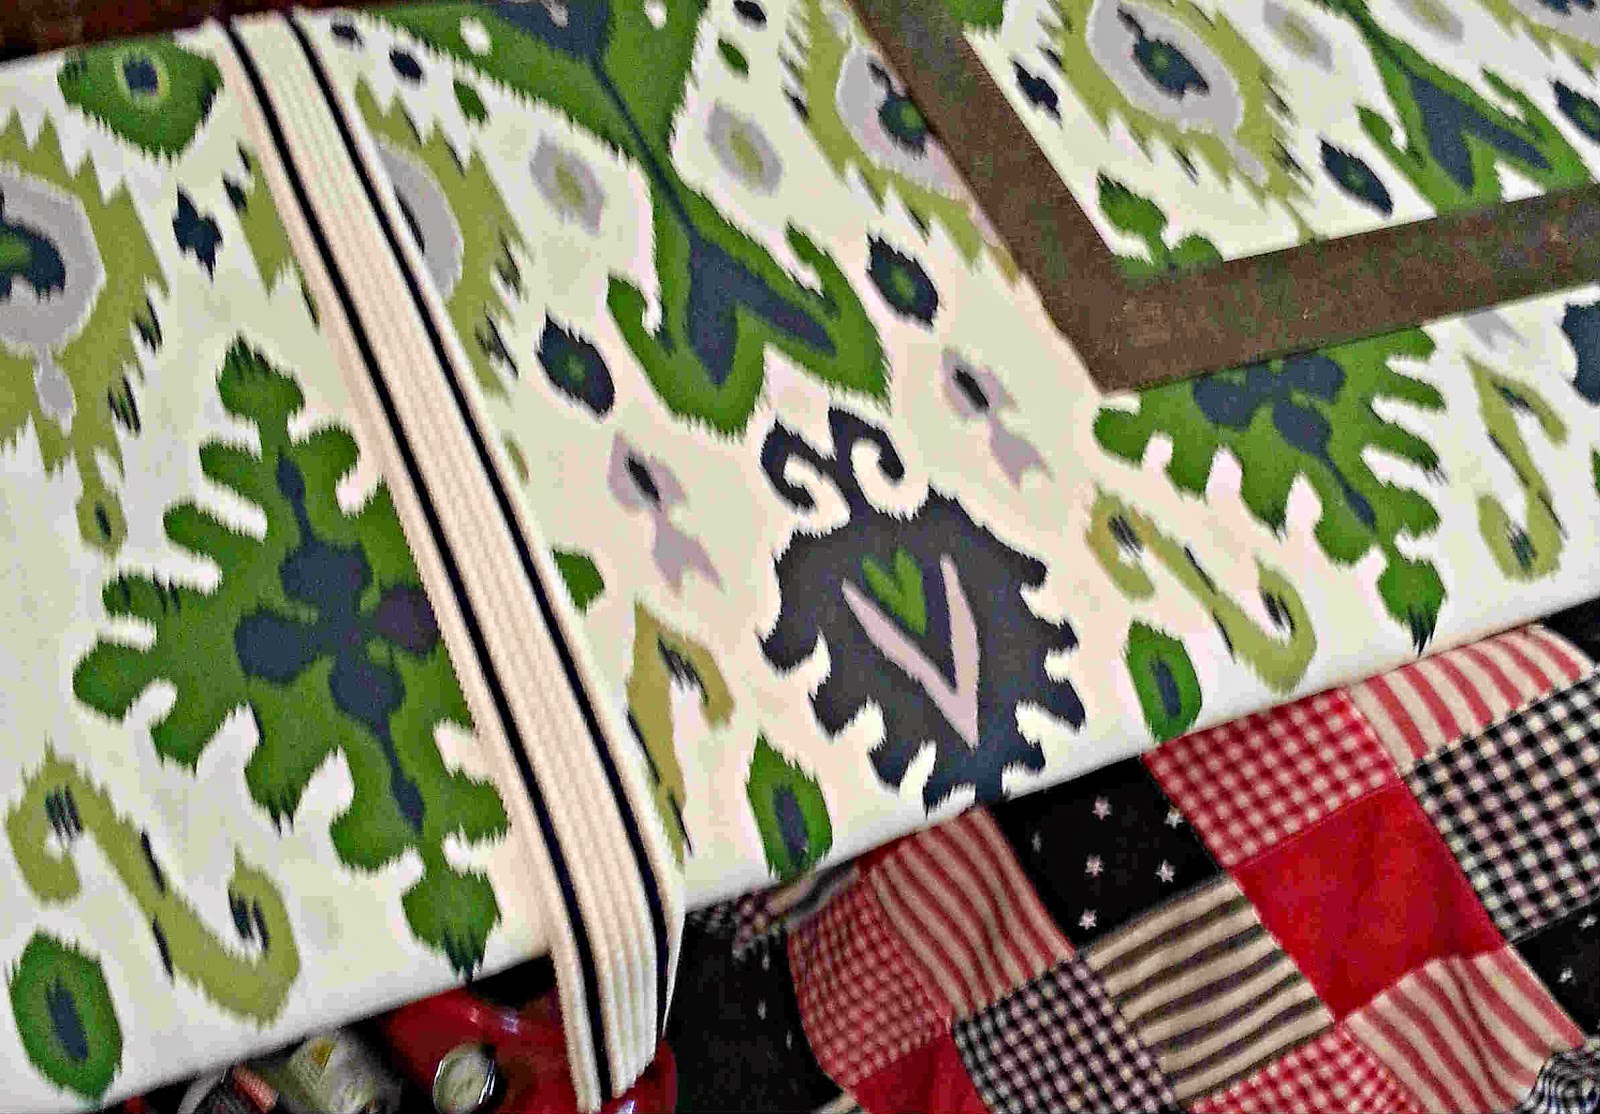
The last step was to add this great looking navy and white trim to cover the seams. It really has a nice crisp look!
Mr. S was in charge of installing the cornice in the nursery…..he used L brackets attached to the top of the cornice….Kudos to him!


Stay tuned for a guest post from the Sweetwater Daughter about how she painted the campaign chest that great looking shiny green. The chest is the one that we bought for HER nursery….just a FEW years ago!
I think I need to get out and do some shopping to fill up all those drawers!
Have A Great Day!