holiday

Decor Items to Transition from Christmas to Winter!

source

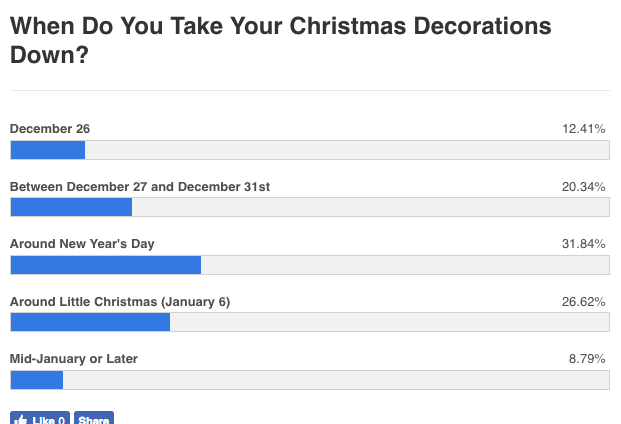
 I thought this survey was pretty interesting because I always struggle with when to take down “Christmas”!

I love all the glitz and sheen and red and green.
But as soon as the big day is over…..it starts to feel cluttered.

When we entertain between Christmas and New Year’s Day it is easy to make the case for leaving things looking festive.
Since we have no parties planned this week.  I am starting to get twitchy about taking things down and getting it packed away.

One strategy to use when “undecorating” is to ease out of full on holiday into a comfy cozy winter look.

You can actually leave a lot of the holiday decor items out and achieve that look just by tweaking things a bit.

Here is a list of the “stuff” NOT to put away.
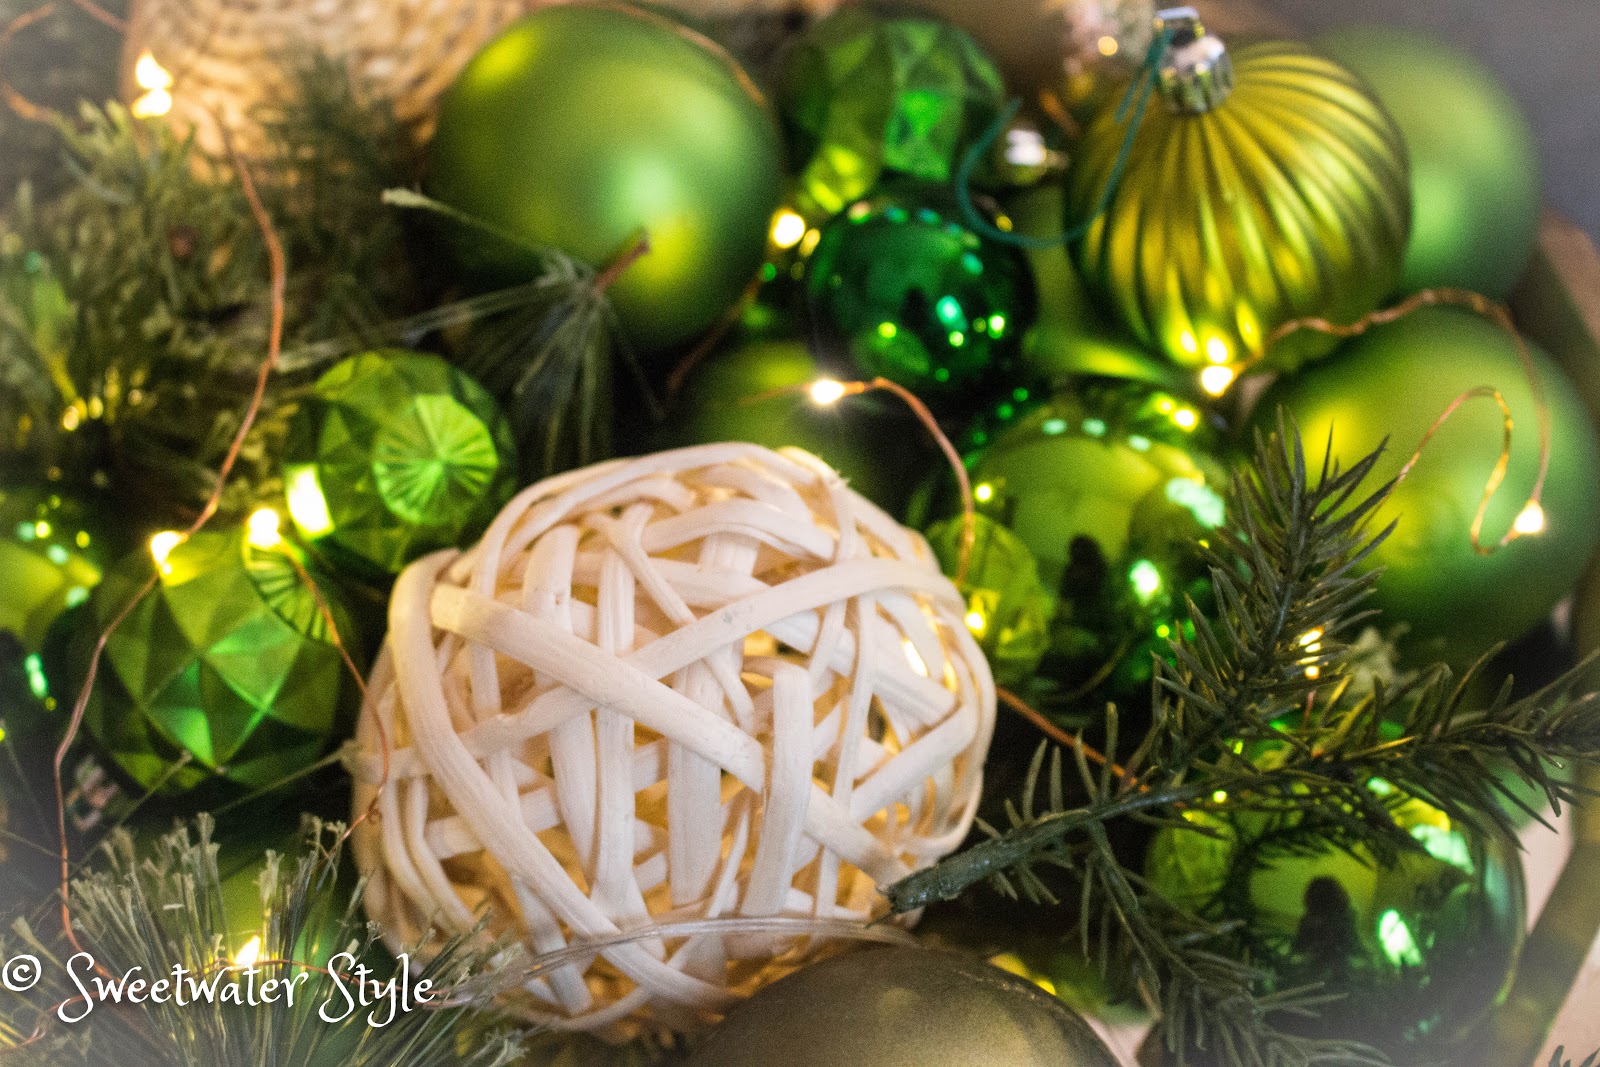
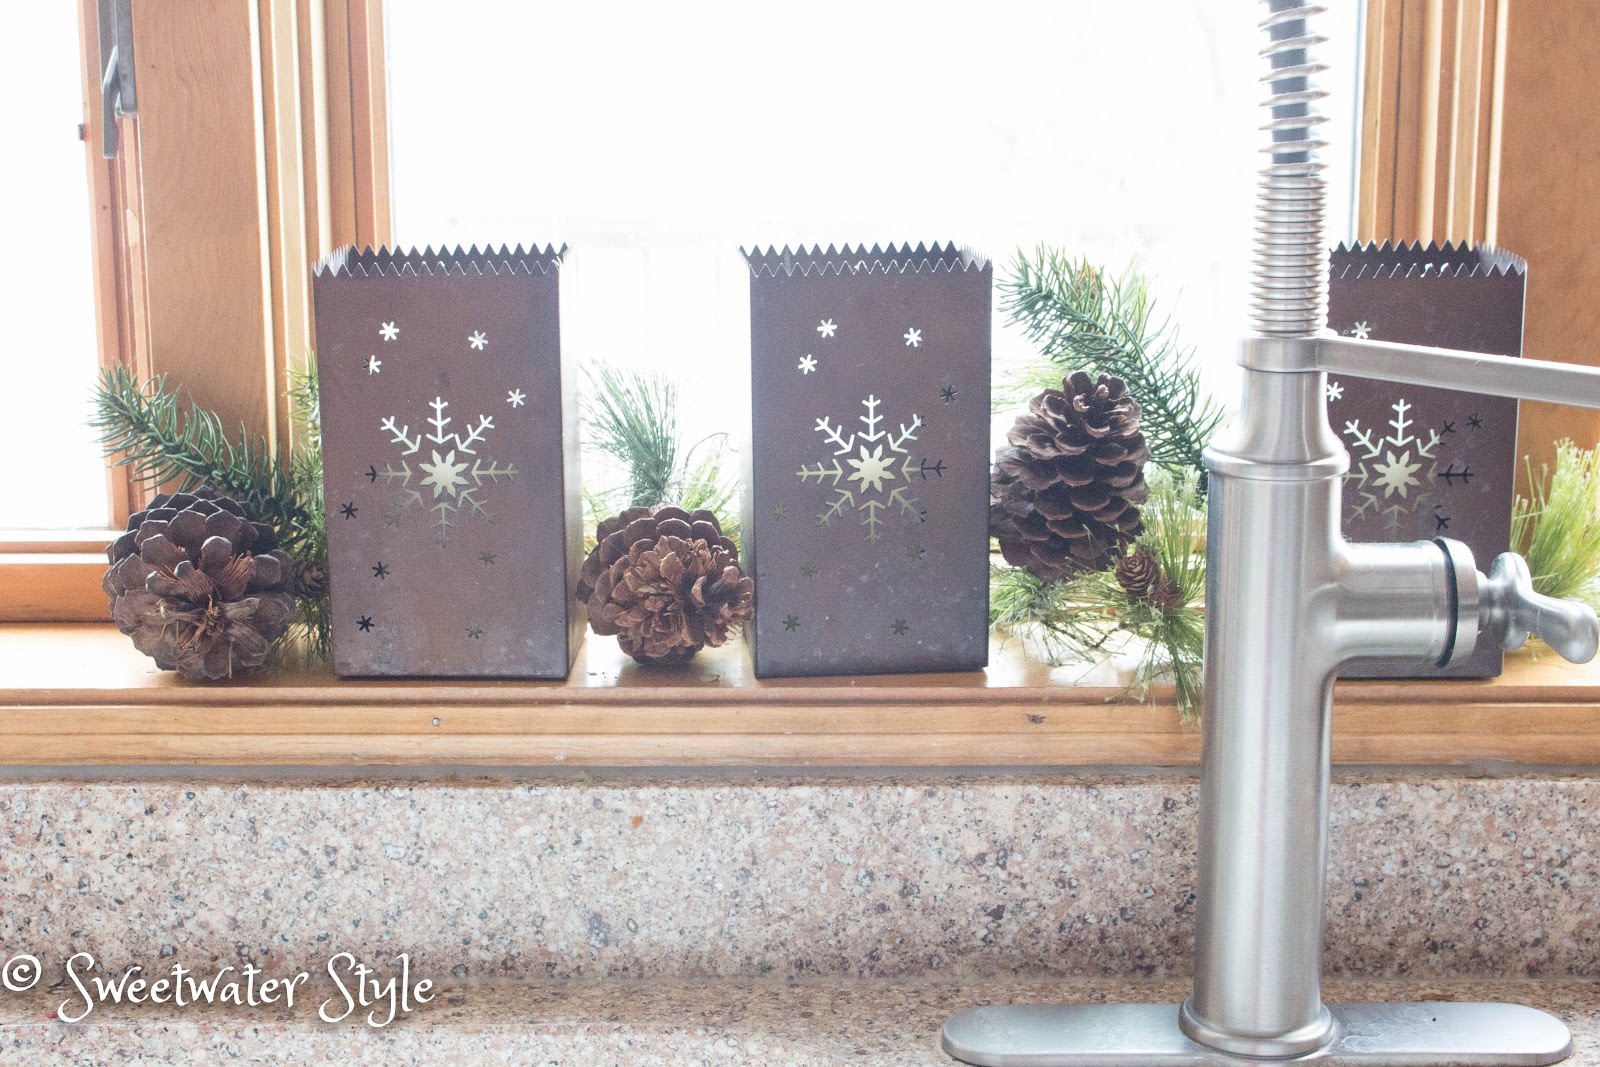
 Pine Cones

The natural look of pine cones make them perfect for your woodsy, cozy theme. Tuck them into a big basket.  Tuck in some realistic looking artificial pine branches and a few white or silver orbs to complete the look.
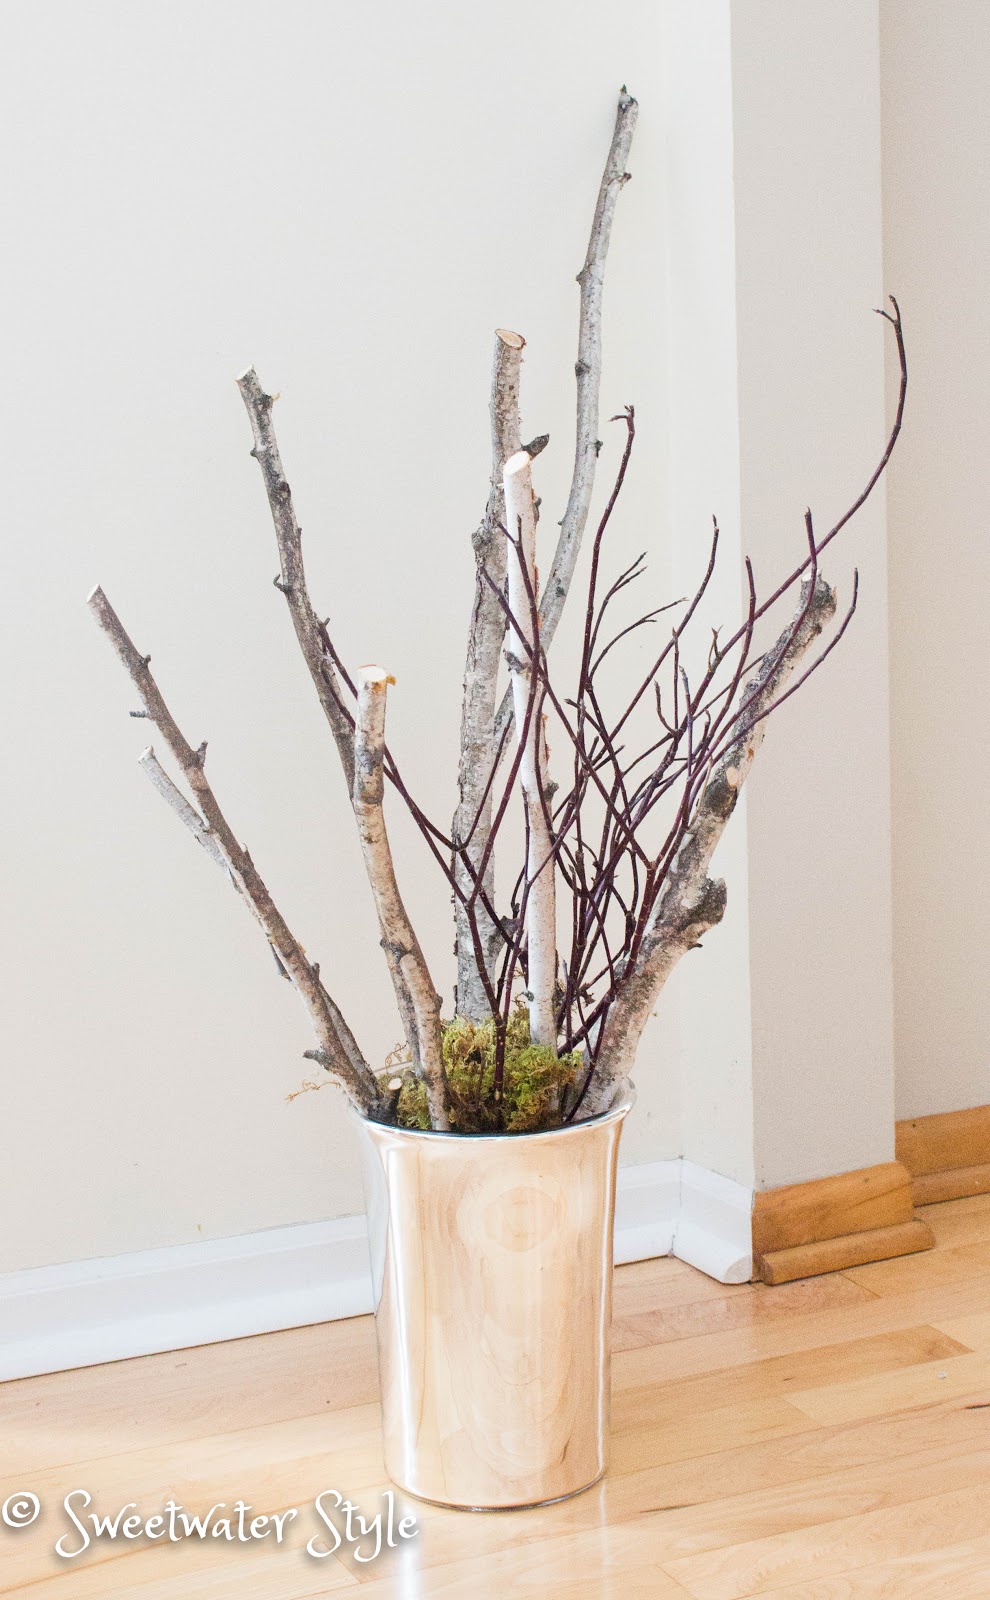


Branches
The birch in the porch pots look nice all winter. Why not replicate that indoors?  Chunky birch sections can be placed on a bookshelf or mantle.  Skinny birch looks great in a vase with some greenery and flowers.

All those branches and twigs that looked so wonderful in you holiday arrangements can be turned into minimalist natural decor.  Curly willow, red dogwood, skinny birch all work this time of year.  Think of them as “no care” plants.

 Airy Greenery

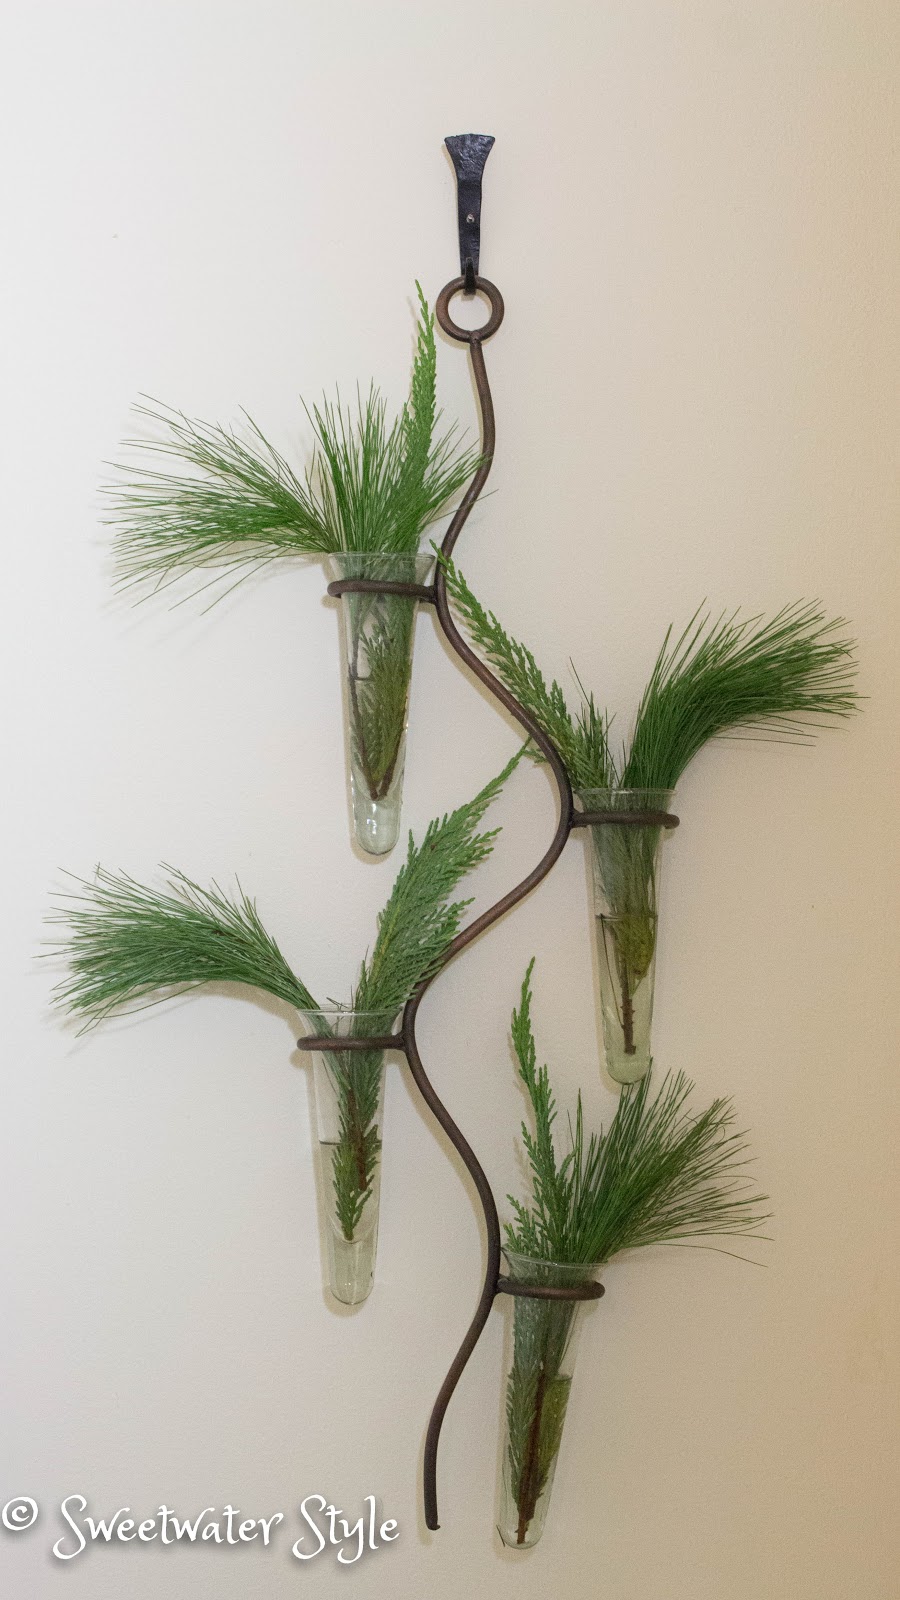
Put away all that greenery that screams “Christmas Tree”.  The greens that look feathery and airy give a fresh look to winter decor.  I especially like these Lemon Cypress trees.  I am giving myself big pats on the back for keeping them from drying out….they need lots of hydration.  White Pine is another type that looks more wintery than Christmas!

Antlers

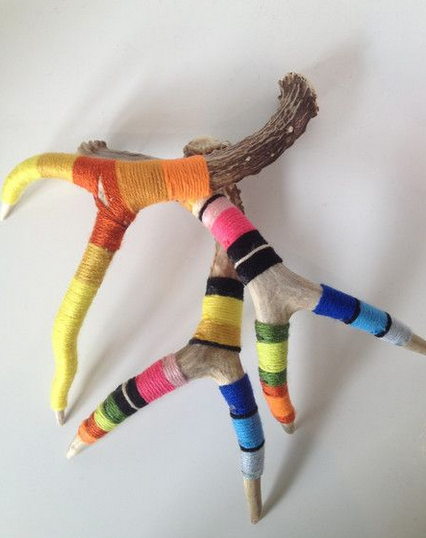
Search Yarn wrapped antler on Pinterest

If you have access to antlers, they make a great accent in baskets or on a shelf. Mixed with pine cones and greeneryThis is my next craft project!  Yarn wrapped antlers just make me smile!

Cozy Throws

Layering throws on sofas and chairs is an inexpensive way to add color. Those throws also invite you to curl up and enjoy some down time after the flurry of activity of the holidays.

Candles and Twinkle Lights

I will bet that most of your candles are white or off white.  Put away the obvious holiday themed items and find a way to use your neutral candles in a new way. 
Those battery powered twinkle lights can continue to add sparkle around your house.  This time of year it is dark when I get up and dark by 4:30 in the afternoon.  A little twinkling can be mood changer.
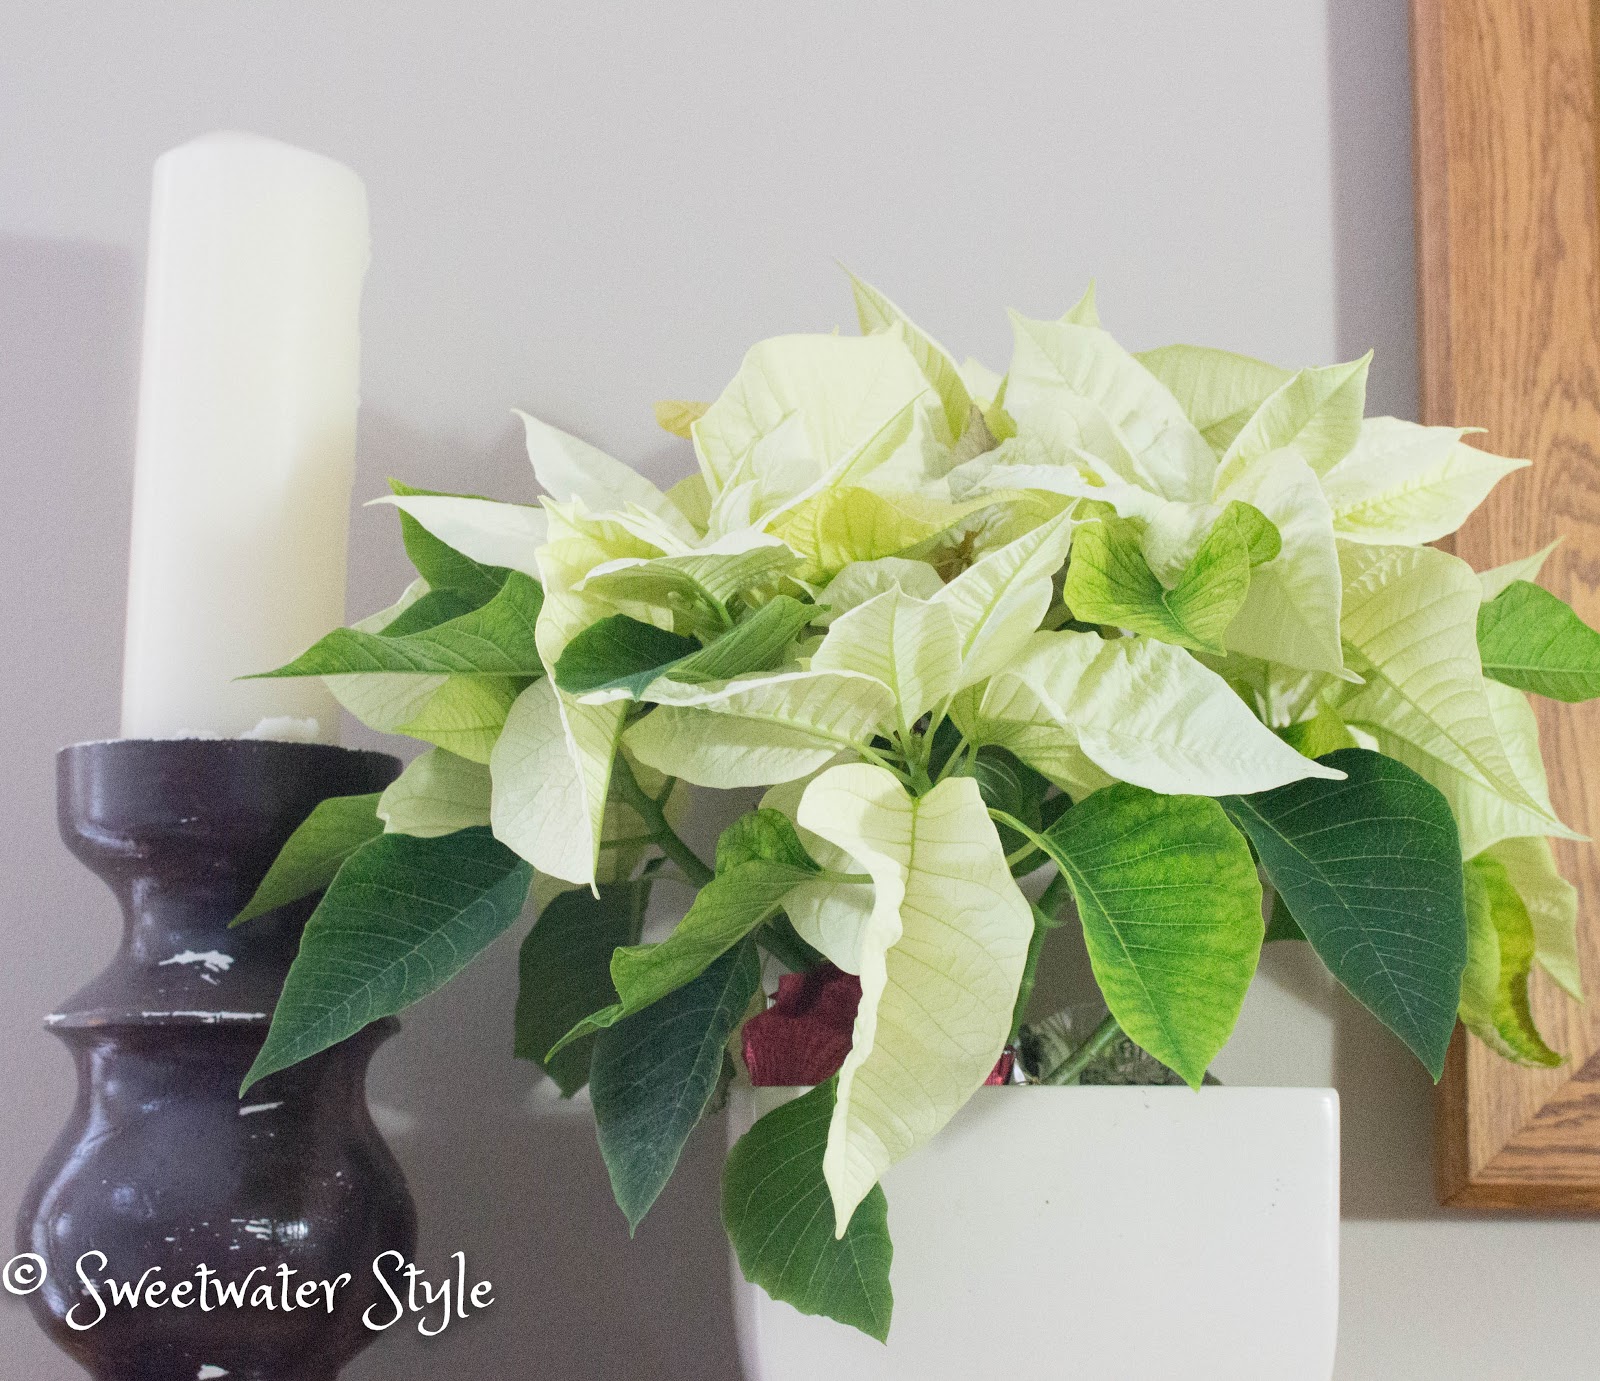
 Holiday Plants
Those Pointsettias can still work as lovely accents if they are off white or if red is a color that works in your decor.  Take them out of the holiday foil and get rid of the cute little ribbons.  Find a ceramic pot or even bunch them together with some other plants.  They will last as long as you remember to keep them watered.  (Note to self: keep them watered.)


Holiday Themed Family Photos
Take a minute to have some of those amazing holiday snapshots printed.  The deals for photo prints make this a particularly good bargain this time of year.  Frame them in simple frames or display on a chalkboard.  Seeing those reminders of the holidays is a great way to extend the season without leaving the tree up until February.

Winter Birds

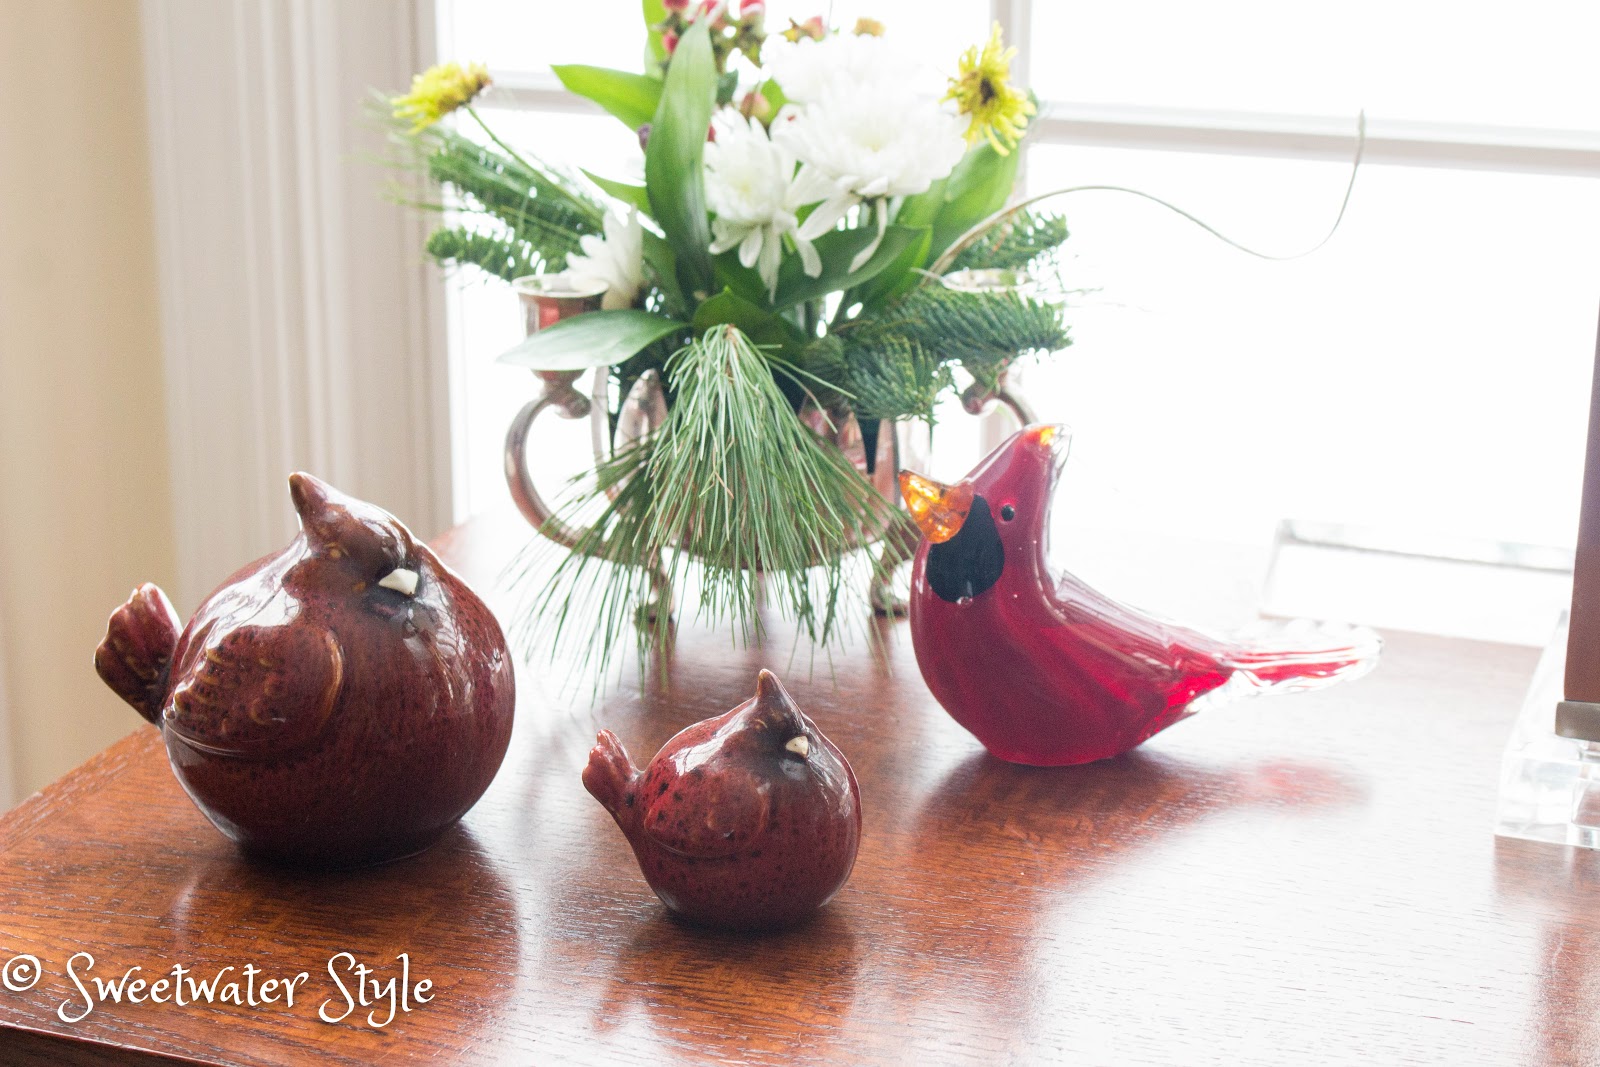
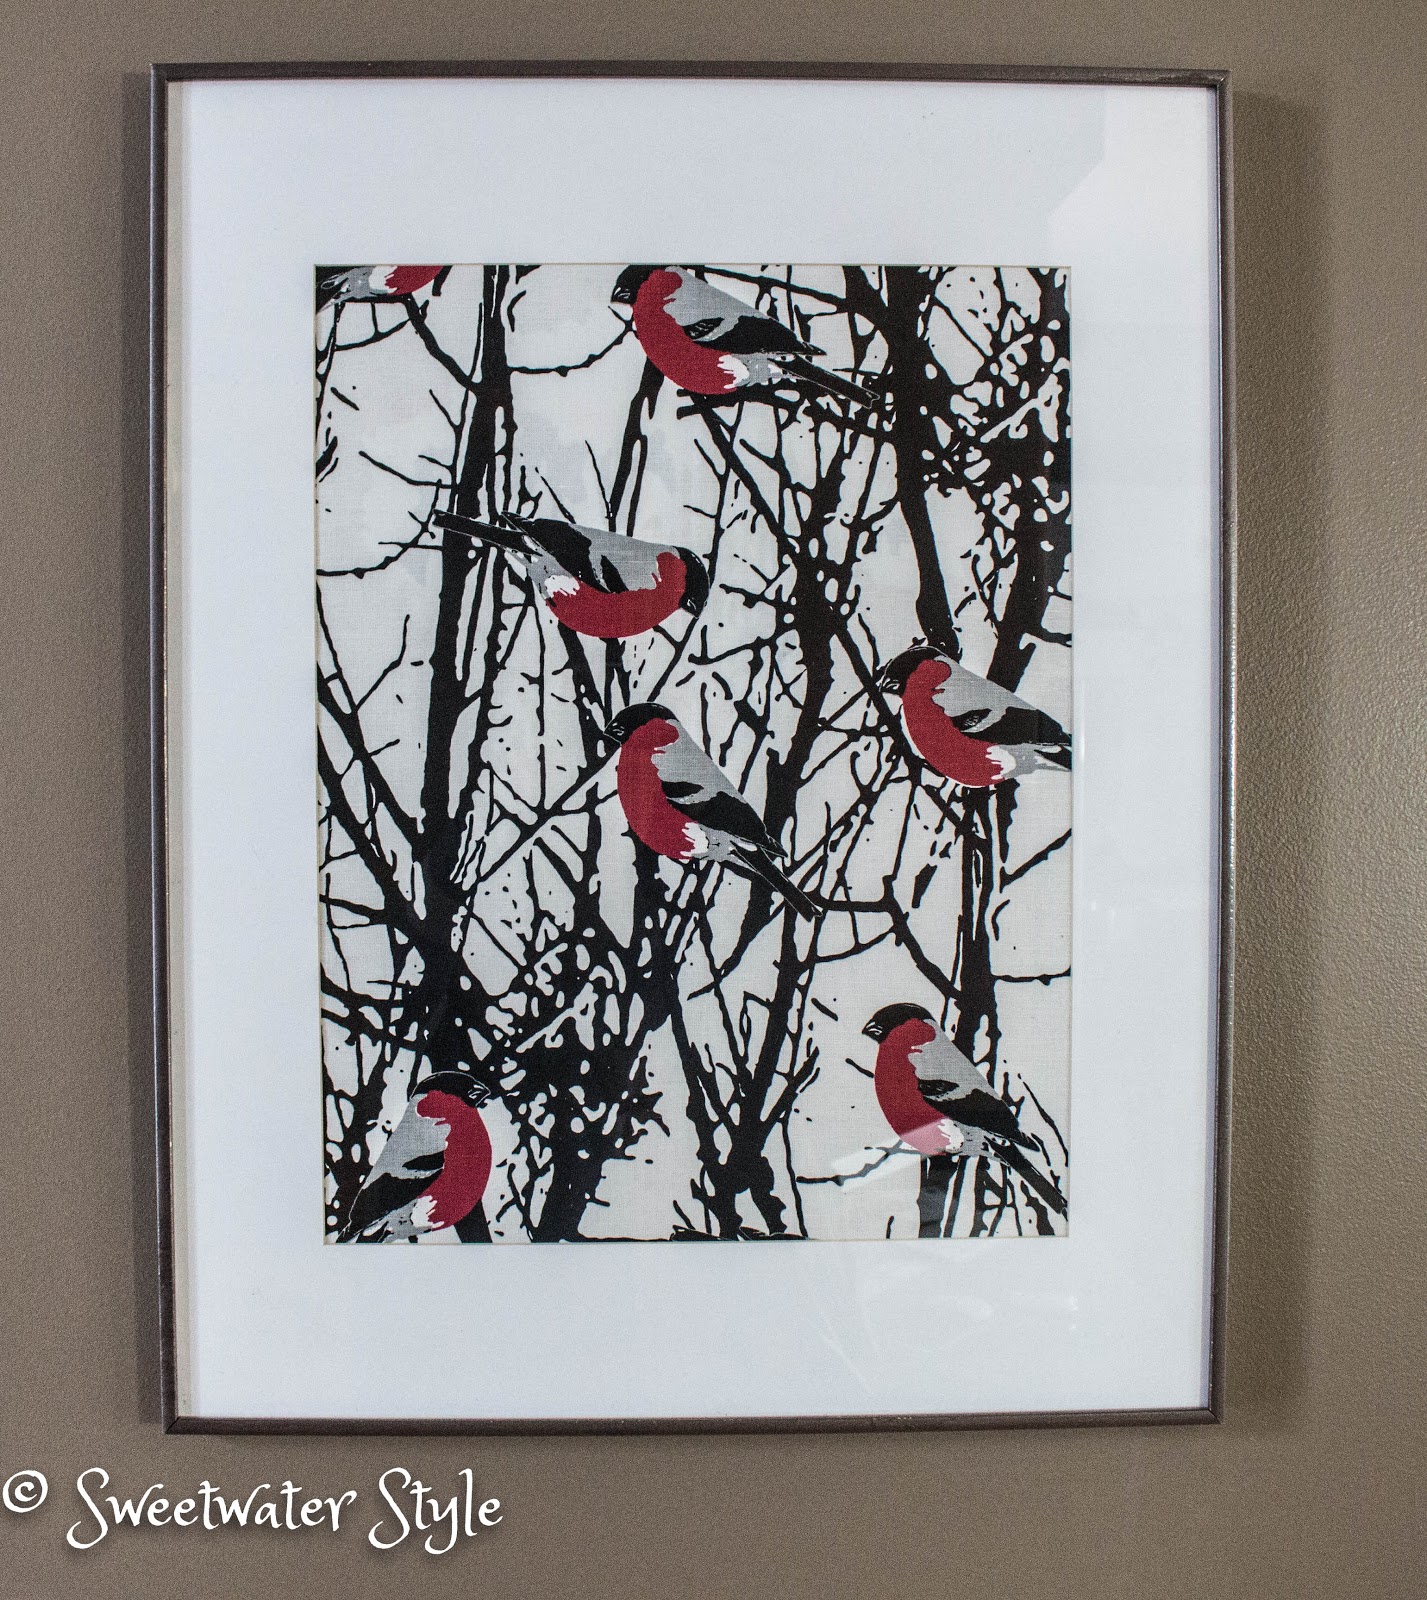
There is something so cheery about a cardinal.  If you have any redbirds that are part of your christmas stash, they can make a nice wintery vignette.  Look for these when you are shopping the after Christmas sales.  This lovely glass friend was a find at a “before” Christmas mark-down sale. The cardinals inside are almost as fun as the ones on the bird feeder outside the front door.  

 And a few other holdovers!

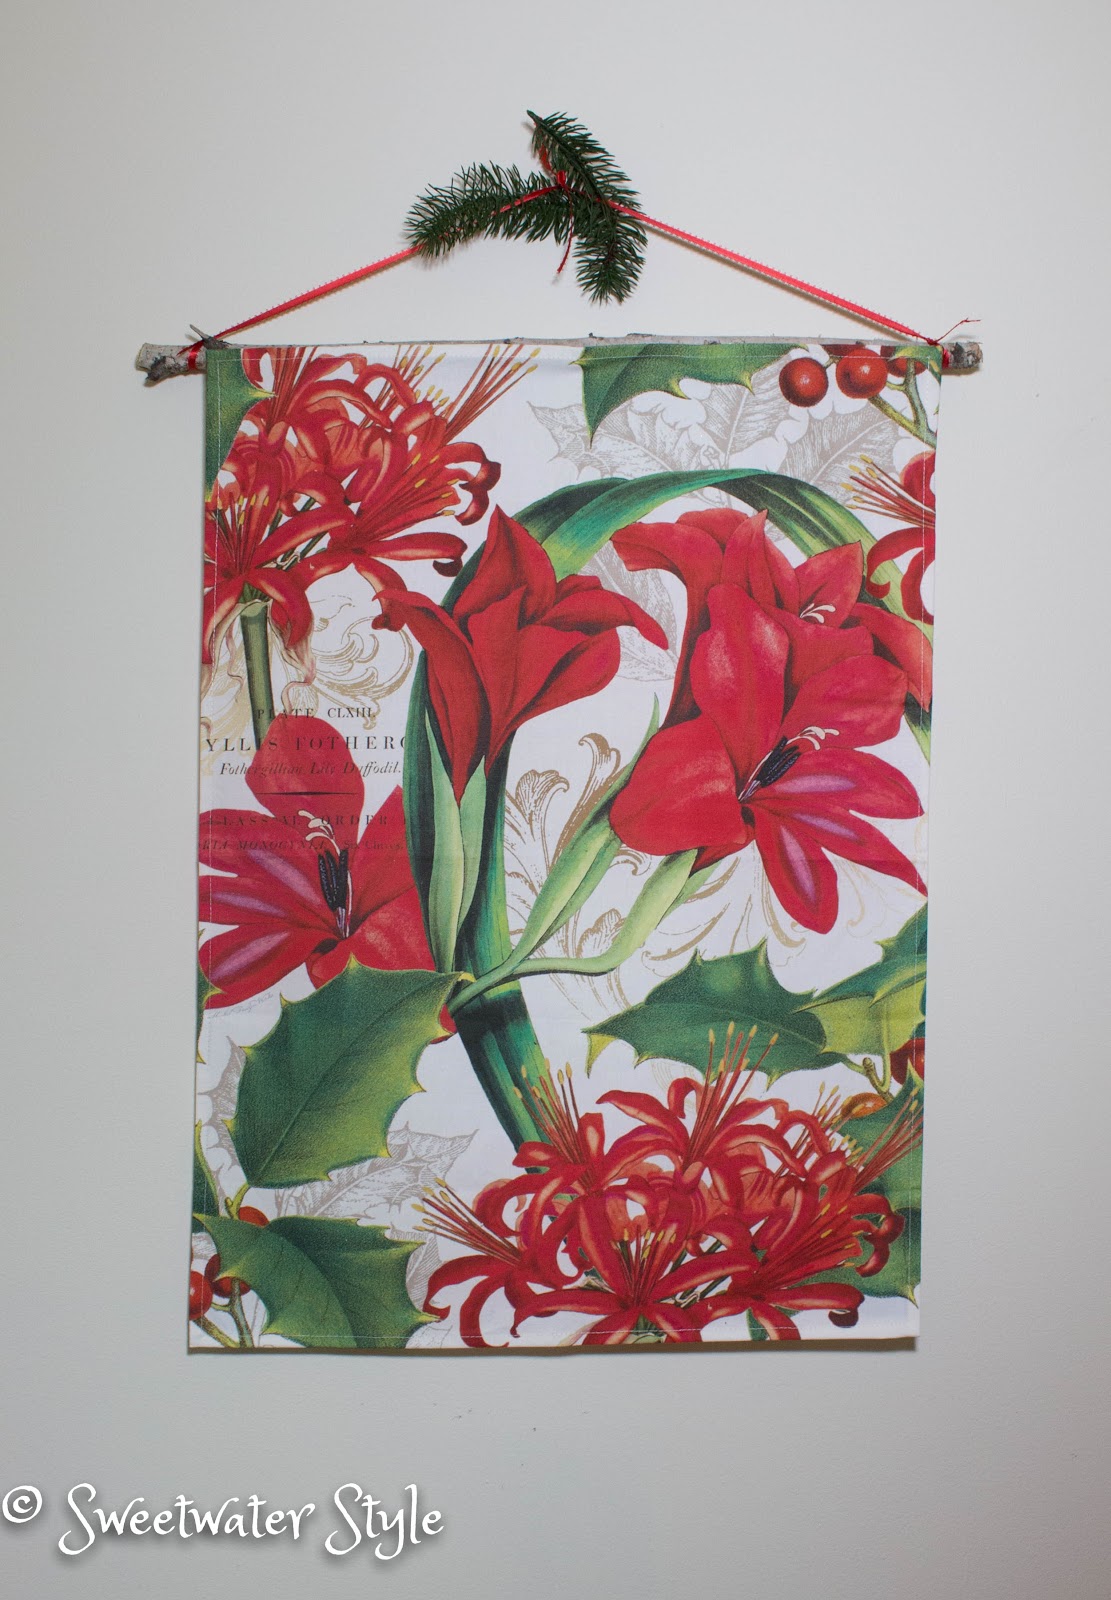
Hey, if the Amaryllis bulbs are still blooming for real, then this Amaryllis tea towel can still “hang” around for a few weeks.

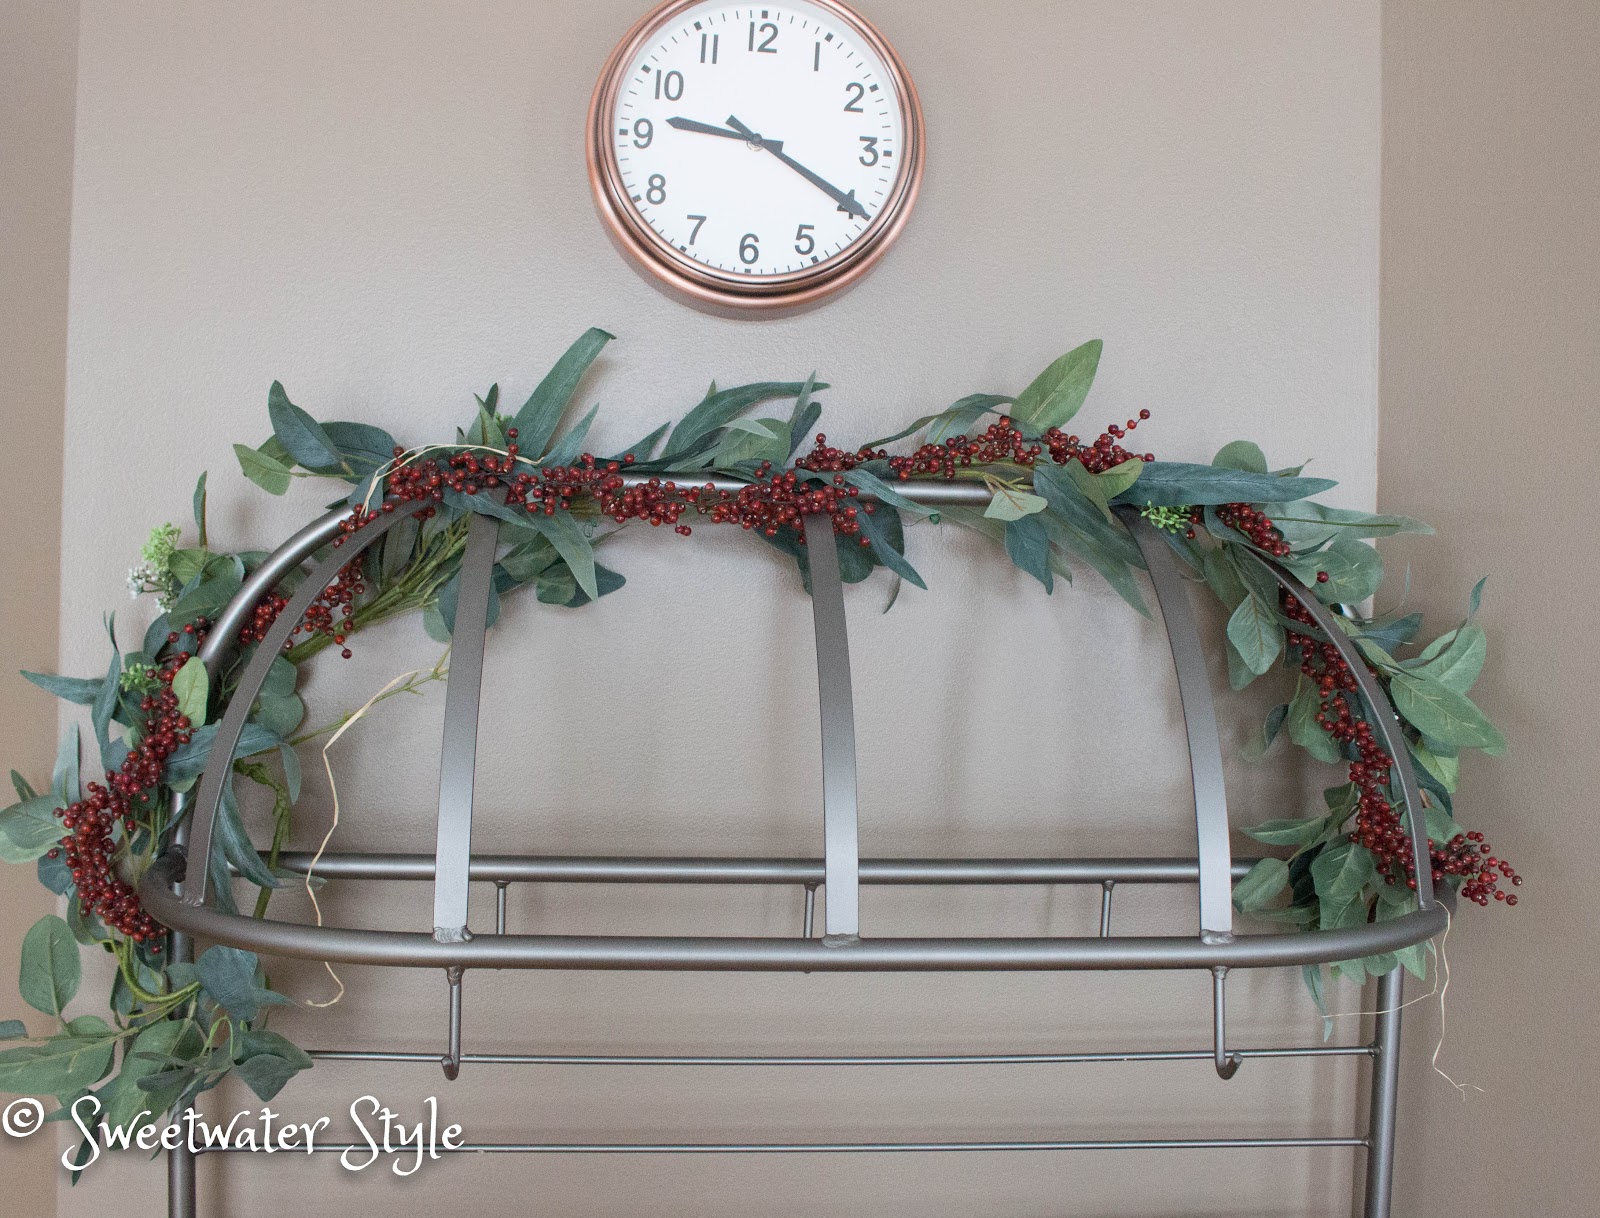
This “permanent botanical” seeded Eucalyptus I scored at the thrift store looks nice and wintery with some glass winterberries which were another thrift store find.

This year I am gradually “undecorating” instead of big marathon undertaking.  That means a big mess in the storage area while I gather and put away.  My goal is to do a lot(or little) weeding out as I go.  It always seems so hard to part with holiday decor even if I don’t use it all each year. 

In the meantime…..remember when you take your tree down:

source

Have A Great Day!

Holiday Decor Series: Bows Bows and More Bows!

I have been on a pretty long blogging break.
Yikes….I haven’t posted since Halloween and now we are deep into the Holiday Season!
I don’t have any real good excuse for this….I am sort of rethinking and want to revamp the blog.
I guess that will be my project for the new year.
In the meantime…..

wikipedia.com

I will share some of my old favorite Holiday Decor on a Budget posts from years past.
So with a nod to Charles Dickens I present for you…
NOT the of GHOSTS of Christmas Past…..These are POSTS of Christmas Past!

Let’s start with those BOWS…because it really is all about those BOWS!

I pretty much put a bow on EVERYTHING….and knowing the tricks to making these lovelies will save you money and add a bit of “class” to your decor.

Tooo funny….I was looking for pictures of pretty bows to add to this post and I found this site:
christmastreewreaths
You can buy a pre-made bow like this for a mere $6.75….or go wild and buy 12 for $72.00!

It always amazes me that people really buy stuff like that….go figure!

Here is mine using the Costco ribbon!

Now….you do the math!
$8.00 for 50 yards of ribbon…..2 yards per bow…..hmmmmmm!

I love Costco for lots of things….but I REALLY love their wire edged ribbon!

cochaser.com

 $7.99 for 50 yards of beautiful wired ribbon!
Beautiful ribbons….and with 50 yards there are no worries about running out.

It takes a long time to use up 50 yards of ribbon so my “stash” is growing.

We use these ribbons for our annual Boughs, Bows and Beverages events here at Sweetwater….so it is really a good investment (says the woman trying to rationalize her ribbon fetish)!

Read about Boughs, Bows and Beverages here.

There are lots of places to get ribbon…..and lots of sales this time of year.

It is also a great idea to save your bows from year to year.

It is now time to get your BOW on!
There are some links to bow making tutorials at the end of the post….written by actual posters who excel at writing tutorials.

Here is my poor attempt to show you how I make a pretty….professional looking bow.
Warning:  holding the ribbon, the wire, and taking pictures…..now THAT was a trick!

Start by cutting a piece of florist wire about 12 inches long….

If you don’t have any paddle wire like this…GET SOME!  NOW!  You will use it and use it and use it!

Leave the ribbon attached to the spool and pull out about a yard…..

If you cut now…you might not have enough for a pretty bow….and besides…if you mess up…
just let go and start again!

Make a loop that is half the size of the bow you want….

pinch it tight….

flip over and make a loop on the other side that is the same size

pinch that tight

Keep going back and forth….
loop, pinch, loop, pinch

This bow has 5 loops on one side and 6 loops on the other…..

I read somewhere that you should always have an odd number of loops….but who’s counting? Oh…ME!

Now take the piece of wire and wrap it around the center….whew!  You can let go of the loops now and hold on to the wire.

Twist the ribbon…NOT the wire….around about 3 times to get an nice tight center.

NOW….you can cut the bow away from the spool!

Then start pulling the loops up and twisting them into a pretty shaped bow.

The wire in the center lets you have at it without worrying that the bow will come apart.

The wire edge of the ribbon lets you shape the loops.


There you have it! 

 Here are the other links I found with much more professional tutorials….take a look!

Better Homes and Gardens Video Tutorial
Directions for lots of fancy bows
Michael’s Tutorial

Good Luck!

Have a Wonderful Day!

March Madness: Bunnies and Leprechauns!

March Madness is here.

That means we are doing the schizophrenic switching between channels to catch all the action of basketball games between teams that we don’t really care about. Alas our Gopher men had the worst year ever….but cheers to the women who play today.

March Madness is also about some schizophrenic decor issues….
you know….the clash between the Easter Bunnies and the St. Patrick’s Day Leprechauns. 

Sadly, those Leprechauns are always out of  the race in the first round!
The Easter Bunnies are still in the race for the next rounds of play!
But for now, I thought you would like to see the highlights of the decor for both teams.

Team Leprechaun!
The components:
A print of The river dyed green in Chicago.
Copper accents with a Shamrock plant in one.
Some Celtic looking plaques.
A collage of photos from our trip this fall.
The coolest rock ever…..that looks so much like a potato that you could wrap it in foil and fool someone….not that I would ever do such a thing.
Team Bunnies!

 This little Dedham art pottery bunny sits happily in front of a framed page from a calendar.  You gotta love that floppy eared fellow.

On the mantel, there is another framed bunny along with the garden sculptures and some golden eggs for fun.  The vase and candle stick components will stay after the bunnies go back into storage.
 All the little stuffed animals the kids have gotten over the years come out.  The Grandboy and Grandgirl are sure to enjoy them this year.
There you have my subtle decor for both Team Leprechaun and Team Bunny.
Hope you enjoyed….
Now off to watch more Basketball….but before I go….
Here is my DIY tip of the day: Check out this website: CANVA.
When you sign up FOR FREE, you have access to create fabulous designs that you can download.  I used it to create this photo collage.  So fun!  Just imagine the possibilities!
 May the luck of the Irish be with you!
Have a Great Day!


Sugared Cranberries Simple Recipe

Aren’t these just beautiful?
I think they look like berries in the snow.
Sugared Cranberries are strangely addictive.
They look so tempting sitting on the platter.
The sugar hits your mouth and then the bright tart cranberry almost pops in your mouth.
HMMMMM
Have I made you want to make them?
I think this treat would be a perfect addition to a New Year’s Eve dessert buffet.
Easy Sugared Cranberry Recipe 
  • 12-ounce bag fresh cranberries
  • 1 cup granulated sugar
  • 1 cup water
  • additional sugar for rolling (you can make superfine sugar in the blender if you want to get fancy)

Wash cranberries and discard any damaged ones. Place in a bowl. Combine sugar and water in a pot and heat until simmering. Stir until sugar is dissolved and let cool for a few minutes until warm (not hot). Pour over cranberries and let sit in fridge, covered at least 3 hours.


Use a slotted spoon to remove berries from syrup. Set berries on a cooling rack that is placed over foil to collect drips. Spread berries out so they are not touching each other. Let dry for 1 hour.


Roll berries a handful at a time in sugar. Place sugared berries on a baking sheet, or foil, etc. and let dry for an hour or two.
That was easy….!
The finished cranberries look amazing sitting in a single layer on a tray.
BUT….
I found this when I was doing my “research” for this post!
 
Sugared Cranberries as a Cake Topper.
I love the little sprigs of Rosemary…or you could do mint.
 
http://www.shaydacampbellblog.com/2015/11/sugared-cranberries-cake-topper.html        
Have a Wonderful Day!


How to Make An Outdoor Light Swag

The front of the house here at Sweetwater has five light fixtures.
Two on the sides of the door and three across the front of the garage.
So nice to have all of that light.
Not so nice if I want to decorate those lights for the holidays.
Buying swags for FIVE lights is really not an option for someone as CHEAP thrifty as I am!
So over the years, I have learned to make my own using stuff that is almost free.
Read on to learn the trick behind this pretty swag.
 
Did you notice how this swag has a lot of dimension from front to back? 
I used to just gather up some greens….wire them together in the middle and tie it with a bow.
They looked okay but were sort of flat!
AND THEN….
I discovered a trick for making these fuller versions.
 
Chicken Wire! 
An eight inch strip of chicken wire can be cut using a sturdy snipper.  I am so lucky that Mr. S gifts me with these romantic type presents!  I guess he knows what I will actually use!
Form the eight inch strip into a cylinder by folding it over and pinching the sides in.  It is helpful to use work gloves when you do this…chicken wire is really hard on your hands.
Now you have a form/base for your scraps of greenery.  I love the fact that you can use some pretty shabby greens in the back of your swag.   Just keep snipping greens and pushing them into the wire.  After you have the top and bottom of the swag the shape you like, start adding greens that stick out and make the swag look full from the front to the back.  You don’t need to put a lot of greens in the center because your bow will go there.
 When you are pleased with the greenery, you add a bow.
Bows seem to be intimidating to people.  Making a fancy bow is really pretty easy.  Check out this link to see a step by step of the process.
 I used some of that fun netting as the background for the bow on these swags.  That stuff is easy to find…I have seen it at the dollar store, Lowes and Micheals.  I like how it makes the plaid ribbon stand out.
These swags on the wire cages are especially nice because of how they can be attached to the lights.  Simply run a length of ribbon through the back of the cage.  This ribbon can be tied around the light.  No worries about wires that can scratch your fixture.
 I am always pleased that the swags look like something that I went out and purchased!
They frame the entry and add a lot of holiday oomph for little or no money!
Happy Decorating….
Before I go…..The Sweetwater entry is decked out for the holidays too!  I had an old grapevine wreath that was the perfect size.  A few scrap greens and some leftover ornaments from the Festival of trees event…..I am liking this a lot!

Have A Great Day!