framing

March Madness: Bunnies and Leprechauns!

March Madness is here.

That means we are doing the schizophrenic switching between channels to catch all the action of basketball games between teams that we don’t really care about. Alas our Gopher men had the worst year ever….but cheers to the women who play today.

March Madness is also about some schizophrenic decor issues….
you know….the clash between the Easter Bunnies and the St. Patrick’s Day Leprechauns. 

Sadly, those Leprechauns are always out of  the race in the first round!
The Easter Bunnies are still in the race for the next rounds of play!
But for now, I thought you would like to see the highlights of the decor for both teams.

Team Leprechaun!
The components:
A print of The river dyed green in Chicago.
Copper accents with a Shamrock plant in one.
Some Celtic looking plaques.
A collage of photos from our trip this fall.
The coolest rock ever…..that looks so much like a potato that you could wrap it in foil and fool someone….not that I would ever do such a thing.
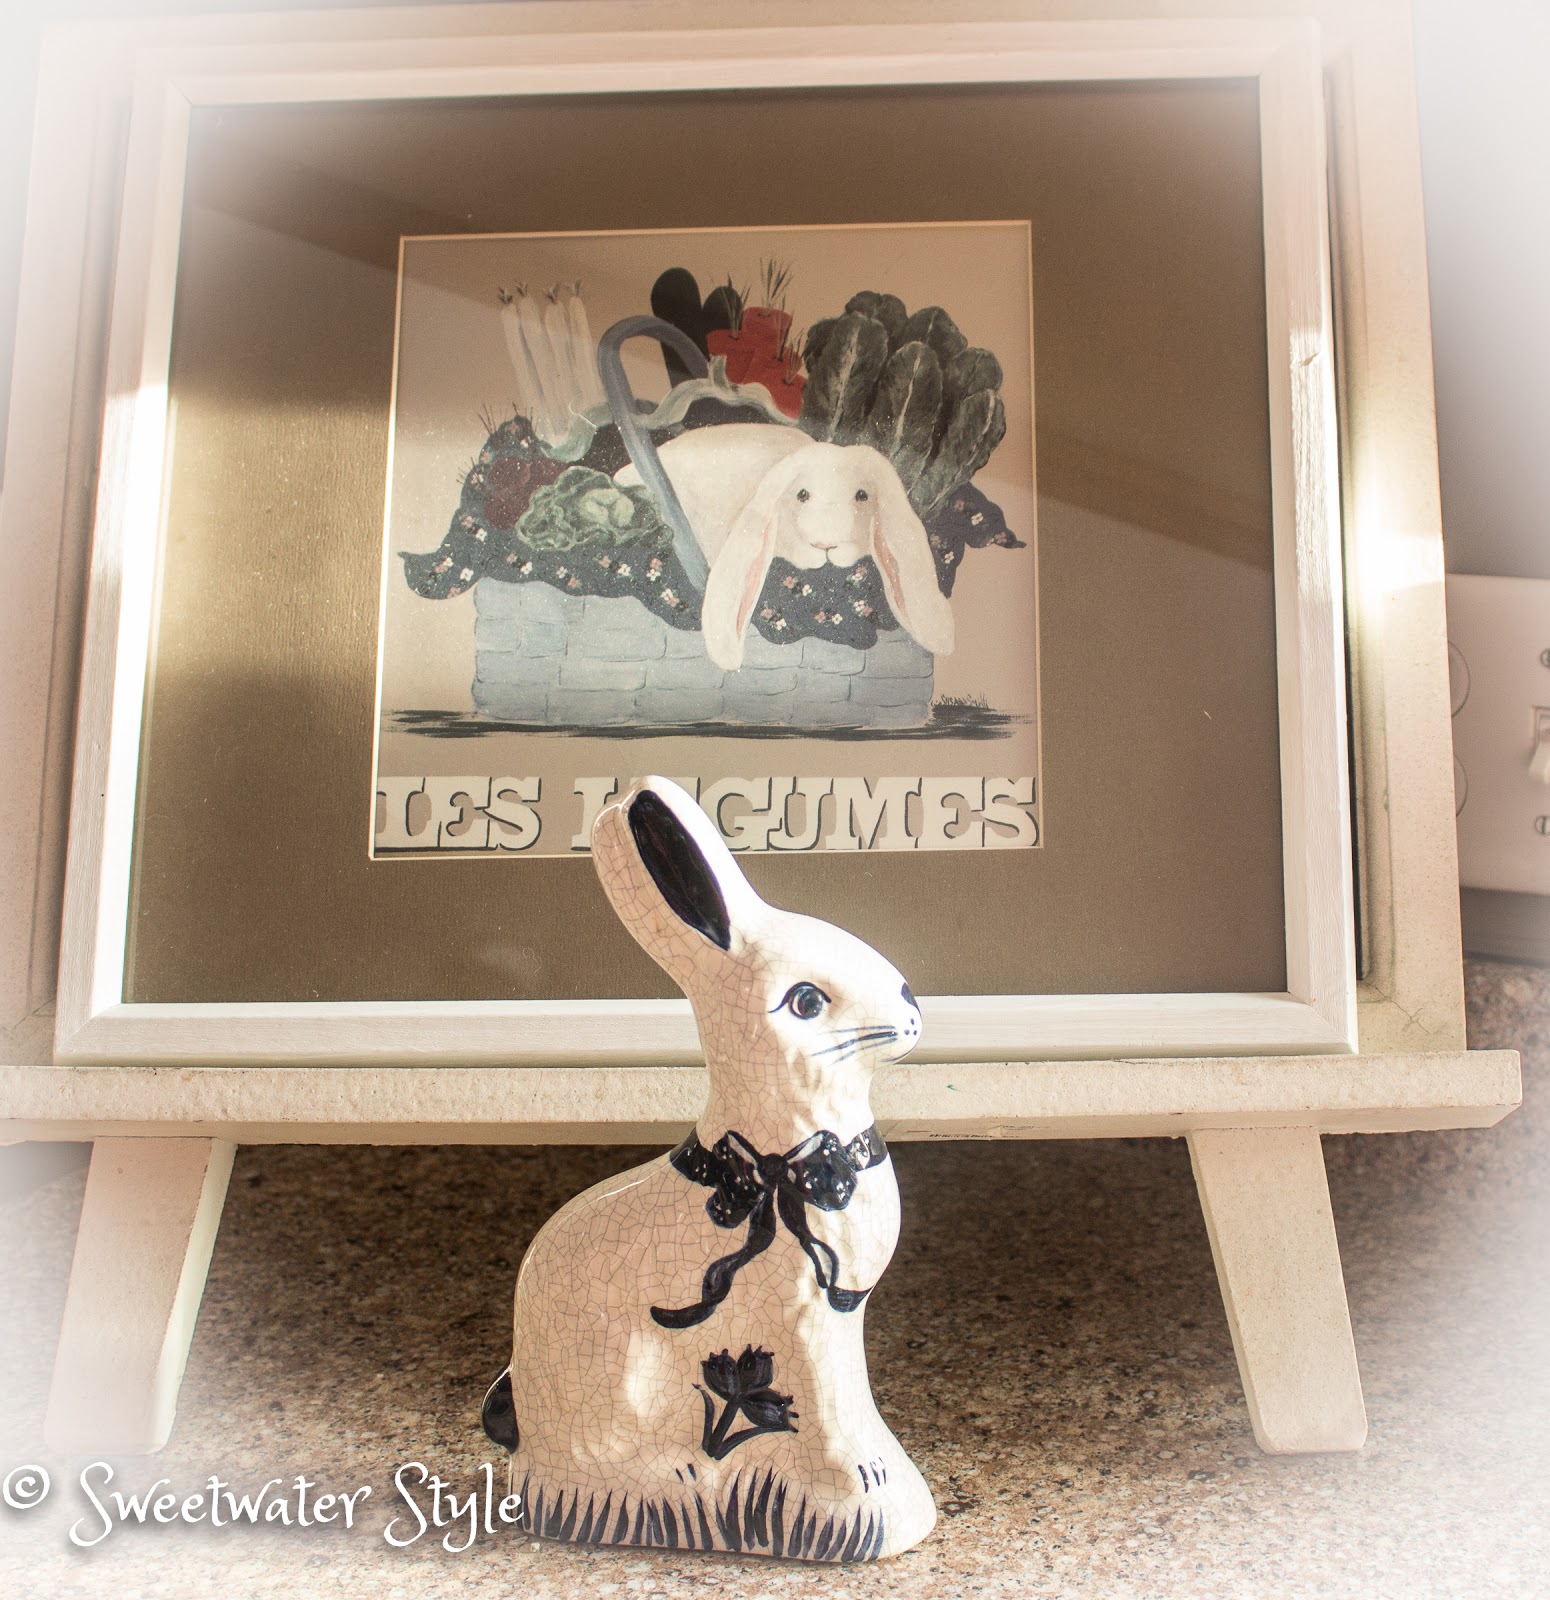
Team Bunnies!

 This little Dedham art pottery bunny sits happily in front of a framed page from a calendar.  You gotta love that floppy eared fellow.

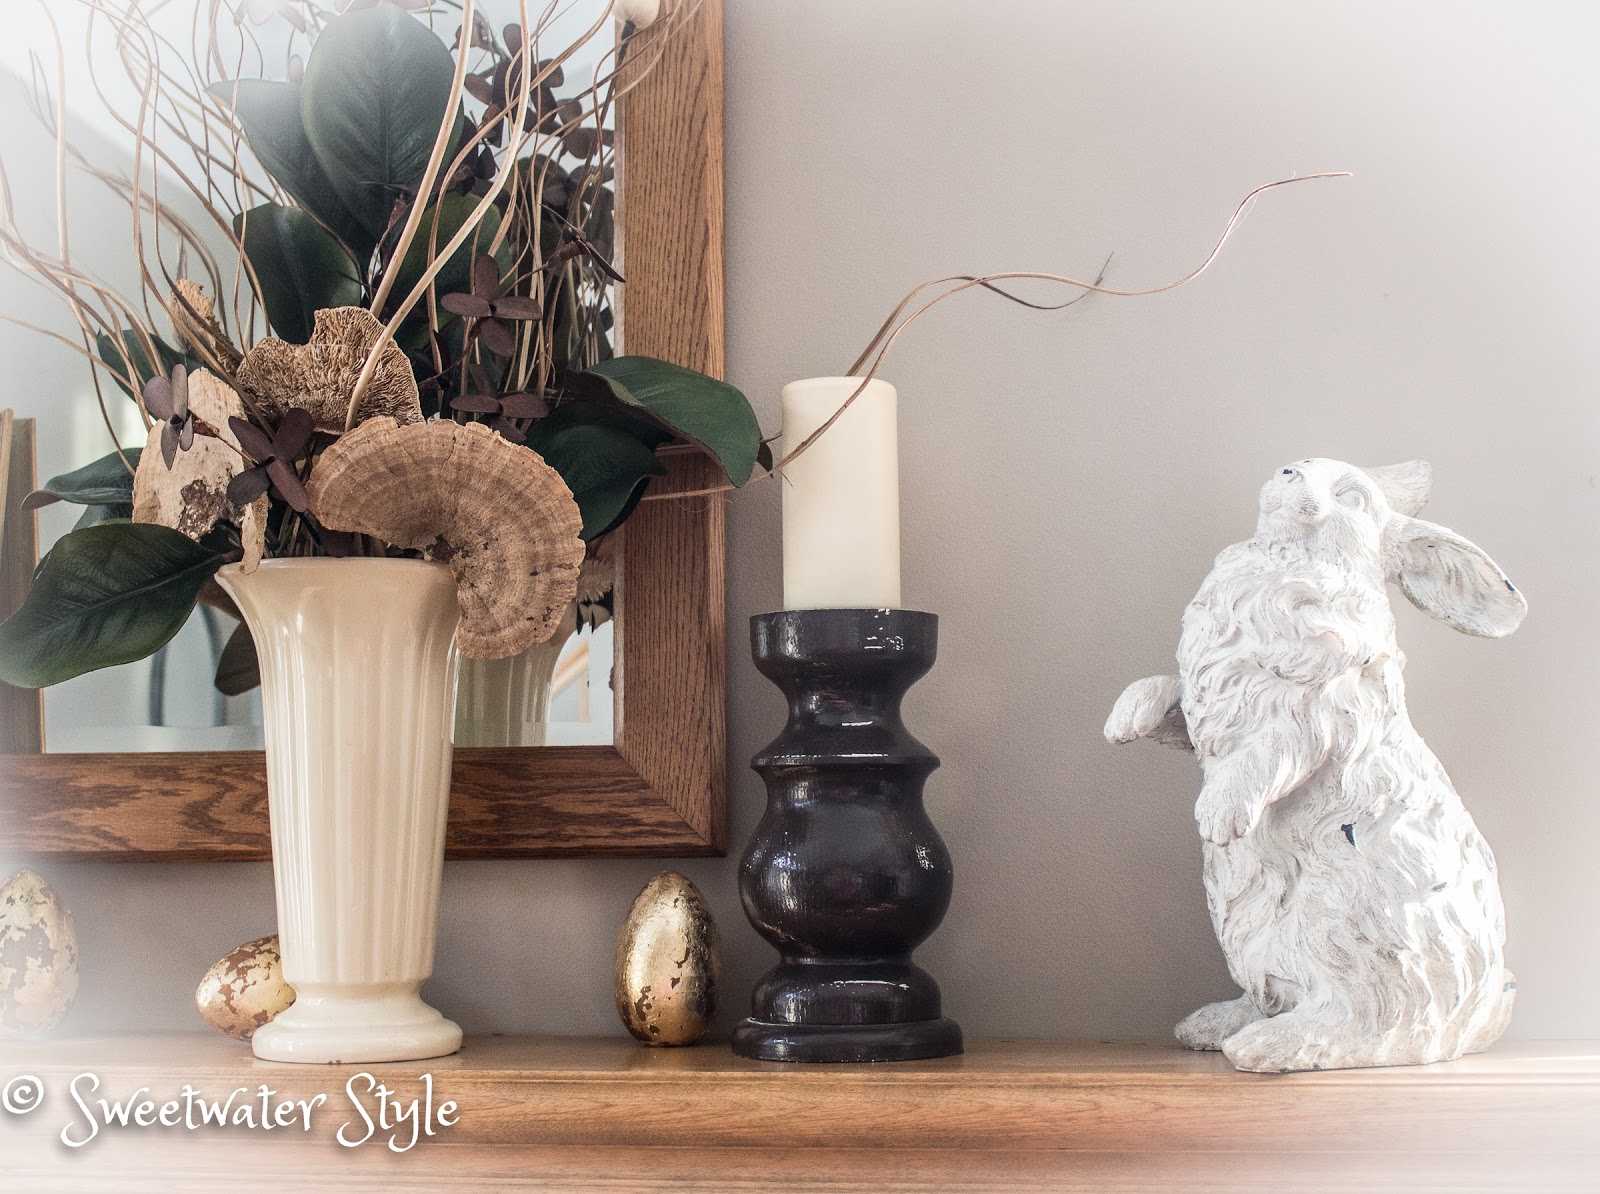
On the mantel, there is another framed bunny along with the garden sculptures and some golden eggs for fun.  The vase and candle stick components will stay after the bunnies go back into storage.
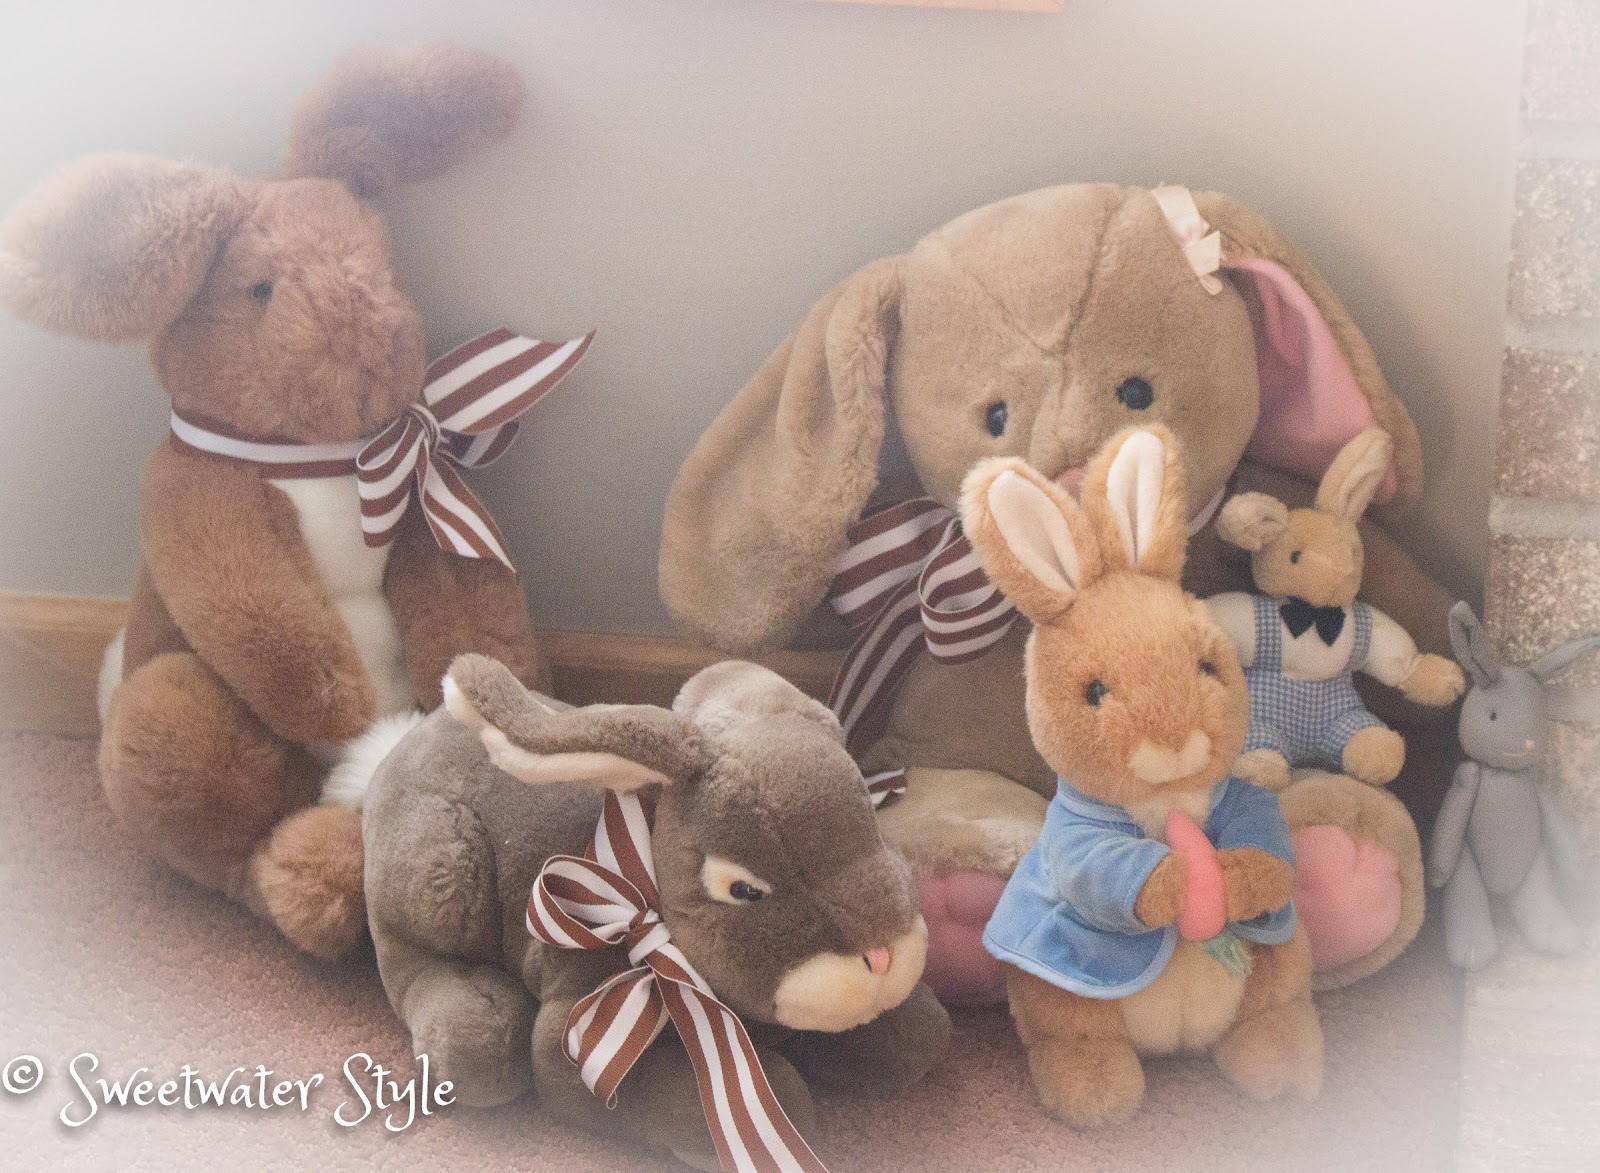
 All the little stuffed animals the kids have gotten over the years come out.  The Grandboy and Grandgirl are sure to enjoy them this year.
There you have my subtle decor for both Team Leprechaun and Team Bunny.
Hope you enjoyed….
Now off to watch more Basketball….but before I go….
Here is my DIY tip of the day: Check out this website: CANVA.
When you sign up FOR FREE, you have access to create fabulous designs that you can download.  I used it to create this photo collage.  So fun!  Just imagine the possibilities!
 May the luck of the Irish be with you!
Have a Great Day!


Round Up of Inexpensive Wall Art

 Finding great looking things to hang on the walls without spending a fortune can be a challenge.

But NOT having great looking things to hang on the walls would be just SAD!

When we travel, I love to shop in all the fancy art galleries we see.
I should clarify the word “SHOP” and change it to “LOOK”.
Oh, how I would love to rationalize spending thousands of dollars on unique pieces of art!
Alas, I just can’t do it!
My thrifty alter ego reminds me that there are other ways to have pretty things on the wall.

I decided to do a post about the many ways and many places you to find great “art” for you walls.
Since I have been doing this for more years than I want to tell you….I will take you on a “art walk” around Sweetwater as well as share some great ideas from some other thrifty folks.

First though…..about frames and framing.
One of the best sources for frames is the thrift store. 
Look past the questionable “ART” in the frame and imagine it with your own.
A little spray paint or touch up with a sharpie can make a battered frame look new.
If you don’t have access to a mat cutter, look for standard sized frames.

One great source for art is those vacation photos you take.
This is an enlargement of the view from our hotel on our trip to Hong Kong.  I used a photo effect program for my iPad called Waterlogue to create the watercolor effect. 

Look for coffee table sized art books at the thrift store.  You won’t feel bad tearing out a page that has a fabulous image.  Adding an oversized mat allows the image to look larger than it actually is.

Note cards or greeting cards with a theme can make a nice tryptic. I have to confess that since I wanted the images from the purchased cards to be bigger, I scanned and printed them larger.  It probably doesn’t exactly follow copyright law…but I did buy them and didn’t make them that much bigger.

Wrapping paper come in many beautiful patterns.  A lot of boutiques sell single poster sized sheets of paper.  This chocolate themed paper will be perfect as subtle valentine decor…althought the “real” thing might be tastier.

Framing a tea towel is a similar way to have a large image on the wall.  Keep an eye open for these when you are boutique shopping. Here are two different towels switched out for the season with new mats in the same frame.

Those of you who are frequent readers know my obsession with fabric.  Using a fabulous print as a wrap around a frame is a simple way to create large interesting pieces of art.

I did a little looking for some other sources for interesting and inexpensive art.

Check out  https://www.posterhaste.com  
There are really wonderful options for personalized art here.

Mr. S got this print as a gift from the Sweetwater Daughter.

She ordered it from this site.
https://grafomap.com 

You just type in the place and a cool looking graphic is generated.


I think I might do one for our current location in blue.

Here are a couple of other people’s blog posts about “cheap” art!

www.apartmenttherapy.com/cheap-art-frame-ideas

https://www.pinterest.com/favillephoto/unique-things-to-frame 

So….anyway….that is my roundup of ways to have “luxury” art on a budget.
What are your suggestions?
I would love to hear from you!

Get Your Holiday Tool Kit Ready

Don’t you admire/hate those people who have all of their holiday shopping done before Halloween is past?
I know I should be doing this….
BUT
Somehow…I really don’t get in the spirit of shopping until at least Thanksgiving.

I do start to put together an essential Holiday Tool Kit to have ready for the hectic holiday decorating, wrapping and shopping!
I thought I would share my “gotta have” list with you.  I would love to hear what your essentials are.

Source        
 
Paddle Wire
You won’t believe how many times you will use this.
It costs about $3.
I keep a paddle in the craft room and the junk drawer.
It is great for hanging decorations….without damaging surfaces.
It is the way to secure the center of a fancy bow!
Paddle wire is available at craft stores and on Amazon.
Wired Ribbon
Costco has 50 Yard spools of wired ribbon for $6.99.  I don’t think there is a better deal out there.
This ribbon works for everything.
I always buy a pure red and a burlap look.  
You won’t believe the ways this will work in your holiday wrapping and decorating. 
Here is a link to a tutorial all about tying fancy bows.
Pine Cones 
 

Pine cones are accents that work in November as well as December…and even up until Valentine’s Day.

If you have pine trees or access to them…..start collecting all sizes of pine cones.  We have trees with those tiny “mini” cones.  I gather tons of these to use as filler. 

Start watching at the grocery or craft store.  You can find deals on those wonderful cinnamon scented cones.  Instant Holiday atmostphere is just $5 away!

If you feel like splurging….invest in some giant Sugar Pine Cones.  I have been able to order them in bulk for around $3 a cone….but even at twice that….they have a dramatic impact. I think this arrangement could work from November to January.

 Cellophane Wrap
I love to use this simple clear cello wrap to dress up a hostess gift.  If you buy food grade…it can make that home baked treat look pretty upscale.  If you have some on hand you can add some instant glamour without much expense or fuss.

source
All Kinds of Tape/Adhesives
This is the time to buy those 3 packs of clear tape both single and double stick.  The ones at the dollar store work great for most things.
Zots…are great for sticking paper to paper.  You can also use them to put paper on glass….easy to remove.
Command Strips…great to have on hand to temporarily put up holdiday themed art.
Spray Mount Adhesive….make sure to have a full can.
Modge Podge…even a small bottle from the dollar store may come in handy.
 Picture Frames
Start gathering small sized frames from the thrift store.  You can frame cute family photos with a holiday theme or a beautiful holiday card from the past!  Print out a favorite quote captured from the internet and present it in a frame.  (wrap it in cellophane for a classy touch)
Those are just a few of the things that are in my arsenal. 
I know I won’t have the ambition to get the big shopping items purchased before mid-December….but I can be ready to do some small things.
The whole idea is to have things on hand so that you don’t have to take time out to go to the store when inspiration hits you.
What are the things you deem essential for your holiday preparations?  I would love to hear from you!
Have a Great Day!

How To Cut Your Own Custom Picture Mats

Custom framing is soooo expensive!
Even when you take advantage of deals at the frame shop, a typical framing job will cost you a bundle.

I found this great website that has a princing estimator built in: https://www.framebridge.com/pricing
I ran the numbers for a 16 x 20 print….

YUP….$99!  Now that might seem reasonable to you….but NOT to me.  Especially because I am someone who wants to change out the stuff on my walls a LOT!

Here at Sweetwater, I have found a way to mat and frame things without spending this kind of money.

Sometimes you have to spend some money to save some money.

This post is all about that!

A few (or maybe many) year ago, I invested in a professional mat cutter like this one.

Okay…..$220 seems like a lot of money…..but remember how much ONE 16 x 20 picture cost?

You also need to buy matboard and frames.
I buy matboard at Dick Blick.  A 32 x 40 inch piece costs between $8 and $10 depending on how fancy it is…..
I buy my frames at the thrift store.  The array is pretty amazing.  You look at the FRAME not the ugly art that is in there.

Any new tool can seem intimidating…..but once you learn the basics….you can mat and frame your piece in less than 30 minutes.

So let’s get started on the tutorial!

I was “just gonna” go down to the craft room and do a step by step photo shoot for you….
And then I realized that….hmmm…..somebody probably already did that on YouTube!
Watch this and see how it is done!
(this is the link if the video doesn’t load)  https://youtu.be/PT1n0r_87tQ


It really isn’t that difficult after you have practiced a bit.

Now the fun begins!
With a few pieces of mat board and some thrift store frames….the sky is the limit!

Framed Projects Around Sweetwater

A spooky photo of a graveyard in a thrift store frame.  Instant seasonal decor.
  Favorite photos from Halloween past.  Mats only….displayed on the big chalkboard in the stairwell.
 

 Gallery style display of photos taken by the Sweetwater Son.

 This old window is from the childhood home of Mr. S.  The poster was a gift from the Sweetwater Daughter and SIL.  The Minnesota Home print from the Sweetwater Son and DIL.
My family always gives me fun things to frame because they know it can be done inexpensively.

Nobody wants to see ALL of our vacation photos….but making a quick collage is a fun way to display just a few.  This is an unframed mat with a foam core backing.  The back has magnets that let it hang on the refrigerator.  A quick way share without “oversharing”.  BTW….Ireland was amazing! 
This is a tea towel that I picked up in a fun boutique on a trip to Florida.  It can easily be switched out when I want a new look….or find a new tea towel!

More Minneapolis themed art….would you believe that I actually took the top photo….good for me!

A cluster of framed posters and photographs lean against the wall on Mr. S’s desk in the office.
I love the look of the vintage posters….The blue and green one was purchased on a trip to Voyageur National Park.

We have had this chalk pastel for many years.  I love being able to change the mat color to coordinate with what ever decor scheme we have.  No need for new art…..just $10 for new mat board.  I am always amazed that you can find a color in your favorite image that goes with any scheme.
These white mats look nice with the off white walls.  This is another photo by me and the New Orleans scene is another we purchased at an art fair in Memphis….go figure. 

These are just a few of the ways I have used the ability cut custom mats….
Even better….
Now that people know that I have the mat cutting system…they come over and either mat their own things or let me do it for them.

I always tell folks….”I MAT FOR WINE”….

Hope this inspires you to spend some of your crafting or decorating budget on a mat cutter….you will be glad you did.

Have a Wonderful Day!

Tea Towel Wall Art-

We took a quick trip to Florida last week.  Visiting with Mom and two of my brothers was nice.  We also took a little side trip to Clearwater Beach and Dunedin.  The weather was perfect for a heat lover. 80 degrees and sunny.  A taste of summer in April.

I am not much for buying obvious souvenirs when we travel. I like to buy something that reminds me of our trip but doesn’t scream….”I bought this on my trip!”

Dunedin is this sweet little town with a whole bunch of little boutiques.  Mr. S gets an “attaboy” for going along….BUT…he has a strategy!  He mostly ambles along and when I go in to a shop….he finds the nearest shady bench to wait!  His excuse for not coming along in is that all the “foo foo juice” smells make him ill!!!

Thistle is a cute shop redolent with “foo foo juice” and lots of very fun stuff.

I fell in love with this tea towel.

I knew it would be the perfect thing to mat and frame for the kitchen.

I have a frame that I use to switch out seasonally.

This is so fresh and summery.

 I had a piece of orange mat that was a nice border for the bright vegetables.  I used spray mount to give the towel a smooth application to the cardboard backing.  The only thing that took time was the fact that this frame is one of those pains to take apart and put back together.  But it went pretty quick to change it out. Now I have a reminder of our trip every time I walk by.

It has a lot of impact for less than $20!  And hey….when I get tired of this….I can always take it out of the frame and dry some dishes!

This project would be so easy to replicate….

Here are some more tea towel inspirations for you.

 The next time you are in a fun little boutique….take time to check out the tea towels.
 Then head to the thrift store for a frame….and you too can have some pretty and inexpensive wall art.

Have A Wonderful Day!

Link Parties
Happiness Is Homemade
Coastal Charm