kitchen

How to Clean Cast Iron

The pots and pan cupboard here at Sweetwater is really pretty basic.
We have a set of Calphalon cookware that has been around for a lot of years.
We also have some great cast iron pans that are real work horse pieces.
These have been around for even more years.

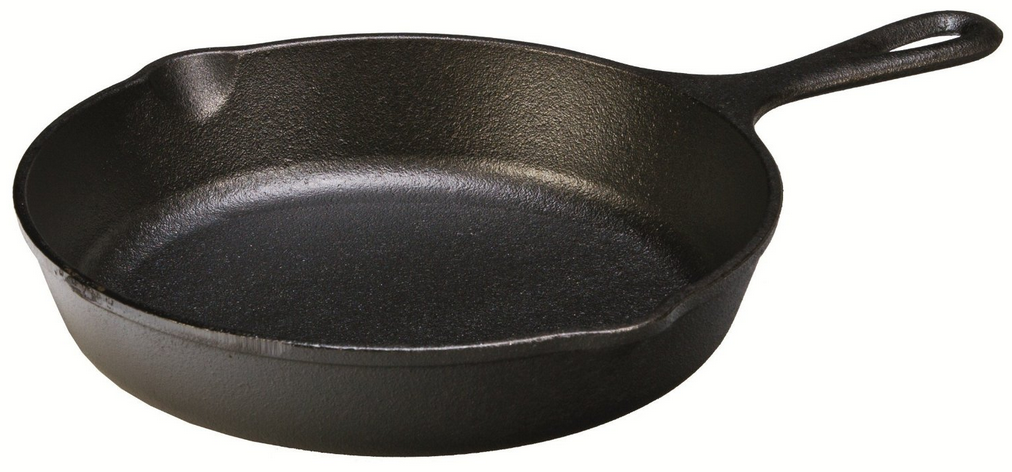
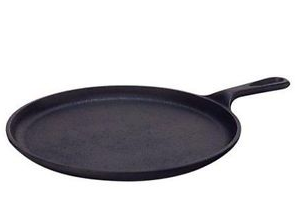
 These pans, a frying pan, a round griddle and a reversible double burner sized griddle get a fair amount of use because of their versatility.

A well-seasoned cast-iron skillet is naturally non-stick. …

Cast iron cookware retains heat — that is, they stay hotter —

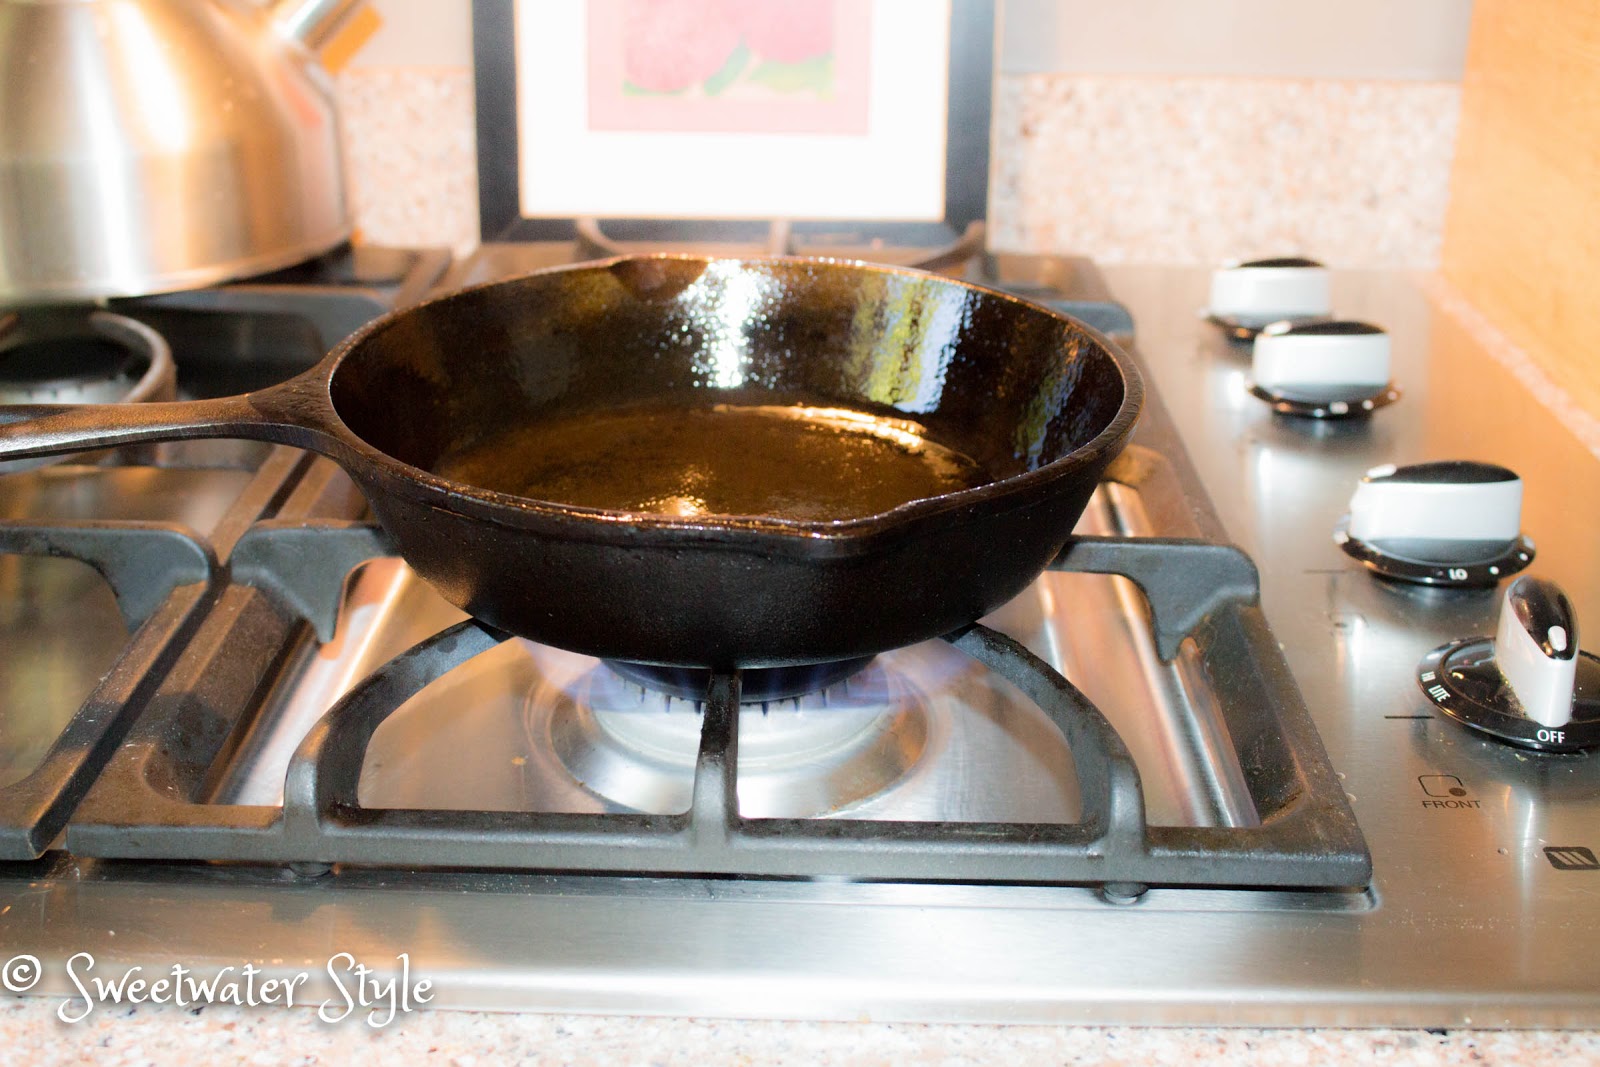
Cast iron pans can be used on the stove top as well as in the oven.

And did you know that cooking with cast iron pots and pans can boost your iron intake.

These lovelies DO have some down sides!
They are super heavy…..and since the handles get hot….you have to be pretty careful.
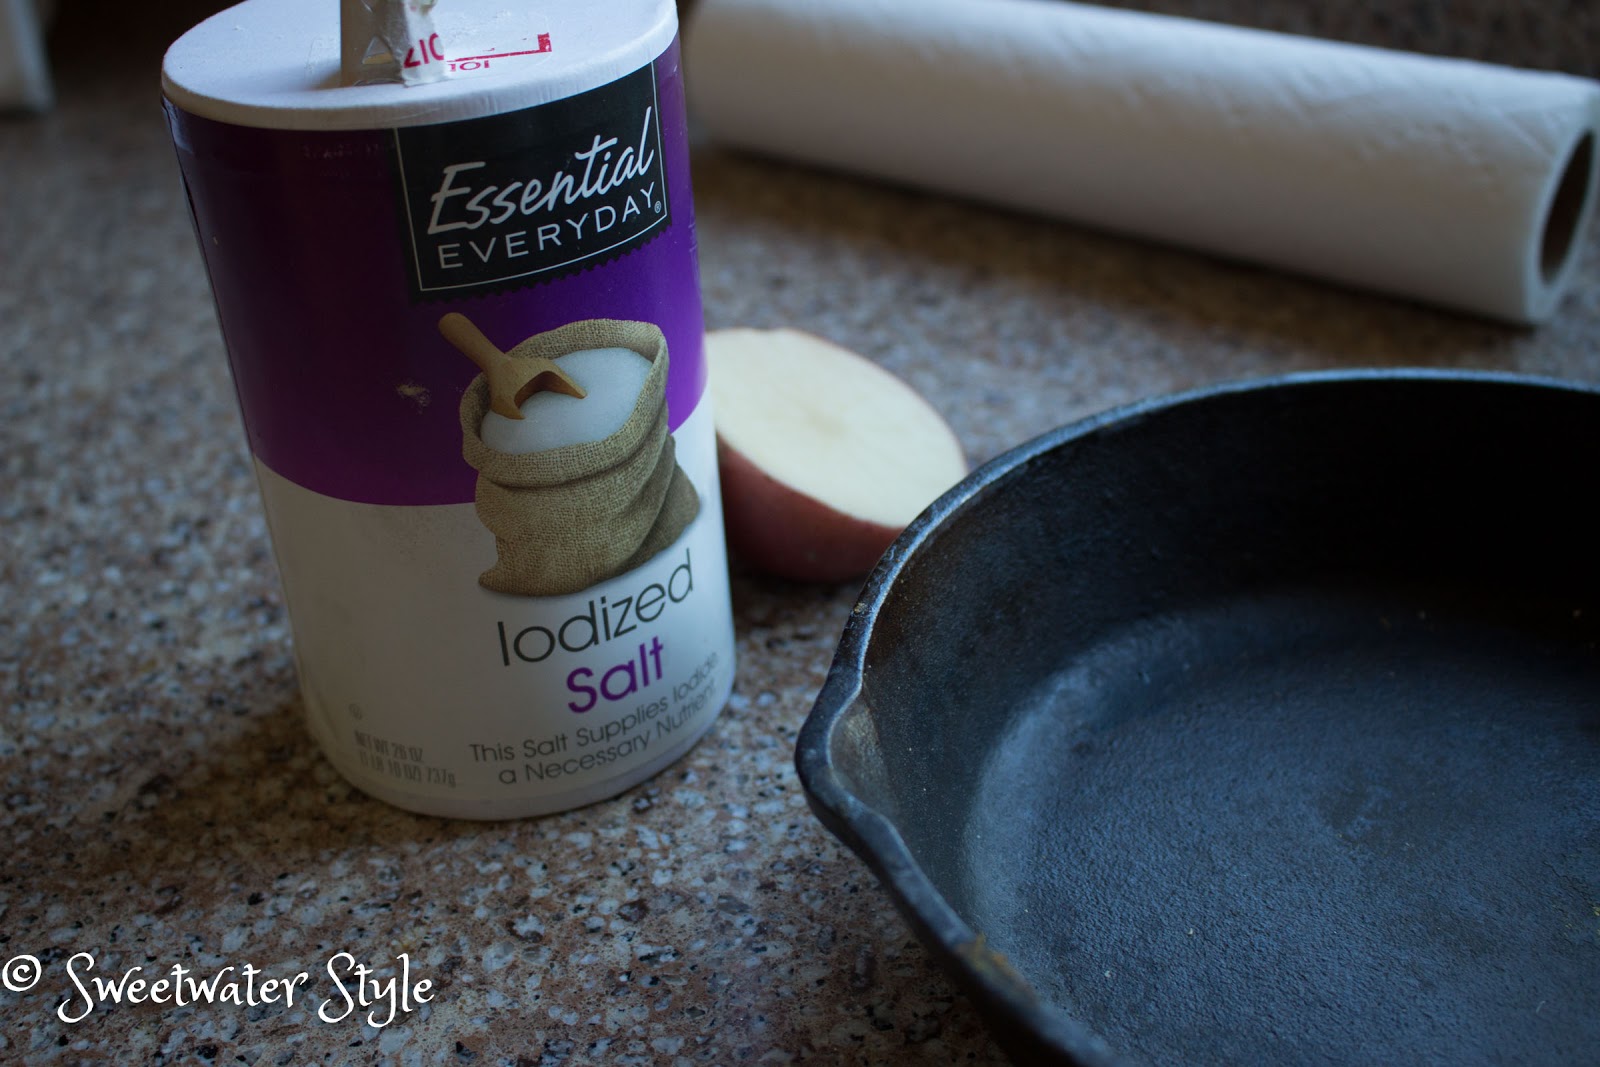
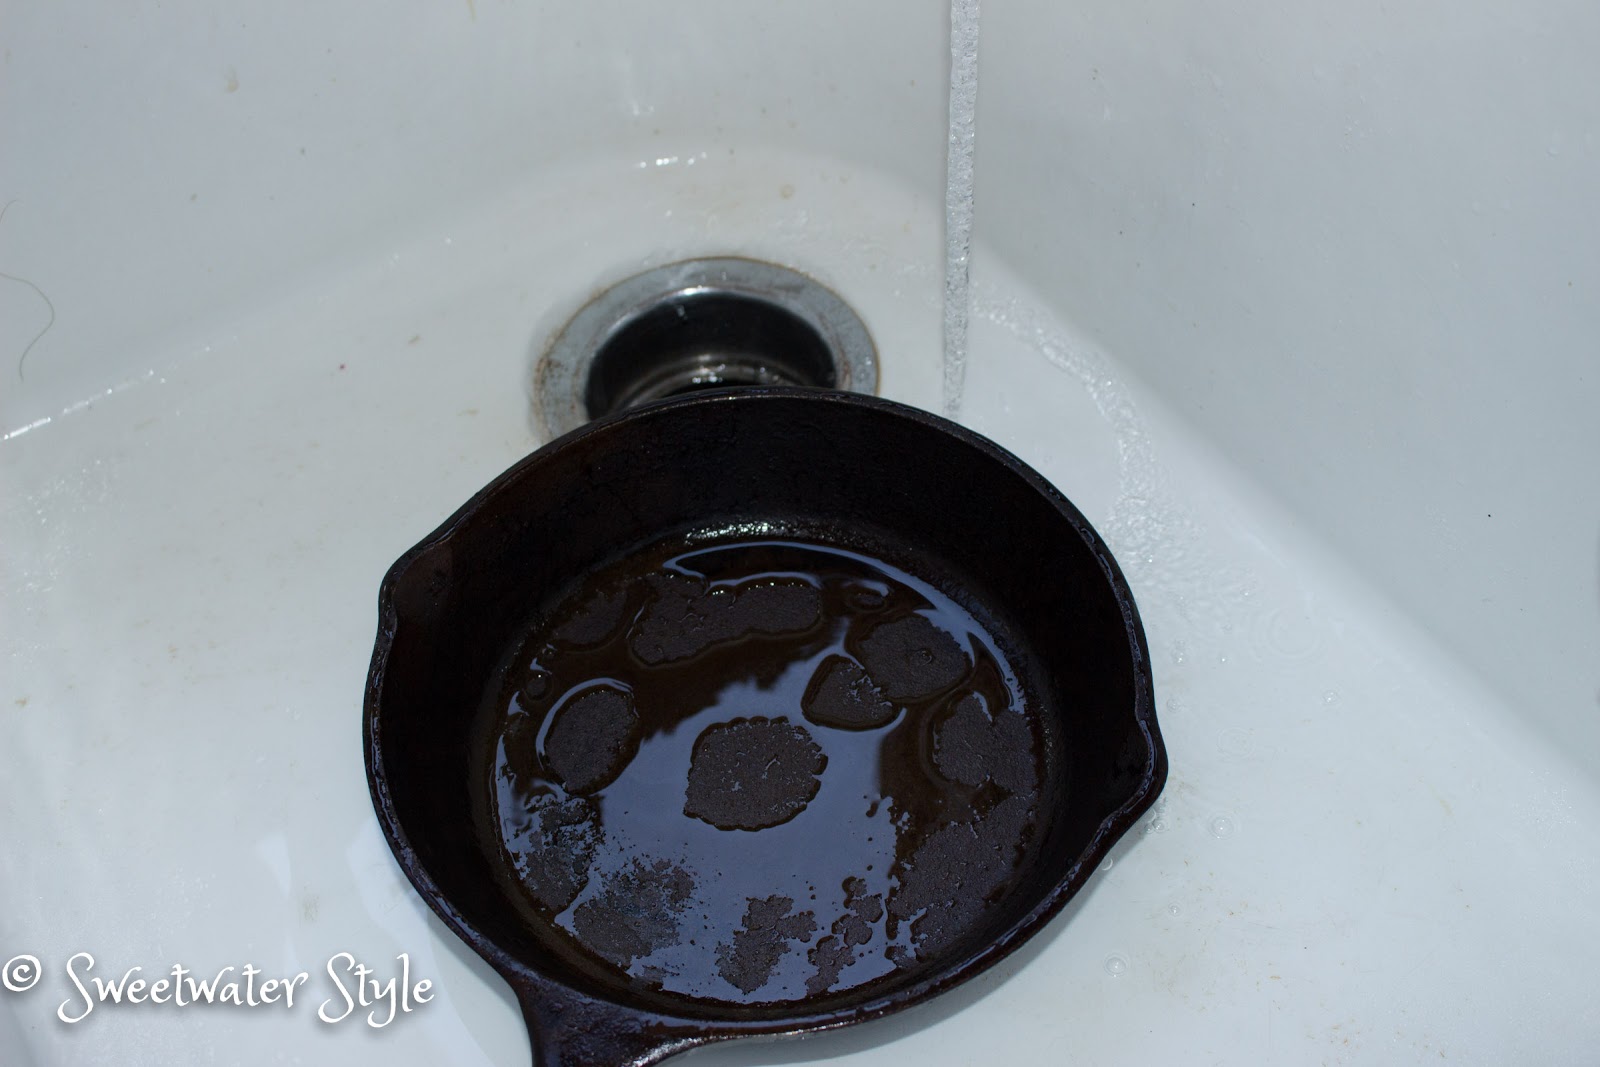
They need to be seasoned well and cleaned carefully to retain the non-stick surface provided by that seasoning.

Read this article from Lodge, the premier maker of cast iron pans to learn how to season a new cast iron pan.

 We store our cast iron cookware on the shelves in the basement.  I went to get my favorite pan the other day and….
GASP…

It looked like THIS!
Mr. S told me that it was okay….and that I should just give it a coating of oil and heat it up!
BUT….UGH!
So…..off to the GOOGLE!
So Simple!
All that is necessary are just two “ingredients” and a little elbow grease 

A potato cut in half….
A hefty amount of salt…..
MAGIC!

I was amazed at how the moisture from the potato and the salt rubbed away every bit of rust.
 There was still some of the “old seasoning” left, but a little oil and some heat couldn’t hurt.
A 10 minute project well worth it!
Now….I just have to take some time and do the other cast iron pieces….
Another day….Another project!
Doesn’t this just make you want to go cook some eggs and bacon?
Source
Have A Wonderful Day!

Painting the INSIDE of the Kitchen Cupboards!

Cleaning and organizing the kitchen cupboards is a great project at this time of year.  I started to do just that at the beginning of the month.

In the process….I looked…really looked at interiors of the cupboards!
YIKES!

The melamine laminate has the scratches and scuffs that come from normal use over time. The original white has become dull and yellowed.
I decided that they need a fresh coat of paint.
I did the research to find the best way to paint the interior of laminate cupboards and shared the plan with Mr. S.
Of course….he thought I was bonkers! 
“Nobody ever looks at the insides of cupboards?” he said.
“I do!” I said.  
“Whatever….do what you want!” he said.

So perhaps it is that I have too much time on my hands…..I decided to ignore all the naysayers and get on with it!

SO….ON TO THE PROCESS!
Supplies and Tools

I researched the kinds of paint to use and learned that it was critical to use really GOOD paint.  Really good paint is really expensive! The work this would take meant that the money for $50 a gallon paint would be worth it!

We chose this water based heavy duty paint from Hirshfields.

I love that it has a semi-gloss finish and that it cleans up easily with water.

A good quality paint brush, foam roller, and masking tape were the only other tools needed.

 I knew this project would be a lot of work and would take a lot of time….but hey I have TIME!
What I hate about projects like this is the disruption and mess!
There is no way that I wanted to totally empty the cupboards and do them all at once.
So I decided to take this on one cupboard at a time!

The first step was to empty the cupboard….duh!
I took the time to really look at all of the stuff as I unloaded the shelves.  I used this as an opportunity to do a little purging and re-thinking of what things we really needed to keep.

Next the interior surfaces get a good cleaning with some TSP.

Oh my!  What a lot of dirt and crumbs had accumulated!

 There really isn’t a lot of need to do much masking…and a little bit of newspaper was enough to keep the area around the single cabinet free from drips.

I used the paint brush to get into the corners and the foam brush was great for a nice smooth coat of paint.

I did one coat for all of the surfaces and then two coats for the shelves and bottom of the cabinets.

This paint dries very quickly.  The second coat could be applied after a two hour wait.

It seemed wise to let the paint cure for 24 hours to be certain it was hardened well.
Wow!  What a difference!

The bright shiny white cupboards make the cabinets feel brand new!
The time spent cleaning and sorting all the contents was also time well spent.

Before all of my vintage pyrex bowls were stacked in the cabinet in the lower photo.  This meant that when I wanted to use them….I had to do some major lifting to get the one I wanted.  I moved the bowls to the lower shelf on the smaller cabinet.  Then all of the pyrex bakeware went to the wider cabinet.  This is much more efficient and looks nicer too!

Right now, I am getting ready to paint the interior of that awful corner cabinet.  It is the one we keep pans and baking sheets in…..so as you can see there are a lot of scuff marks to cover!

It is probably good there is no “kitchen-cam” here!  Picture this lady crawling into this cabinet to paint!  I hope I don’t throw my back out!

Yup….I may be crazy!
But…I have controlled the crazy by doing this over a period of time.
The supplies can be stacked on a shelf ready for the days when “I have too much time on my hands” and need a project!

I guess this graphic says it all!

 I would love to hear about your crazy OCD/ADD projects!

Have A Great Day!

Link Parties
Eclectic Red Barn
Bouquet of Talent Party
Lamberts Lately   

Chalkboard Art Tips and Tricks


I did a lot of chalkboard writing ” back in the day” before Smartboards replaced them.                                    I was pretty proud of my “teacher penmanship” skills!
It is humorous that chalkboards are ” historical artifacts” in the classroom, and yet, those same chalkboards have become popular home decor accents!

I have a big chalkboard in the stairwell to the lower level

I recently found a cute little easel chalkboard at a consignment shop that fits perfectly on the kitchen counter.

I usually write something seasonal on the chalkboards…..but in all honesty…I have been feeling that my efforts would not get very good grades for creativity and penmanship!

 I decided it is time for me to spend some time perfecting….or at least improving…. my chalkboard art skills.
I guess that might be an irony goal for a retired teacher….but heck…I have nothing but time now!

Here is a round-up of all the great tips and techniques that are sure to turn my chalkboard art from novice to pro!

In My Own Style

Diane Henkler at In My Own Style has done  wonderful post with lots of tips.
This post has a link to some great fonts to download!
One of the tips that I found most helpful was how to season a new chalkboard to eliminate “ghosting”.

Here is a post from Kelly at the Lily Pad Cottage.  Her 10 tips are worth taking a look at.

My favorite on this post was to use Q-Tips…..well why did I have to read this to figure it out????

Sara D at Sincerely SaraD has really nailed it with this tutorial for Perfect Chalkboard lettering.

I think I am going to stick with regular chalk…..somehow using markers seems like “cheating”.

She does a chalk transfer technique that makes it simple to do “fancy” script with perfect spacing.

There is also a link to some font downloads here!

Tausha at Sassy Style Redesign has a list of great tips. 

My favorites:
Use the cheapest chalk….it is the best!
Use a make-up sharpener to sharpen your chalk!

I can’t wait to start practicing my “art”!
I will share when I have something I am proud of!
Now….off to spend a few minutes (hours???) searching Pinterest for just the right words!

Have  A Wonderful Day!

Under the Kitchen Sink! A Cautionary Tale!

On a scale of 1 to 10 cleaning the cupboard under the Kitchen sink is probably a 1or maybe lower!
Face it….if you can find the soap and cleaning supplies at the front….
it is better not to look way into the back recesses…
you never know what you might find!

Never the less…..my to do list included redoing the shelf paper under the kitchen sink….and the time had come!

The idea of using 12 x 12 stick on vinyl tiles was one I had seen a while back on someone’s blog!  (If you are that someone….let me know so I can give you credit!)
Anyway……..I bought 8 tiles at Home Depot….for 79 cents a piece….and the project was “under” way!

Low and behold….when I took all the stuff out of the cupboard…..I discovered that there was a LEAK!   Not a pretty sight!

I waited to take this photo until after I cleaned up the mess….just in case you were having a snack while you were reading!

Anyway….see all the curly cue pipes and “STUFF” that has to do with water and drains and garbage disposal……apparently they somehow got loosened and were leaking slowly and making a big mess!

 Since Mr. S is the plumber around here….(have I ever told you how nice it is to have someone who understands all those curly cue pipes around?…Well really nice)

He was able to fix the problem leak and I could get on with my project.

The process was pretty simple….

Peel Stick Repeat!

Peel Stick Repeat!

Obviously there were a few spots to cut around…

But remember…..this is under the kitchen sink…
That same spot that I didn’t know was a leaky wet mess because I never look tooo far back…..

So perfection was not an issue on this project!

I did care enough to use the square and a carpet knife to get a straight edge for the long cuts… 

But otherwise…..I just “eyeballed” it for the cuts around the pipes in the back!

I don’t think I did too bad on those….what do you think?

So now the cupboard should be easy to keep clean….I said clean….NOT NEAT….that is something that is probably never gonna happen!

Project Cost……$6.42 for tile
Time…..about 15 minutes to install

 “truth in blogging” has the project costing a bit more if you throw in the extra trips to Home Depot for plumbing supplies and the time to let the “plumber” work!

Hope you have a week with only “good” surprises!
I am waiting patiently for the yard to dry out enough to get out and plant….it promises to be a beautiful day!