
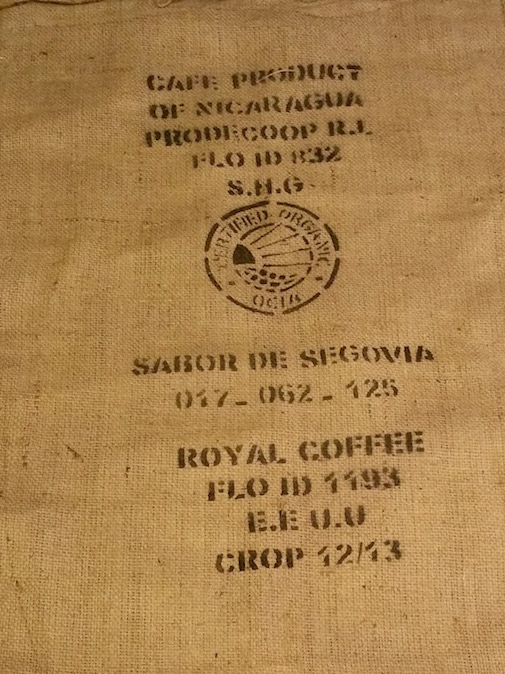
I bought this burlap coffee sack at a little coffee shop a few months ago.
It was only $5.00.
I had no idea what I would do with it…..but the graphic look of the stencil was too cool to pass up.
I decided to update the message center in the kitchen with a pocket bulletin board.
The pockets on a board like this are a great way to have things right at hand without cluttering up your workspace or poking holes in photos or invitations.
Making the board is really simple.
Anyone who can use an iron and a glue gun can make one.
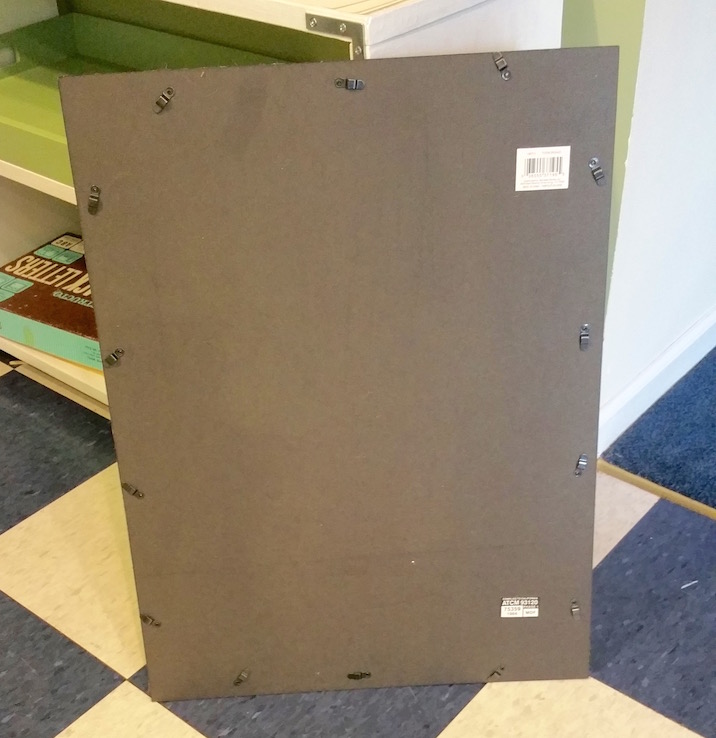
This message board started as the hard insert from an old frame.
An old corkboard insert would also work well with the added benefit of being able to pin into it.
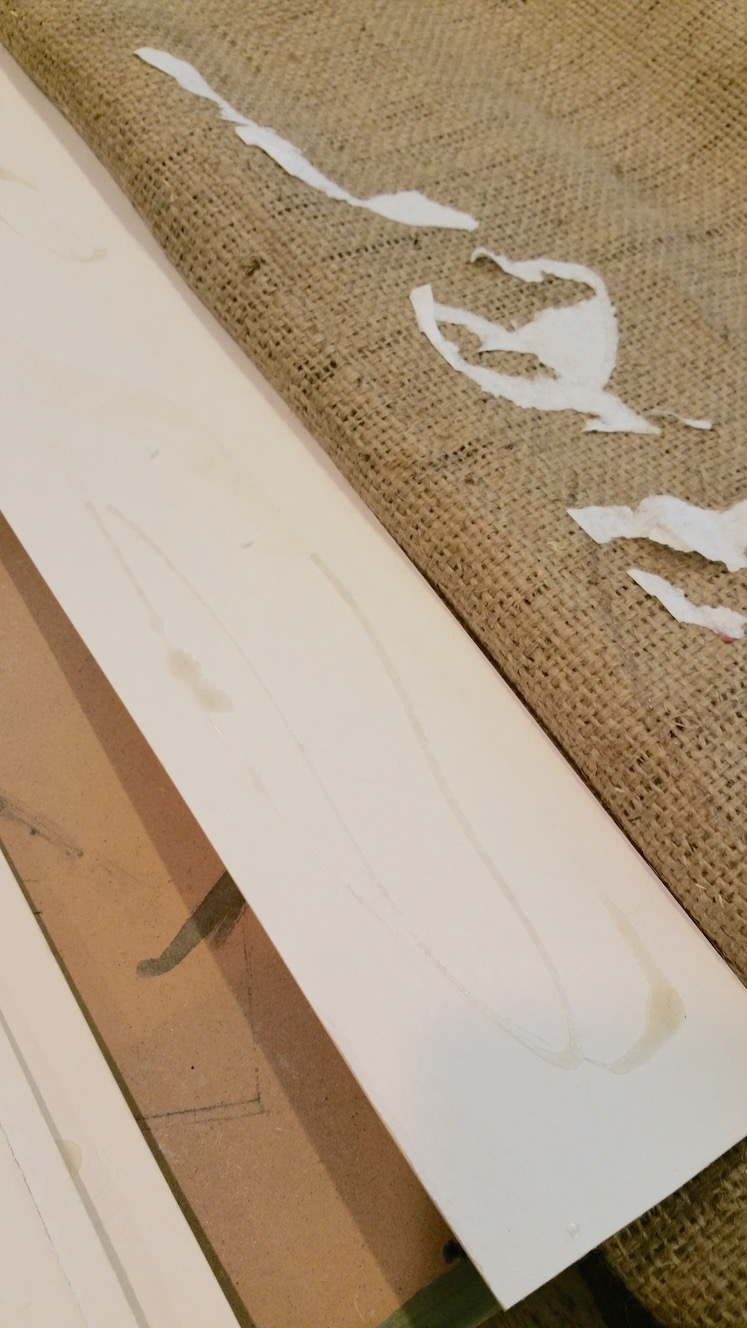
The next step is to cut cardboard strips that are about 4 inches wide and run the exact width of the board.
You will be folding these pieces of cardboard into your “pockets” as a nice reinforcement.
The number of pockets and the depth of those pockets will be up to you.
In the case of the coffee bag, I wanted to work with the printed words. This meant that I ended up with 2 pretty deep pockets.
I was a bit frustrated that the words weren’t printed straight….then I got over that and decided….”it is what it is!”
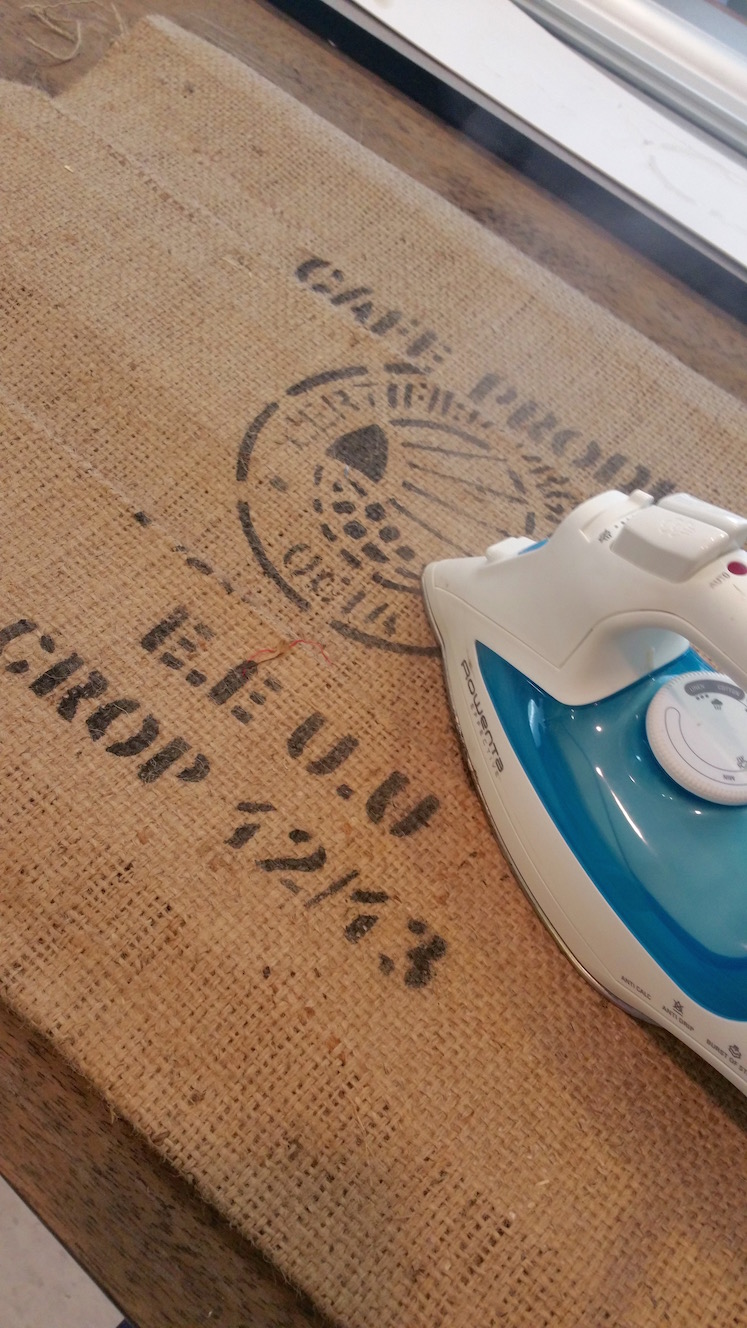
Ironing the pockets is super important.
Once the folds are in place….you need to “unfold” and use the glue gun to attach the cardboard to the inside for stability.

By the way……hot glue and burlap are a “bit tricky”.
HMMMM…..I learned the hard way that the hot glue can seep through the burlap….ouch!
I figured out that using a popsicle stick to press down the glue was way smarter than using my bare fingers….”just sayin’ “
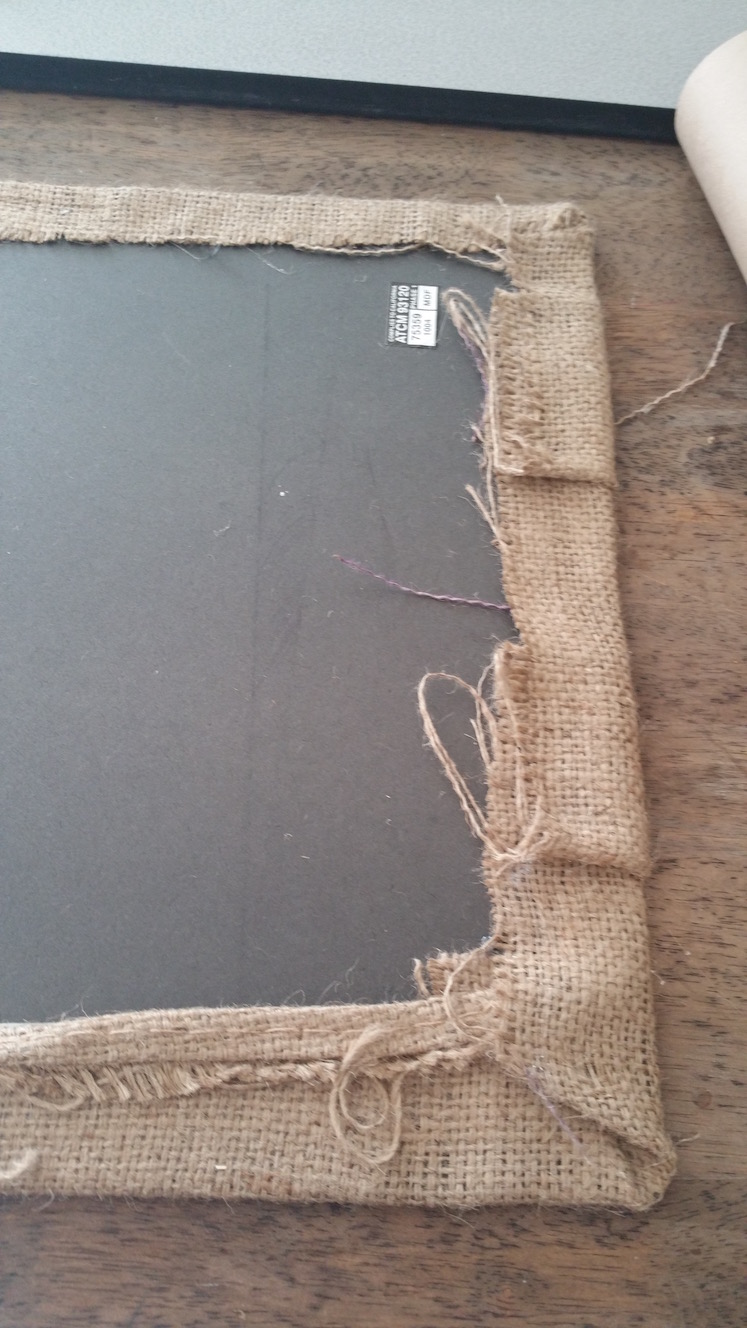
The next step is to fold all the edges to the back.
Use the iron again to get a nice sharp edge.
Fold the corners in with a triangle to “miter” them.
Then more glue “gunning” to secure the edges.
The popsicle stick was important here too.
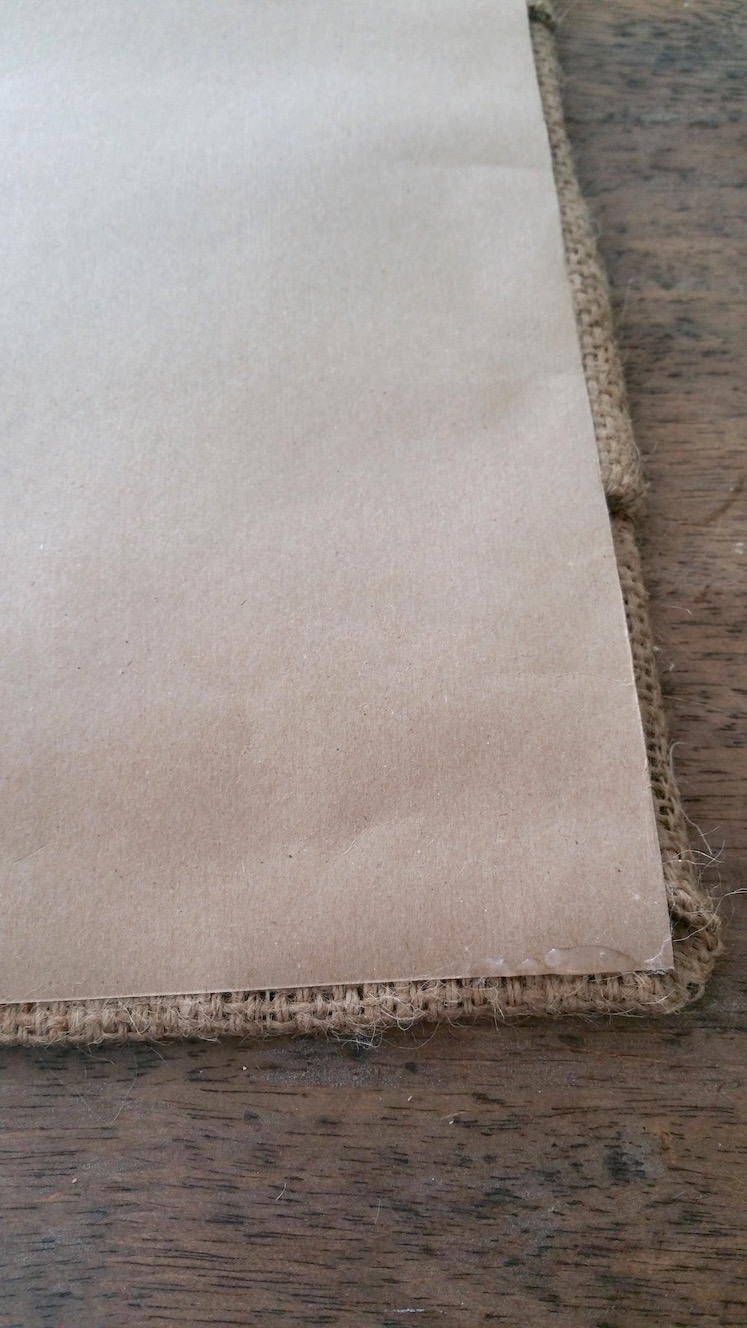
Cut a piece of butcher paper slightly smaller than the board and attach that to the back to cover the raw edges of the burlap on the back.
I used the glue gun for this too.
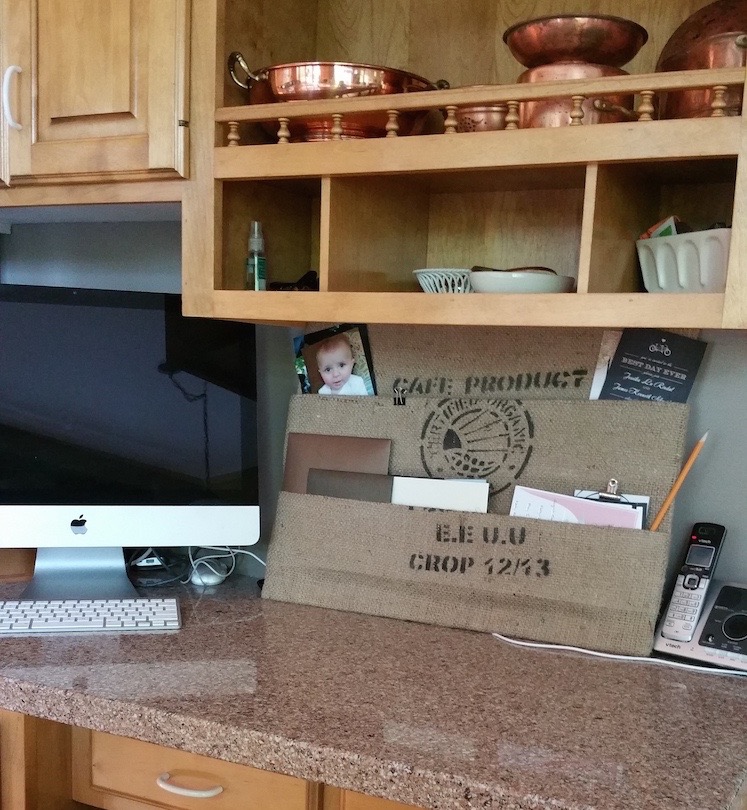
The Pocket Bulletin board leans up against the wall at the desk.
It hides the outlets in the back and “some” of the cords that are necessary for the work space.
The pockets are loaded with all those great looking invitations and photos.
I like to put the little items like coupons and gift cards in envelopes to consolidate them.

Since this is not a cork surface, I added a few butterfly clips to clip things along the edges.
The $5.00 coffee bag has become a great looking addition to the desk area.
Have A Great Day!

Link Parties
Burlap and Babies Kammy’s Korner