organizing

Styling Shelves is SO Hard for me

Do any of you struggle with styling shelves?
I certainly do.
I always set out with great aspirations.
I always think that I will pare down and come up with a cleaner more open look.
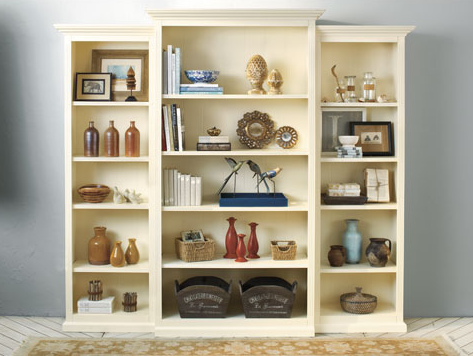
BUT…..I sort of have THIS problem!

Case in point…..

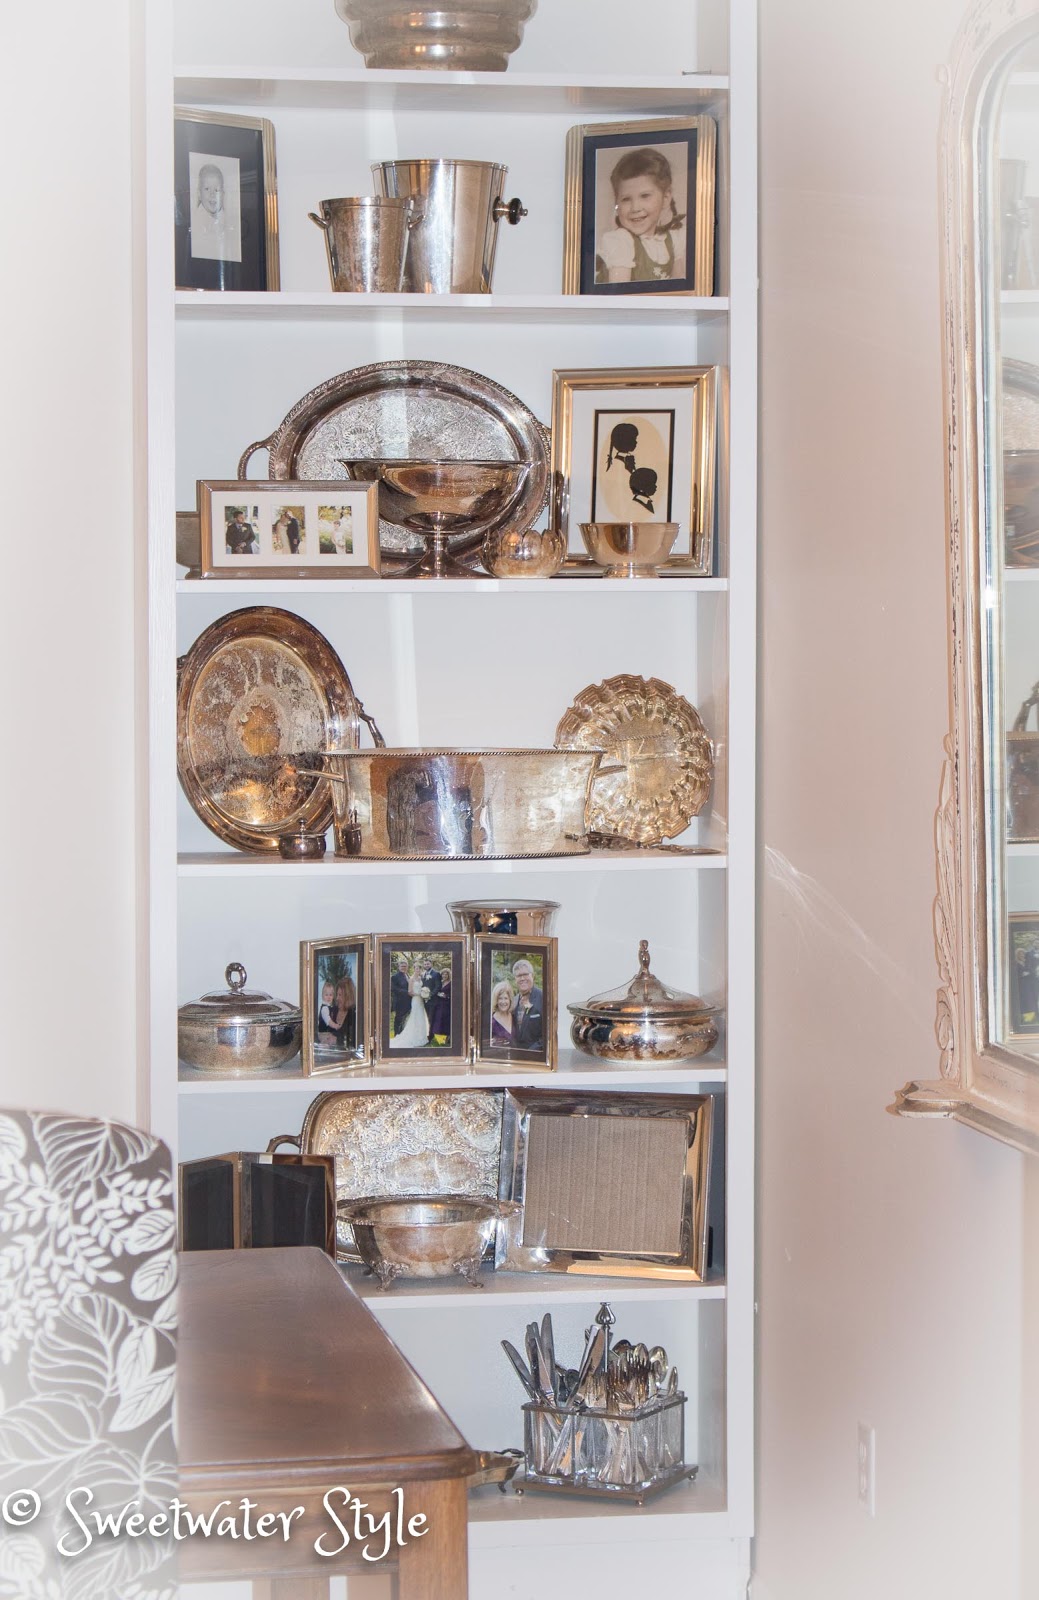
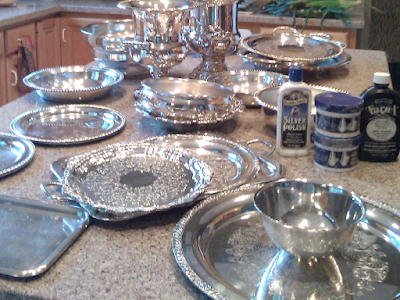
All of these shiny objects called to me from the thrift store shelves.

I love interesting pieces of silver plate.  Especially when I can have them for around $5 a shot!

The collection is growing….

It lives on the shelves in the dining room.

I have a love hate relationship with these shelves! 
I want the pieces on display and easy to get at.
We use them all the time. 
BUT
Organizing/styling them is always a challenge.
I decided that this time I would get it right!

   I went out searching for helpful hints about how to create the perfectly styled shelves.


Alas….her rules are all about clean and uncluttered…..probably not going to work for me!
But….it was worth the read for some inspiration.

This article actually gives some “rules” about visual triangles.
That’s great if your items fit the rule…..but in my case…not so much.
I will keep this rule in mind for the future.

In typical Sweetwater Style, I decided to just “go for it”.

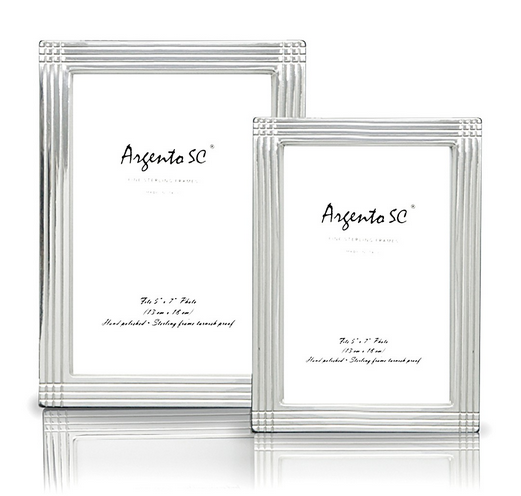
For the past few months, I have been purchasing silver frames at the thrift store.

THRIFT STORE HINT:  Frames are a super purchase at a thrift store. The variety is great and the cost is always at least half of the sale price at a retail store.

 I decided to add family photos in these silver frames to add interest and warmth.

Yeah…I know I was supposed to be paring down, not adding to the clutter.
Oh well…..
Here is the latest re-style of those dining room shelves.
I am feeling only so so about them.

I have a few frames that still need pictures and a couple of other pieces that are being used elsewhere.
I will probably be shifting and adjusting them every time I walk into the room.

I would have to give this a “somewhat satisfied” rating.
They aren’t exactly what I want…but they will do.

 I would love suggestions from you all as to how to improve the look.

Now on to my OTHER shiny object obsession.

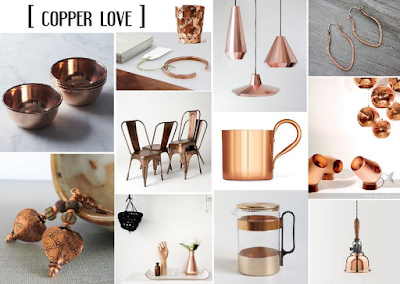
I read somewhere that copper is the “new” favorite metal.

My thrift store finds over the years have me right on trend.

This is the restyle of the baker’s rack with the Sweetwater Copper Collection.

Somehow, styling a smaller display is way easier….
I still don’t think I followed the rules…..
BUT
Enough is Enough!
Life is calling!

Have a Great Day!

Burlap Pocket Bulletin Board

I bought this burlap coffee sack at a little coffee shop a few months ago.

It was only $5.00.

I had no idea what I would do with it…..but the graphic look of the stencil was too cool to pass up.

I decided to update the message center in the kitchen with a pocket bulletin board.

The pockets on a board like this are a great way to have things right at hand without cluttering up your workspace or poking holes in photos or invitations.

Making the board is really simple.
Anyone who can use an iron and a glue gun can make one.

This message board started as the hard insert from an old frame.

An old corkboard insert would also work well with the added benefit of being able to pin into it.

The next step is to cut cardboard strips that are about 4 inches wide and run the exact width of the board.

You will be folding these pieces of cardboard into your “pockets” as a nice reinforcement.

The number of pockets and the depth of those pockets will be up to you.

In the case of the coffee bag,  I wanted to work with the printed words.  This meant that I ended up with 2 pretty deep pockets.

I was a bit frustrated that the words weren’t printed straight….then I got over that and decided….”it is what it is!”

Ironing the pockets is super important.

Once the folds are in place….you need to “unfold” and use the glue gun to attach the cardboard to the inside for stability.

 By the way……hot glue and burlap are a “bit tricky”.

HMMMM…..I learned the hard way that the hot glue can seep through the burlap….ouch!

I figured out that using a popsicle stick to press down the glue was way smarter than using my bare fingers….”just sayin’ “

The next step is to fold all the edges to the back.

Use the iron again to get a nice sharp edge.

Fold the corners in with a triangle to “miter” them.

Then more glue “gunning” to secure the edges.
The popsicle stick was important here too.

Cut a piece of butcher paper slightly smaller than the board and attach that to the back to cover the raw edges of the burlap on the back.

I used the glue gun for this too.

The Pocket Bulletin board leans up against the wall at the desk.
It hides the outlets in the back and “some” of the cords that are necessary for the work space.

The pockets are loaded with all those great looking invitations and photos.
I like to put the little items like coupons and gift cards in envelopes to consolidate them.

Since this is not a cork surface, I added a few butterfly clips to clip things along the edges.
The $5.00 coffee bag has become a great looking addition to the desk area.

Have A Great Day!

Link Parties
Burlap and Babies   Kammy’s Korner   

How to Make A Custom Ironing Board Cover!

Ironing and ironing boards are not exactly exciting topics!

Actually…..I don’t do a lot of actual clothes ironing….but if you sew….you have to iron!
My Grandma told me (correctly) that the iron was the MOST important sewing notion!

I will say that crafting and sewing take a real toll on an ironing board cover!

Yikes….this is seriously ugly!  I am not sure what the red stuff is….and the scorch marks were getting pretty bad.

It was actually getting so bad that I was laying down a protective tea towel when I ironed anything “nice”!

It was obviously time for a new ironing board cover! Because our ironing board is one of those “in the wall” built ins, it is kind of hard to find a cover that fits exactly. The ones for this model cost about $20 and come in GRAY or GRAY!  You know….that shiny gray metal color that is soooo attractive!

The easy…..and I do mean easy….solution to this “critical problem” is to make your own!
I am laughing as I write this because the “tutorial” is so classic “Sweetwater Style”!  It is a case of “just do it” and “use what you have”….come along and see!

I had a piece of sturdy navy and white ticking.  This will go nicely with the blue and white craft room floor and stand up well to any “ironing abuse” I can throw at it!

I traced the shape of the ironing board on paper….really rough…by just running a pencil around the edge!

I added 3 inches all the way around and cut it out!

I used the serger to finish the raw edge…but you could just turn this edge under and press it inside.
Then I made a 1 inch casing by pressing in the whole outer edge except a spot at the back. (Because of the way my board is designed…I leave the whole back without the casing)
 This is where the ironing part of sewing comes in!  Pressing down those little tucks around the top of the board makes stitching the casing a lot easier!

The next step is inserting some sort of sturdy string into the casing.

I “used what I had”!  This jute twine is nice and strong…..

That funny looking “pin” is called a BODKIN!  You don’t need one….a safety pin will work…but you know how fancy we are here at Sweetwater!

Actually….this tool really does make pulling strings or elastic through casings and they only cost a couple of dollars.

Push the string all the way from one end of the casing to the other.

Leave a whole lot of extra string on either end.

This will make it easier to pull the cover tight when it is on the board.

I added a layer of fiberfill batting to the top of the board….not necessary if your padding is in good shape!

 By the way…..I didn’t take the old cover off!

If I decide the batting is too soft, the old cover will be a good solid base!

Now it is just a matter of putting the new cover on the board and pulling the cord tight.

You will have to pull pretty hard to gather the edge securely around the board….which is why you need a sturdy cord in the casing!

Tie a knot or a bow and you now have a wonderful new ironing board cover!

For almost no cost…..just a small depletion of my “fabric stash”….now I have a great looking new ironing board and I don’t have to cringe whenever I iron!  However….Mr. S is going to cringe when he sees the messy background in this photo!  What can I say…..I was focused on the project!

Have A Wonderful Day!

Link Parties
Your Designs This Time    
Create With Joy    Burlap and Babies    
Boogie Board Cottage  Homesteading Hippy

Under the Kitchen Sink! A Cautionary Tale!

On a scale of 1 to 10 cleaning the cupboard under the Kitchen sink is probably a 1or maybe lower!
Face it….if you can find the soap and cleaning supplies at the front….
it is better not to look way into the back recesses…
you never know what you might find!

Never the less…..my to do list included redoing the shelf paper under the kitchen sink….and the time had come!

The idea of using 12 x 12 stick on vinyl tiles was one I had seen a while back on someone’s blog!  (If you are that someone….let me know so I can give you credit!)
Anyway……..I bought 8 tiles at Home Depot….for 79 cents a piece….and the project was “under” way!

Low and behold….when I took all the stuff out of the cupboard…..I discovered that there was a LEAK!   Not a pretty sight!

I waited to take this photo until after I cleaned up the mess….just in case you were having a snack while you were reading!

Anyway….see all the curly cue pipes and “STUFF” that has to do with water and drains and garbage disposal……apparently they somehow got loosened and were leaking slowly and making a big mess!

 Since Mr. S is the plumber around here….(have I ever told you how nice it is to have someone who understands all those curly cue pipes around?…Well really nice)

He was able to fix the problem leak and I could get on with my project.

The process was pretty simple….

Peel Stick Repeat!

Peel Stick Repeat!

Obviously there were a few spots to cut around…

But remember…..this is under the kitchen sink…
That same spot that I didn’t know was a leaky wet mess because I never look tooo far back…..

So perfection was not an issue on this project!

I did care enough to use the square and a carpet knife to get a straight edge for the long cuts… 

But otherwise…..I just “eyeballed” it for the cuts around the pipes in the back!

I don’t think I did too bad on those….what do you think?

So now the cupboard should be easy to keep clean….I said clean….NOT NEAT….that is something that is probably never gonna happen!

Project Cost……$6.42 for tile
Time…..about 15 minutes to install

 “truth in blogging” has the project costing a bit more if you throw in the extra trips to Home Depot for plumbing supplies and the time to let the “plumber” work!

Hope you have a week with only “good” surprises!
I am waiting patiently for the yard to dry out enough to get out and plant….it promises to be a beautiful day!