sewing

Throw Pillows from a Throw Blanket!

One of the easiest and thriftiest ways to update the look of a room is with decorative pillows.
Every one has them. In fact, I dare you to take a count of the throw pillows in your house!!!
I don’t just have pillows on the furniture….I have pillows in the closets waiting to take their turn in whatever decor scheme suits my fancy.

 A trip down the pillow aisle of almost any home decor store is pure temptation for me.

A pillow is affordable…..
A pillow is not a forever commitment like a piece of furniture…..

However…..
There is always the dilemma of how many pillows I should have out at one time.

If this is your dilemma too….I did a little internet searching and found these articles to be really helpful.

How Many Throw Pillows Is Too Many?

Guide to Choosing Throw Pillows 

Now…on to the latest pillow project at Sweetwater.

The rustic, Nordic theme in the living room needed to change once the holidays were over.

Somehow….I never got a picture of the living room decorated for the holidays….go figure.

This is the best shot I could find….but note the red plaid pillow and the Swedish hanging over the couch.

Anyway….the lumbar pillows on the two accent chairs needed to lose the red and beige linen stripe.

When I went to put the old turquoise covers back on the pillows….I realized that they looked pretty shabby!

Goody…a chance to go to the pillow aisle at HomeGoods!

source

There were literally hundreds of pillows to choose from….
There were literally hundreds of pillows that I DID NOT LIKE!

AND THEN……

 I spied this lovely nubby blue and white checked throw.

The price was right at 16.99

The fringe along both sides looked like those fancy fringed pillows that I like so much.

HMMMMMM!!!   This throw could easily become the new pillow covers!

The process was pretty darn simple.

I put the insert on top of the throw to determine the width of the pillow.

It turned out that the throw was exactly twice the width….so by cutting it in half lengthwise I could make both pillows.

I wrapped the throw around with an overlap and cut that to length.
I was able to have the fringe be the bottom of the wrap.
Then I turned it wrong side out and stitched the sides.

Normally with an envelope pillow the lap is on the back.
Because I wanted the fringe to be an accent, the overlap is on the front.

Here is a tutorial for making an envelope pillow.  Home Stories A to Z Pillow Tutorial
This is a technique that is worth learning!!!!

And now for the reveal!!!

Wow….2 pillow covers for $16.99 and I still have enough of the throw left to make something else.
Any suggestions???

Have A Great Day!

Why You Need to Know How to install a Zipper!

The Kate Spade design aesthetic is one that I have always loved.
My heart broke when this icon lost her battle with depression.  What a tragedy.

The other day I was at HomeGoods.

I was thrilled to find this pack of 4 wonderful brightly patterned cloth napkins with her label.

Here is something Kate Spade that I can afford!!!

I knew that this cheerful pattern called “Flower Box” would make great summer pillows for the living room.

Since these pillows will be seasonal, I decided to make removable covers for existing pillows.

It is also nice that they are removable because the pattern has a bright white background that could get dirty.

I am not going to bore you with instructions on how to make a pillow cover.
You can figure out that you put the right sides of the two squares together and sew around the edge.
You need to leave an opening along one side to turn the pillow cover right side out!

THAT is where knowing how to install a zipper comes in.
A zipper closure is the absolute neatest way to close the edge of a pillow.

Yeah….I know all the excuses you are coming up with to avoid this!

  • “it’s easier to just hand stitch the edge…”
    • well…. actually…a neat hand stitch closer is pretty hard to get “right”.
  • “zippers are expensive…..”
    • well….actually….you can buy a whole bunch of zippers for less than a bottle of inexpensive wine.

  • “I never remember how to install a zipper…it looks complicated…
    • sew4home has put together the ultimate tutorial for installing a zipper
    • plus you will learn some crazy things about the history of zippers.
    • for instance: “Interestingly, Elias Howe, the same man credited with inventing the sewing machine, received a patent in 1851 for the first zipper, which he called: “Automatic, Continuous Clothing Closure.”  Can you imagine trying to tell someone to “check your automatic continous clothing closure!!!???

Hey…wait a minute….there were only 4 napkins in the package.
How did I make Three pillows?

One pillow is made with two napkins back to back.

I “cheated” on the other two and used some nice white duck fabric for the backs.
(this is a great trick if you are making pillows with super expensive fabric)

I hope this inspired you to learn how to install a zipper.
If you already know how….I hope you are inspired to go make a pillow!

https://www.123freevectors.com/free-fashion-design-brushes-zippers-stitching/

Have A Great Day!

Goodwill Clothes Alteration Hacks

I haven’t posted about thrift store shopping in awhile.
Never fear….that does not mean I haven’t done any thrift store shopping!

This week I was perusing the selection of pants in my closet.  Yikes…it is filled almost entirely with black pants and jeans leggings with some fancier pairs for dressier events.
I pretty much live in Yoga pants until it is time to go out.  Then casual is the rule. Ahh…the life of a retiree!

I headed to the thrift store this week with the goal of finding some summer pants that were not jeans or black!  It is usually a mistake to go to the thrift store with a specific item in mind.  Mostly that will be disappointing.

But the Good Will gods must have been watching over me this time.
I found not one, but three pair of summer pants.
AND…..a super cute summer sundress.

But here is the deal!
They were the perfect PRICE….but not the perfect fit.

Instead of passing these bargains up….I knew with very little time and effort I could cure what ailed them.

 I am pretty short so almost any pair of pants is going to need hemming up!
The red pants were the right length but were not tapered enough…..
The white pair and khaki pair needed hemming…..
The sundress hit the floor and then some on little me….and I wanted tea length because I know I will get more wear out of it.

Knowing how to do some basic alterations and/or tailoring is one secret for success at the thrift store.

If you think you have no sewing skills…..remember….the items you are working with cost less than a glass of wine in a restaurant!  You can take a risk and see what happens.

Here are my favorite alteration hacks:

Hemming: 

  • Sometimes the easiest thing to do is just turn the existing hem under and do a few tacks with a needle;
  • Fusible hem tape is a great time saver if you don’t feel like sewing.
  • Tightly woven knits like athletic leggings with lots of spandex can just be cut off with no stitching.  You will be amazed at how well the raw edge stands up to washing.
  • Alas…sometimes you need to do an actual hem….but don’t stress with finishing with hemtape and all that.  Just cut them off….turn it up and stitch. 

 Straps:

  • So many cute tops and dresses have spaghetti straps.  When you try on an item….pull those straps up to see if the top looks better. It is an easy fix to tack the shortened strap to the inside of the back.  This trick fixes a couple of fit problems….saggy bodice, loose underarms, and in some cases, pulling the straps up makes the waistline fit better too.

 
Under the arm:

  • When you see a top that looks just a little too big, sometimes it is a matter of just taking in the side seam.  This works especially well with sleeveless tanks.  The added benefit here is that you can fit the underarm area and taper it to the bottom.  This gives a little more room for your bottom too!

Baggy Legs:

  • I like the look of fitted skinny legs on most casual pants.  These cute red pants are a great example.  By tapering the inside leg seam just 1/2 and inch, they went from way to “preppy” and hard to find shoes for….to perfect casual with sandals or flats.

Every one of these alterations can be done with a straight stitch with the sewing machine or a few simple hand stitches.
It is definitely worth remembering when you find something wonderful at the thrift store that has “possibilities”!

OR….you can call a friend who sews 🙂
OR…you can find a tailor shop.

AND….all of the above also works for any bargain shopping you do.  If you find a good deal….but the fit isn’t good….think of the possibilities for a quick alteration.

Wishing you a wonderful day!

Simple Almost No Sew Custom Shower Curtain

A Long Long Time Ago…..
I posted about the no sew shower curtain in the guest bathroom.  The complete tutorial for how to do this can be found on the link.
This curtain really doesn’t look bad…..but heavens….it has been hanging around for over 7 years!  GASP!

 The dark brown walls will be staying for awhile.  We are redoing the master bath later on this month….and energy and budget for the guest bath just won’t happen.

My challenge:  Find some way to freshen up the room with out spending too much time and little or no money!

If you are a regular reader, you know that for me, many projects start with a fabric inspiration!
Fabric stores are my happy place!
Speaking of happy….don’t these little birds just make you smile?

I love the clean white background.
I love the multiple colors on the birds.
The green is bright and cheerful.
We can pretend the branches are brown…until we have time to paint!

 Here are the simple directions for an almost no sew shower curtain:

To make a shower curtain you will need 2 Lengths of fabric (typical drapery fabric is 54-60 inches wide).
1.  Four yards of fabric will give you enough fabric for a full looking curtain.

2. Cut the fabric in 2 pieces and seam them together (straight seam on the machine or fusible webbing will work…never tried to glue gun….but why not)

3. Cut a piece of fabric that is 8 inches wide from each of the pieces…..I cut this from the long sides of the fabric.  You will have 2 pieces that are 8 x 72.  Fold the strips to make tabs.  I don’t sew these…it has never seemed to be necessary.  Cut the folded strips into 8 inch pieces for use as the tabs.

4. Turn both of the sides of the big square in to make a smooth edge.  You can stitch or use fusible web for this.

5. Fold the top of the square down to make a 2 inch “hem”.

6. Fold the tab pieces over and pin them to the top.  Space them 5 inches apart with a 3 inch “loop”.

7.  Stitch across the top of the curtain at 1/2 inch down and 2 inches down.  This will secure the tabs.
I imagine you could do this with a glue gun too!

8.  Measure your curtain to make sure you know how long you want it….then turn up the bottom for a nice hem.

9. Hang the curtain by the tabs on a tension rod.  I have a regular shower rod with a liner behind the decorative one.

There you have it!

Then it was just a matter of “shopping the house” for some art and accents to fit the new decor.

I changed the mats on these little pictures to white for a brighter look.

This canvas has just the right color scheme for the new room.

The ceramic birds look right at home with their “friends”!

The new update was worth the couple of hours spent.
Even with new towels…I think the total cost was around $50!
My kind of decorating!

Have A Wonderful Day and Stay Warm!

Link Parties

Simple Boxed Corner Pillow Instructions

Fabric junkies know what a dangerous place a wholesale fabric store can be.

The Sweetwater Daughter and I took a trip to the fabric store with no real “need” in mind.

Of course….
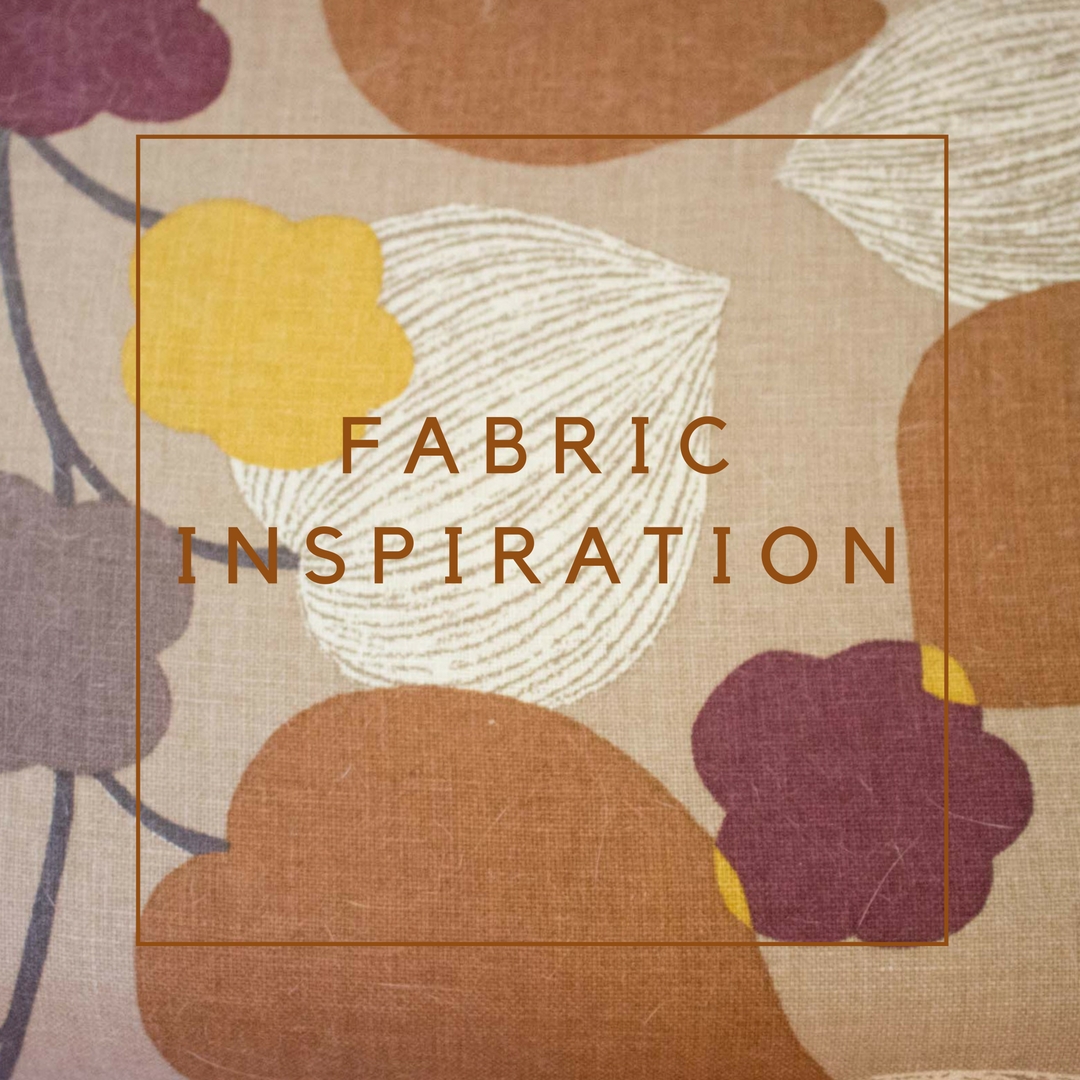
what should my eye spy….?

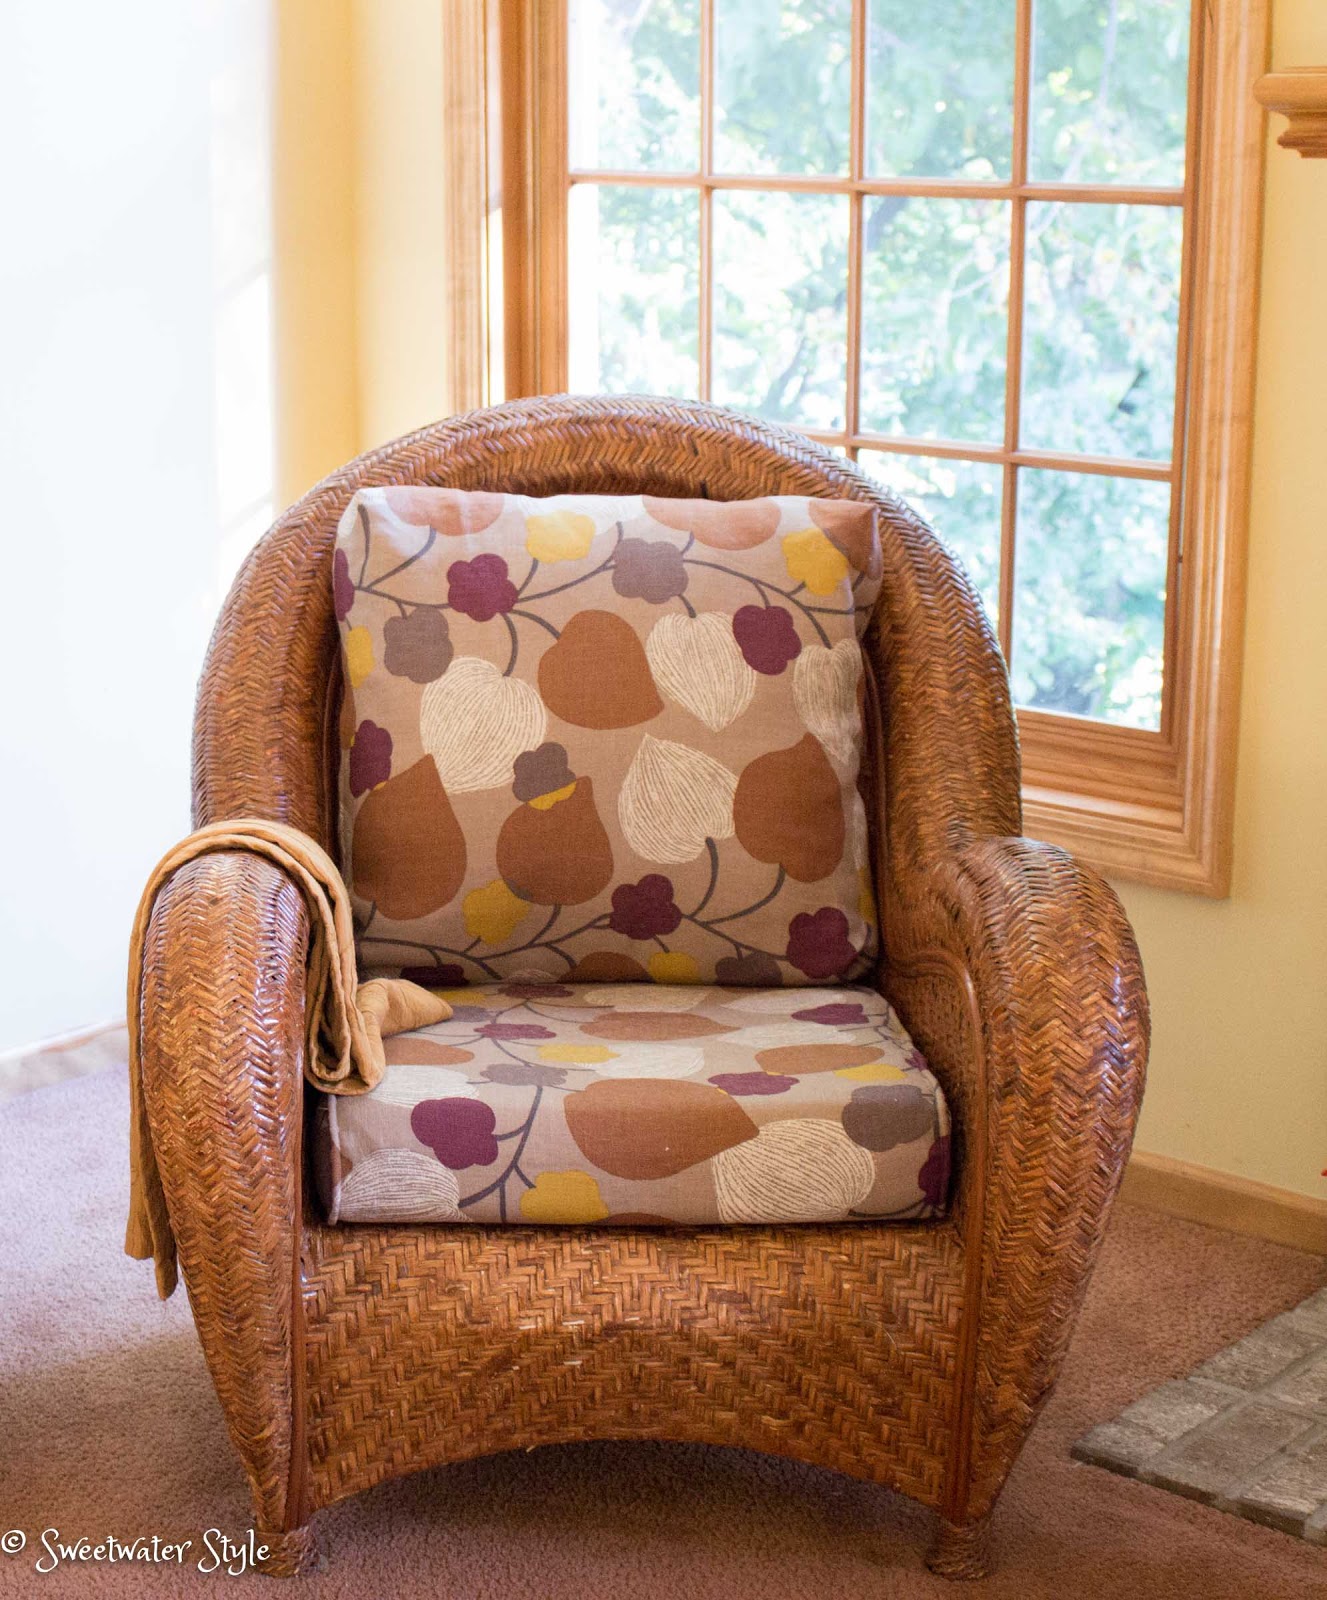
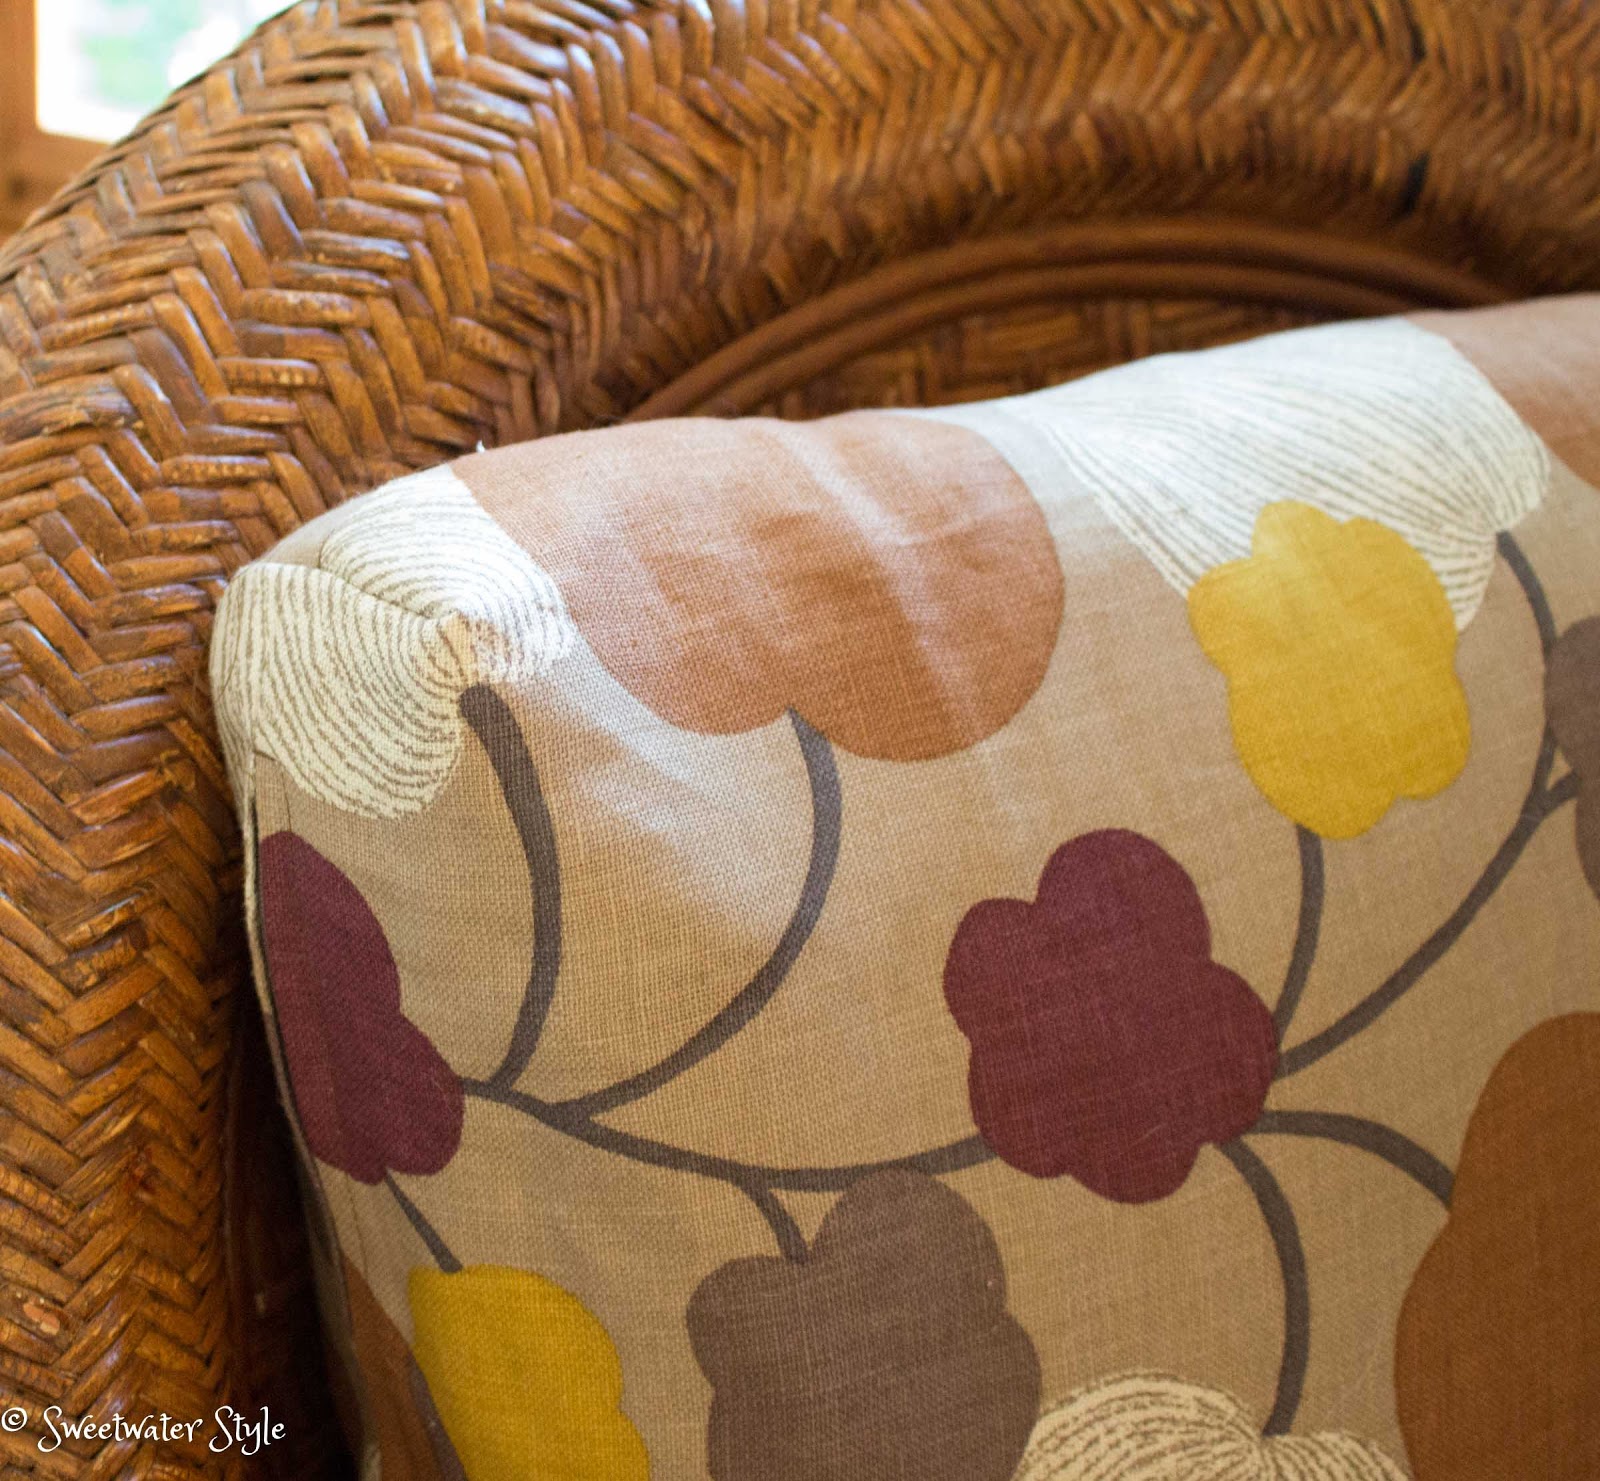
This remnant was only $5.00 a yard and has all the right colors for our family room.

I knew it would be the perfect way to make the two Malabar chairs coordinate with the room.

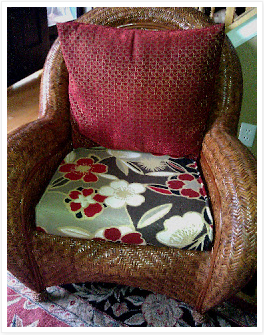
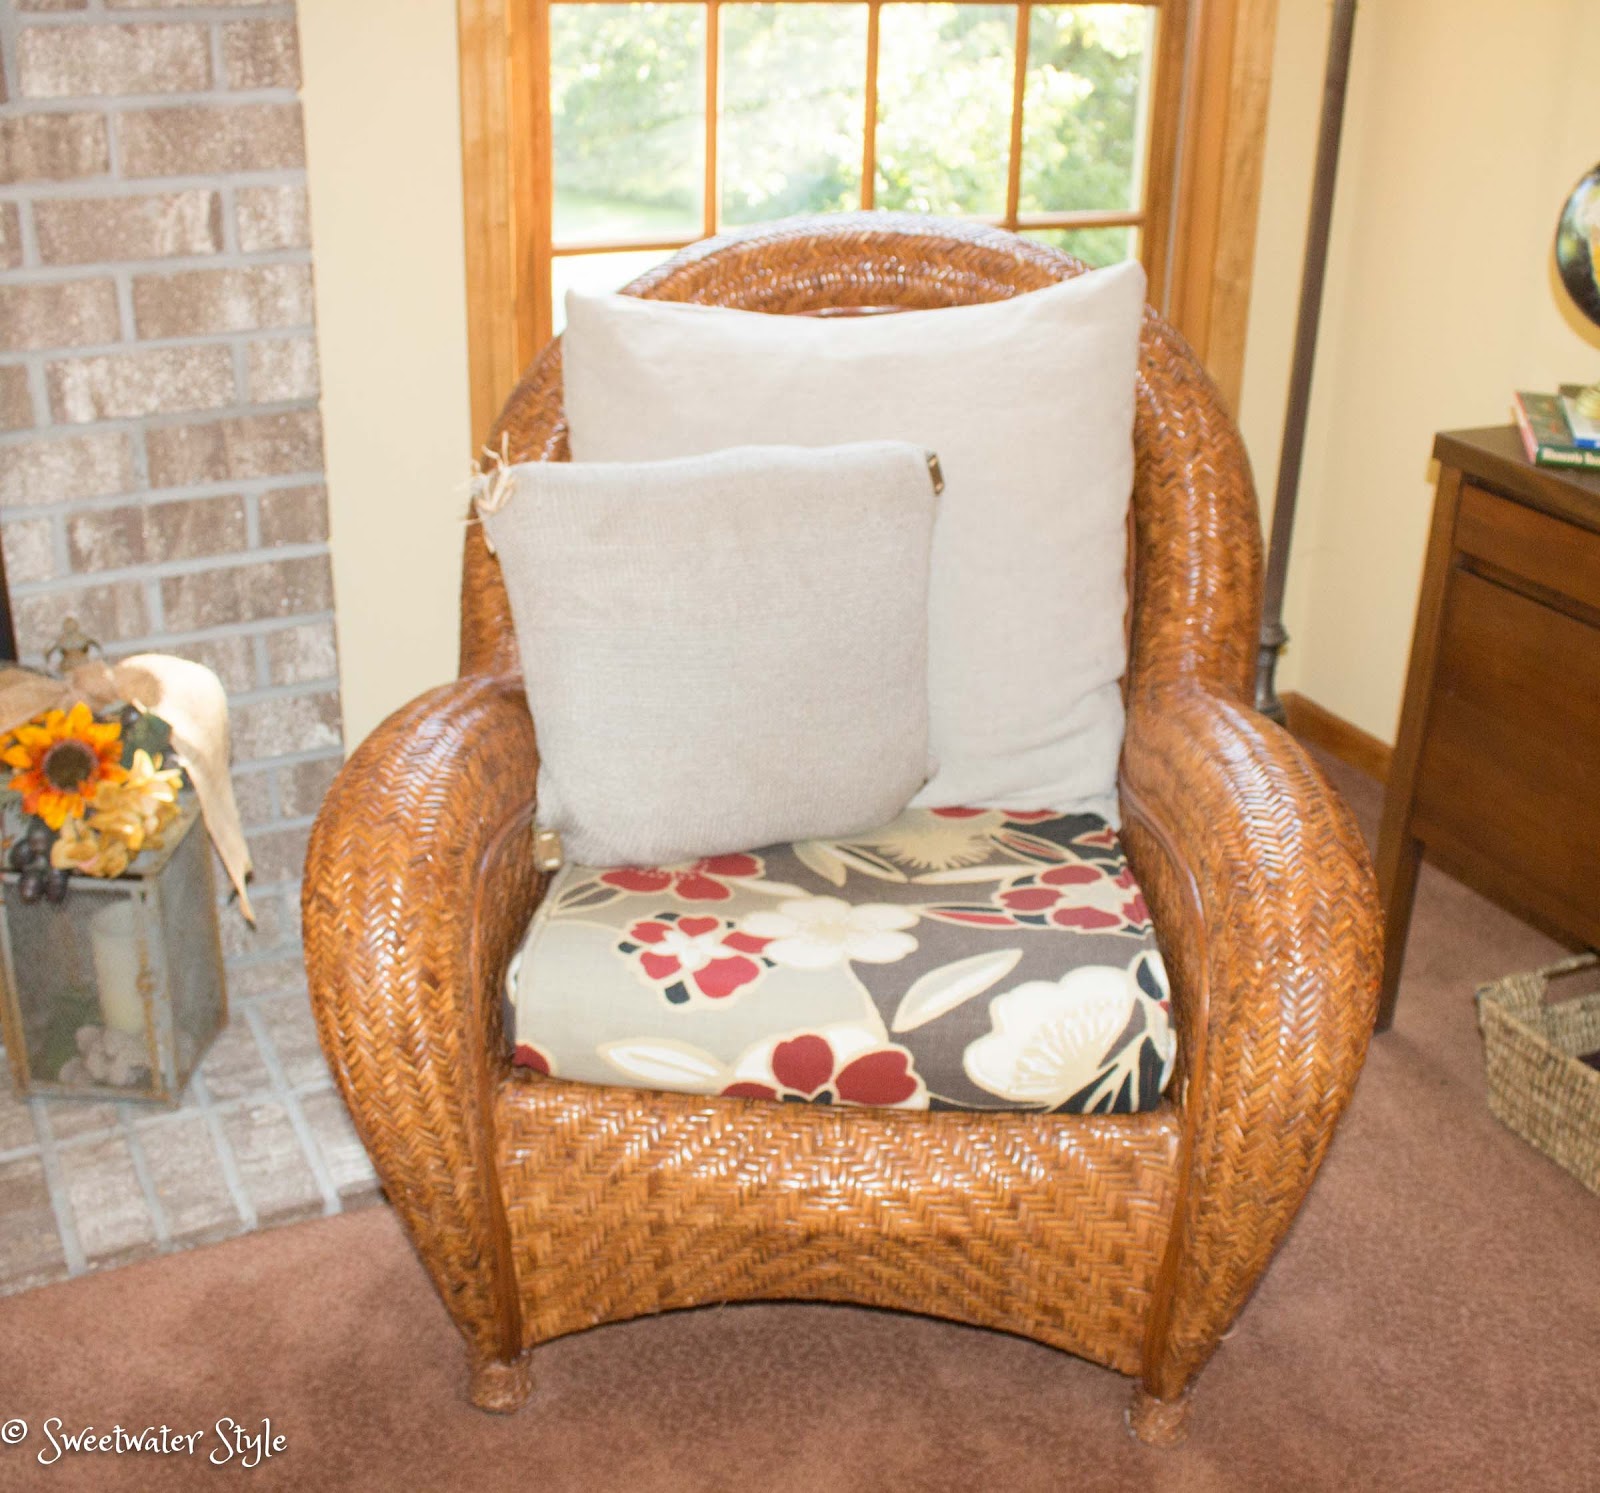
 We moved these two chairs from the living room to the family room this spring.

As you can see….the fabric on the cushion is not the best for a room with rust colored carpet.  But with the addition of beige cushions it was sorta okay.

It was serendipity!

I do a lot of NO SEW projects….alas….this is NOT one of them.
In fact…it is kinda picky sewing….not for the faint of heart.
This post is not really about the seat cushion….but you may be interested in that process.

And would you believe….?  I learned how to do this BEFORE there was Google!
The real trick to tackling a sewing project like this is DECONSTRUCTION!

If you take the old cushion cover apart, you have the perfect pattern pieces to create the new one.
It is kind of scary….because once you rip it apart…there is no turning back!

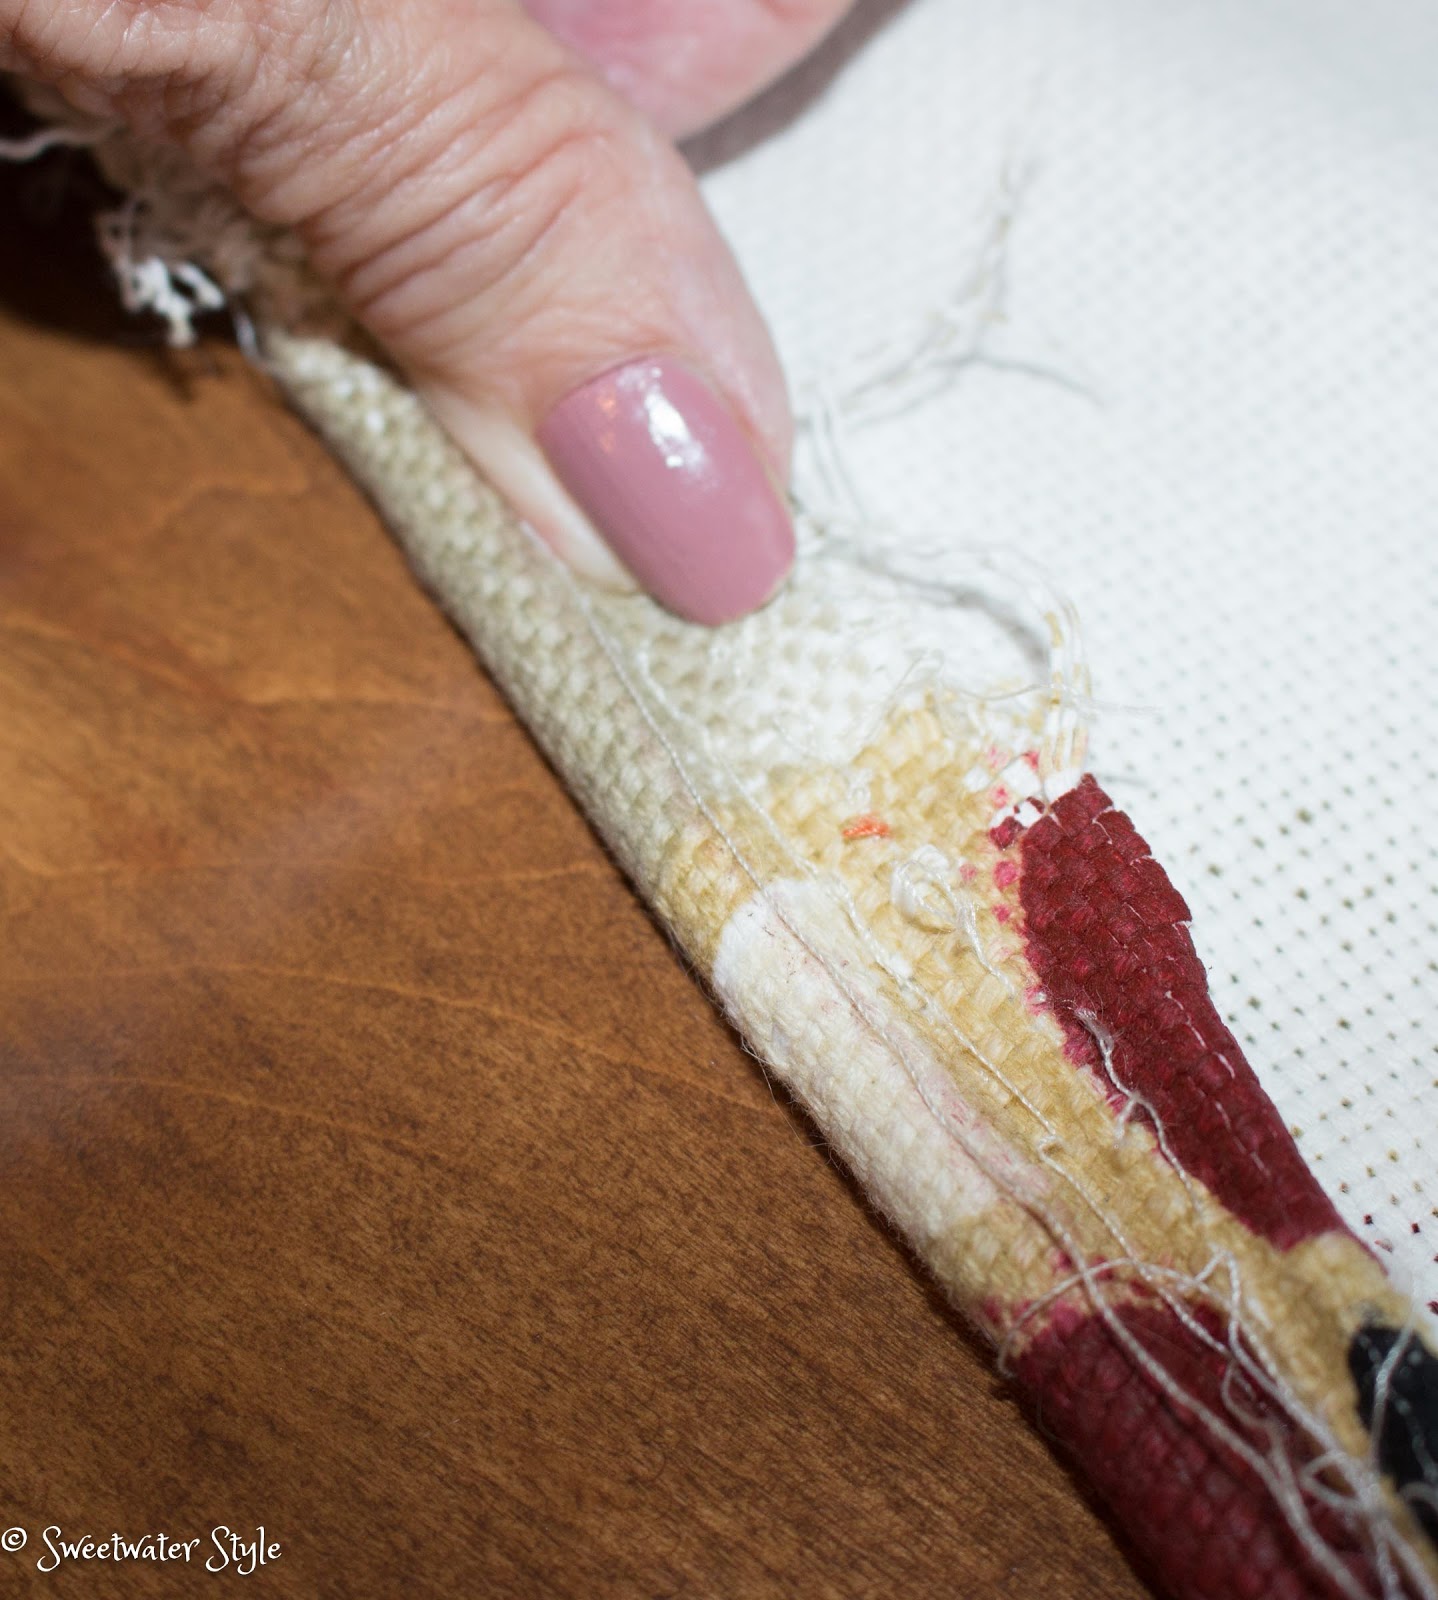
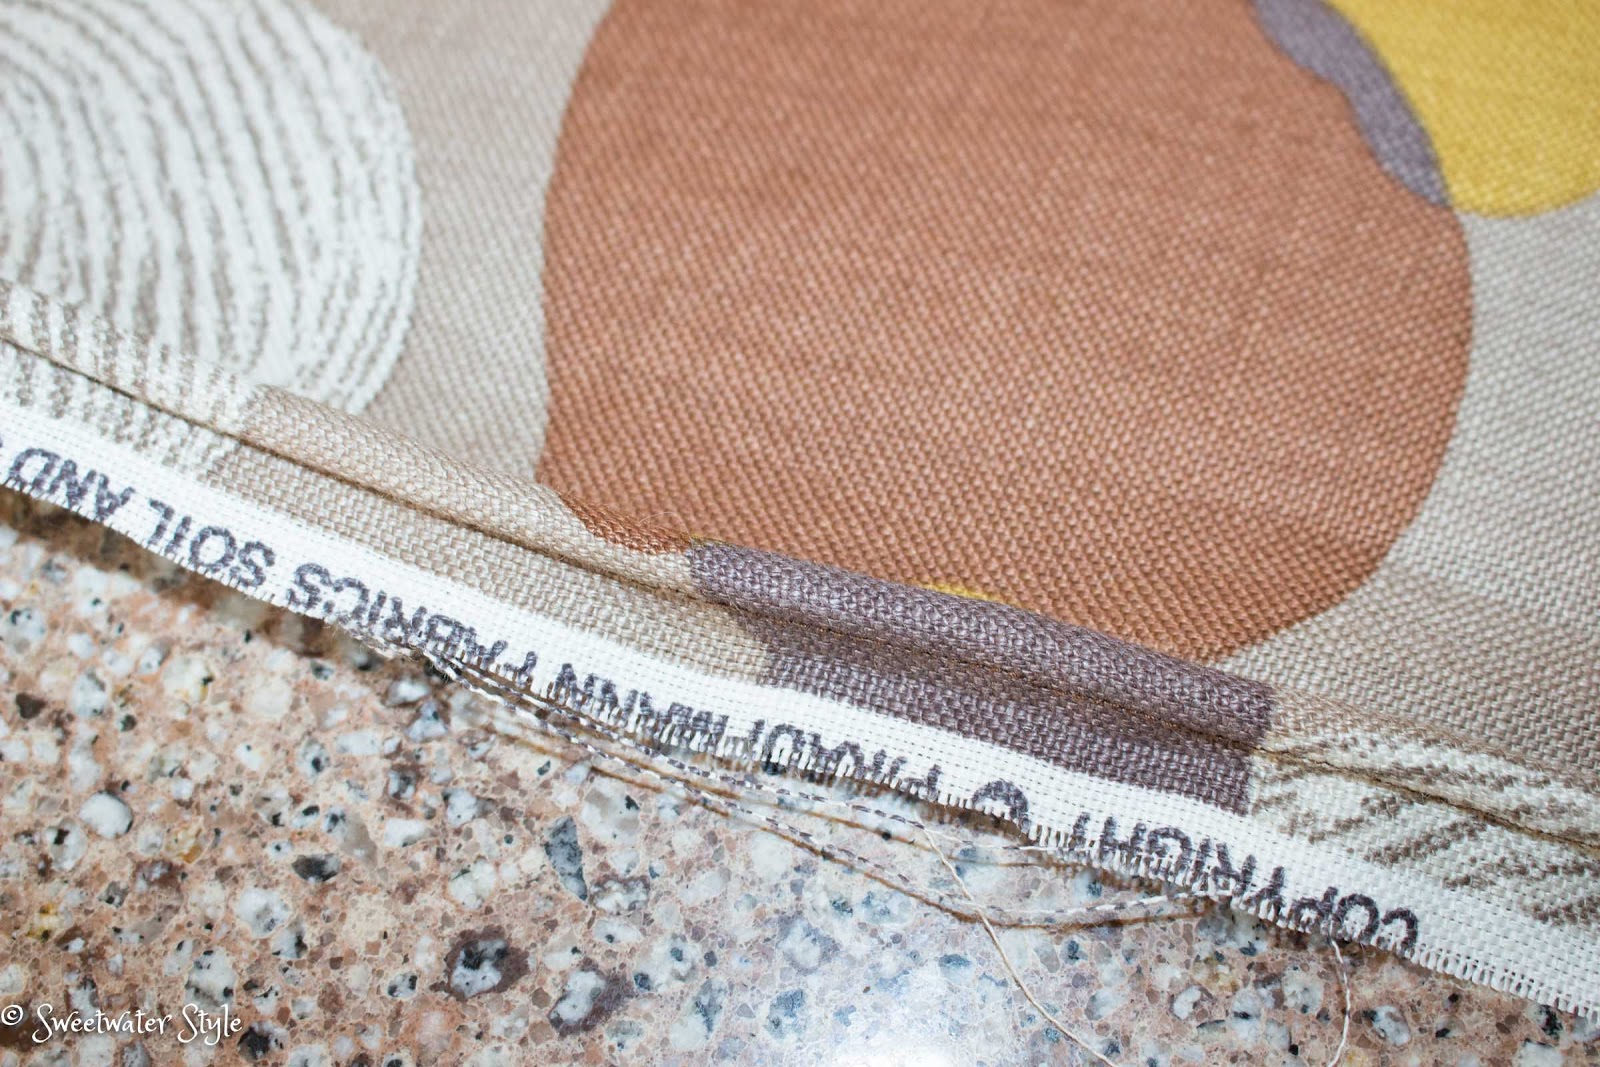
One nifty discovery with the old cover was the way the welting is attached.

Instead of the usual piece of covered welting that is sandwiched between the pieces, this project uses a self welt.

That means that the welt becomes part of the top piece of fabric.

(I ripped out the old cording so that I had the perfect size for the new self welt.

Then comes my least favorite part…..zippers and pinning and stitching…OH MY!
A couple of hints:  
Don’t try to give yourself extra room….cushions need to fit super tight.  In fact….you will think that it is never going to fit…and then as you close the zipper…a tight fitting cover just snaps into place.
Check out this tutorial for covering a box cushion with a zipper:  Something For the Road Box Cushion Tutorial
Seriously….these directions are some of the best I have seen.
Whew!  
Once the seat cushions were done, it was time for the pillows for the back.
I wanted a little more formal looking cushion.  

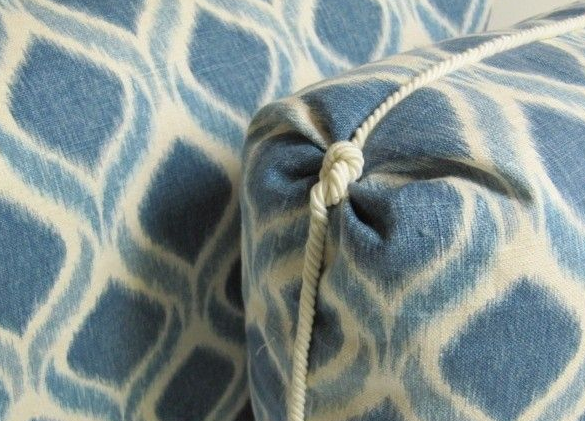
Did you know that the corner on the left is called a “Turkish” corner?  I like it….but I simply wasn’t in the mood to do more welting!

So….the next best and simple option was a box corner.

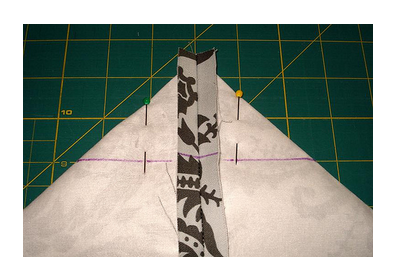
Simply put…this is a lot like the way paper grocery bags are designed.  After the knife edges of the pillow are stitched, you pull out a triangle and stitch across at the depth of your side.
Confused yet?

Source

This is a photo from yet another tutorial that is way better than anything I can write.

Check it out….

http://www.patchworkposse.com/how-to-sew-box-corners-3-ways/

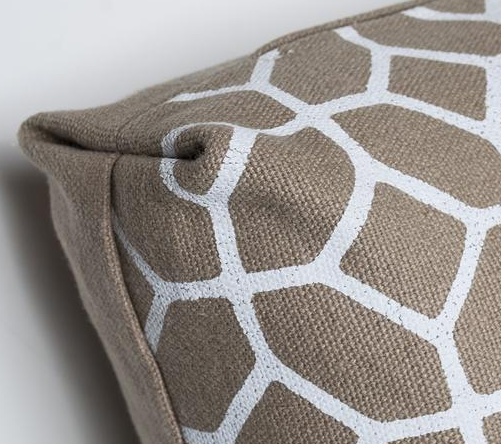
This is a close up of the boxed corner.

This one is three inches deep.

Making the back cushions was a lot easier than doing the seat cushions.

I even went big time and put zippers in.  WHOOT WHOOT!

The finished project is every bit as nice as the vision that I had standing in the fabric store!
Don’t you just love when that happens?
The price was right…..less than $25 for four cushions….not including my labor and time….but that is why they call it DIY!

Have a Great Day!
Link Parties