fabric

Throw Pillows from a Throw Blanket!

One of the easiest and thriftiest ways to update the look of a room is with decorative pillows.
Every one has them. In fact, I dare you to take a count of the throw pillows in your house!!!
I don’t just have pillows on the furniture….I have pillows in the closets waiting to take their turn in whatever decor scheme suits my fancy.

 A trip down the pillow aisle of almost any home decor store is pure temptation for me.

A pillow is affordable…..
A pillow is not a forever commitment like a piece of furniture…..

However…..
There is always the dilemma of how many pillows I should have out at one time.

If this is your dilemma too….I did a little internet searching and found these articles to be really helpful.

How Many Throw Pillows Is Too Many?

Guide to Choosing Throw Pillows 

Now…on to the latest pillow project at Sweetwater.

The rustic, Nordic theme in the living room needed to change once the holidays were over.

Somehow….I never got a picture of the living room decorated for the holidays….go figure.

This is the best shot I could find….but note the red plaid pillow and the Swedish hanging over the couch.

Anyway….the lumbar pillows on the two accent chairs needed to lose the red and beige linen stripe.

When I went to put the old turquoise covers back on the pillows….I realized that they looked pretty shabby!

Goody…a chance to go to the pillow aisle at HomeGoods!

source

There were literally hundreds of pillows to choose from….
There were literally hundreds of pillows that I DID NOT LIKE!

AND THEN……

 I spied this lovely nubby blue and white checked throw.

The price was right at 16.99

The fringe along both sides looked like those fancy fringed pillows that I like so much.

HMMMMMM!!!   This throw could easily become the new pillow covers!

The process was pretty darn simple.

I put the insert on top of the throw to determine the width of the pillow.

It turned out that the throw was exactly twice the width….so by cutting it in half lengthwise I could make both pillows.

I wrapped the throw around with an overlap and cut that to length.
I was able to have the fringe be the bottom of the wrap.
Then I turned it wrong side out and stitched the sides.

Normally with an envelope pillow the lap is on the back.
Because I wanted the fringe to be an accent, the overlap is on the front.

Here is a tutorial for making an envelope pillow.  Home Stories A to Z Pillow Tutorial
This is a technique that is worth learning!!!!

And now for the reveal!!!

Wow….2 pillow covers for $16.99 and I still have enough of the throw left to make something else.
Any suggestions???

Have A Great Day!

Simple No Fuss Outdoor Tablecloth

The table on our deck has a glass top.
The shape and size of the table is great.
The metal edge matches the other furniture.
BUT….
I obsess over all the water spots and other outdoor “schmutz” that gets on the glass!
I really do not want to have to wipe the table down every time we go out to use it…..
And just looking at it….is annoying!
I want some sort of “semi-permanent” covering on the table.
It needs to be weather resistant and sturdy.

I found some table cloth ideas out there:

I found a mitered fitted cover at Smashed Peas and Carrots, 

http://smashedpeasandcarrots.com/the-perfect-fit-tablecloth-tutorial/

 There is an elasticized tablecloth on Amazon….heck…I suppose I could even make one of these….

I made this one a few years ago.  It has weights sewn in the hem to keep it in place.
Read about it here:  http://sweetwaterstyle.blogspot.com/2016/07/almost-no-sew-outdoor-box-cushion-and.html

I still have this…but the decor on the deck has changed.
I headed to the fabric store to find an sunbrella fabric to make another just like it…

AND THEN…I came across something called Ballistic fabric.  It looks like the stuff that outdoor chairs have for seats.
I got mine at a fabric outlet store for 9.99 a yard.  Here are some specifics and a source if you are interested.

The plastic woven fabric is the perfect solution.  It just needed to be cut to size.  By cutting it exactly to fit into the metal frame,  the fabric almost looks like it has been “glued” down.

The raw edge doesn’t look too bad, but I decided to use the built in embroidery stitch on my sewing machine to add a little “fancy”.

This simple solution makes a nice alternative to constantly wiping away water spots.
The ballistic cloth can be scrubbed with a brush and hosed off when it does get dirty.

Soooo….Simple!
Have A Great Day!

Quick and Easy Halloween Decor Ideas!

What is your Halloween decor style?
Do you go all out Haunted House….?
Or
Do you settle for a simple Jack-O-Lantern or two?

I like to find a middle ground….that pretty much eliminates the “haunted” stuff.

Here is a round up of some simple decor ideas that have a Halloween feel with a bit of elegance and/or whimsy.

Display old and new photos of Halloween’s of the past!

I have so many fun photos of the Sweetwater kids in costume.  It is simple to have prints made and then find a fun way to display them.  I have framed them and clustered them around the house.  This year the display is a simple “gallery” of the photos matted and mounted to the big chalkboard in the stairwell. There are some spaces left for some new photos I need to get printed….but I wanted to get the post done!


Get Your Pumpkins ON!

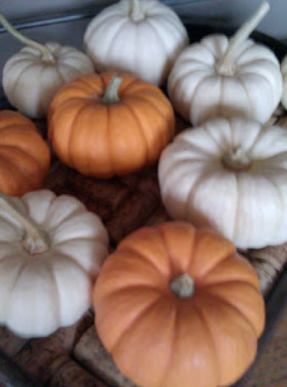
Simply placing these interesting pumpkins in odd spots through the house makes a Halloween statement with out SHOUTING!  The thrift store is a wonderful source for interesting Halloween themed decor.


Keep those Real Pumpkins Looking Good!
 
This trick will keep your real pumpkins and gourds from getting rotten.  If you follow this “recipe”, you may still have usable gourds at Thanksgiving!  

Inject some Humor!
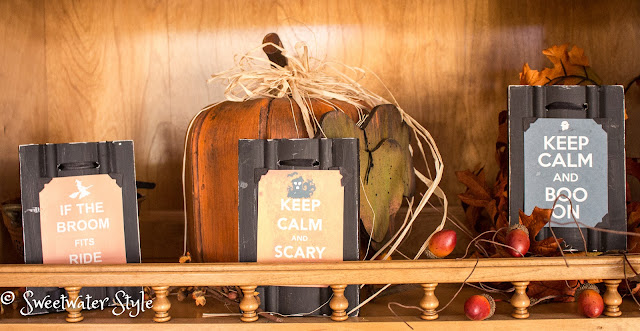
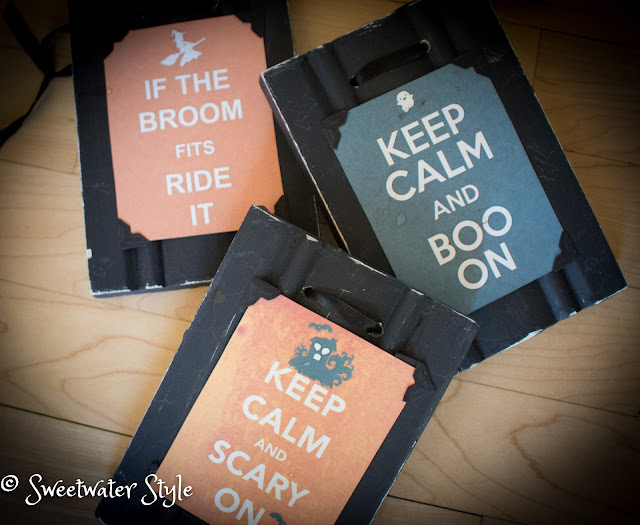
These little plaques are easy to make….but would also be simple to print and frame.
Check out the tutorial here or take a few minutes to browse for some funny quotes to use on a chalkboard.

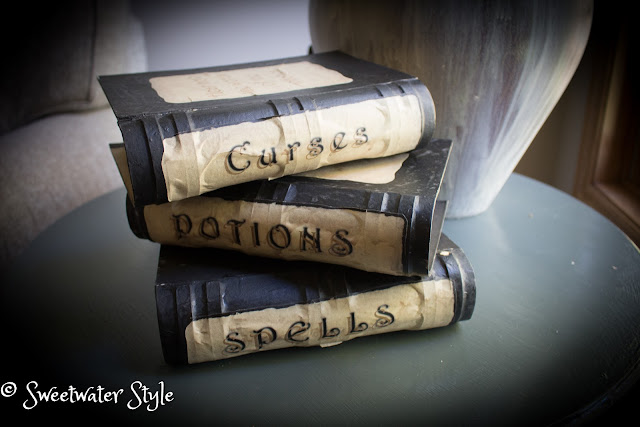
A trip to the craft store is the start of this craft project.  These little books tucked on a shelf or set on a table are a subtle seasonal touch.  TUTORIAL HERE
Don’t Forget Accent Pillows!
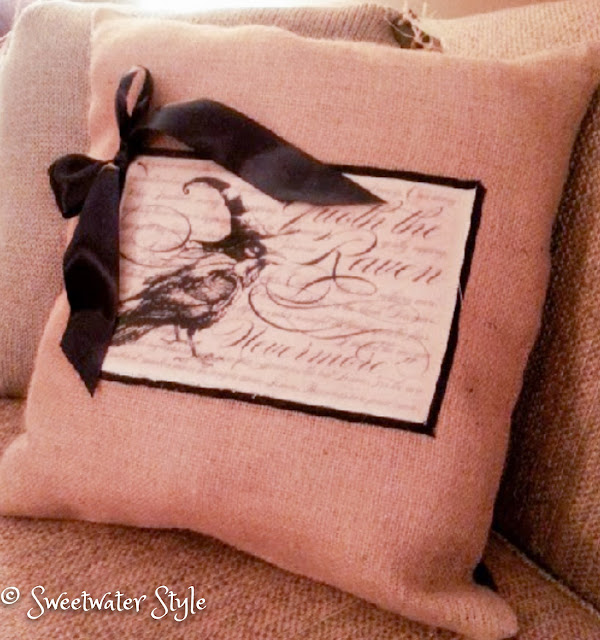
A few whimsical pillows can add a touch of seasonal decor too.  If you have never tried printing images on canvas using your inkjet printer…you really should check out these directions.  The possibilities are really endless.

So there you have it….a few little ideas that might inspire you to get your Halloween on in a tasteful way!


Have a Wonderful Day!  It is gorgeous outside today….maybe a trip to a pumpkin patch is in order…oh wait…I seem to have ENOUGH pumpkins!

A Cover Up at Sweetwater!

Don’t worry…..I am not going to go all political on you!
The cover up at Sweetwater is NOT scandalous!
It is simply the way that I “used what I had” to cover up some old plastic planters!
Mr. S is always trying to get me to throw away all the old pots around here.
They are stacked up behind the garage in an unsightly pile.
I just can’t bring myself to buy new ones…..because they still are “good enough” to use.
A couple of the old pots got used to plant some dark red geraniums and some zebra grass.  
(you know me….why spend money on an accent plant when you have way too many “accents” growing in the garden)
Well….you can see that the old plastic terra cotta colored planter was maybe….NOT good enough!
It was pretty faded and a little dirty….
I thought about using spray paint…..but it still would have that plastic look.
Then I remembered my fabric stash!
I have a lot of burlap…..remember when burlap was all the rage?
That burlap turned out to be just the cover up that was needed to pretty up the faded old pot.
How I did it:
I cut a large square of fabric.
I trim the corners to create a circle.
I gathered up the edges and tied it with a burlap ribbon.
I tucked the edges of the burlap up inside the planter and secured them with some picks.
Pretty darn simple.
I know that the burlap is porous enough to let the water drain….
If you do this with fabric that is not loosely woven, be sure to cut some drainage holes.
HMMMM….this might be a good trick to use to cover up a basic store pot when you give a plant as a gift.
HMMMM….what else could I use for my cover ups….off to the internets and look at the ideas I found!

I guess Mr. S had better resign himself to the unsightly pile of pots behind the garage!
I have projects in mind…..so watch out!

Summer Decorating on a Budget-Part 2

Part 2 of Summer Decorating on a Budget can really be summed up by the following:

I admit freely to being a “fabric”holic!
 
The summer look for the lower level family room has been the same for a long time.
The navy “monster” couch and navy carpet seemed to lend themselves to a red, white and blue theme.
I was quite simply “over it”.
The natural place to go to solve the problem was the fabric store.
I wasn’t sure what I was looking for……
I needed to “immerse” myself in all the pretties….
These are the fabrics that called to me and made sense with the blue carpet and white walls.
Best of all….I happened to be there on a day when all decorator fabric was $3.99 a yard.
Be still my heart!
Too funny….when I look at these 3 fabrics lined up in the photos….I have to say I was a bit of a risk taker.

You might be saying in true Minnesota nice language…..”well those are different”!
But look how the redo turned out using these unlikely pairings.

I have always loved chinoiserie fabric.

Vocabulary lesson: 
chinoiserie  chi·noi·se·rie
SHēnˌwäzəˈrē,ˌSHēnˈwäz(ə)rē/
noun
noun:  the imitation or evocation of Chinese motifs and techniques in Western art, furniture, and architecture, especially in the 18th century. 

Using just a bit for the seat cushions on the game table was a great way to have some that doesn’t over power the room.
Would you believe that I just used the glue gun to attach the fabric on these?
Why?  Because I want to be able to take the summery look away and use the red pattern underneath in the winter.  If I used the staple gun….removal would have been a huge pain!

The cushions on the cedar chest “window seat” got my famous almost no-sew box cushion treatment!
Here is a link to the original post….http://sweetwaterstyle.blogspot.com/2011/08/almost-no-sew-box-cushions.html
I got a big laugh when I looked at the statistics for this post and saw that it has gotten almost 10,000 since it was published 5 years ago.  I guess that means that this is something worth doing? 🙂

Big fabric envelopes made from the floral fabric were an easy way to switch out the couch cushions.

The ikat fabric is a fun look for the ottoman.  
Yes….you can easily cover an ottoman with just a couple of seams on the sewing machine. Here is the post that shows you the steps.                   EASY ALMOST NO SEW OTTOMAN                                                            I left the red and blue underneath so the new fabric can easily lift off.
I still need to do a bit of “red removal” and shop the house for things that will fit the new colors.
but even though the temps are back in the 50’s around here….I know that it soon will warm up and now…..