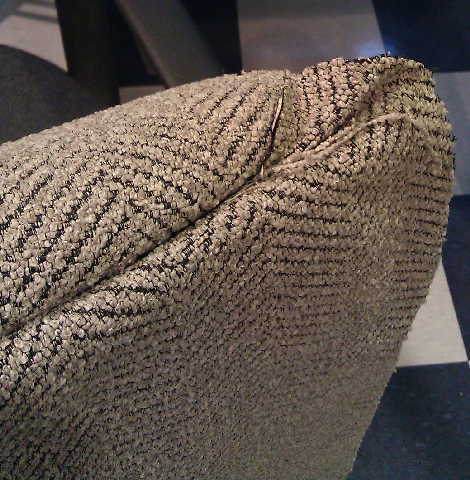
The 12 year old blue office chair is the first thing you see when you come down the stairs to the lower level in our house.  Yuck!

I saw this tutorial at Made by Meg and knew that I could “just do it”!
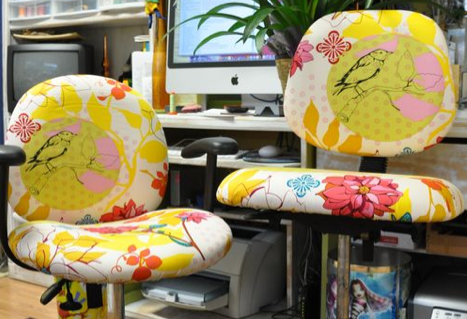
Here is the inspiration photo. Meg’s tutorial showed me the way! 

Photo from Made by Meg

Here is our ugly blue chair!

See why it was bugging me!

You will have to read on to see how it turned out!

  Since this is my husband’s chair I knew that I had to be pretty conservative with my fabric choice.

I would have picked something like this from the Piece O’Cake Blog.

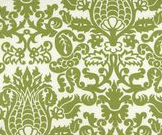
But since I figured I wasn’t the one who would be sitting in it…..I played nice and picked this fabric!

This was one of those projects that ended up being way easier than I thought it would be….a nice surprise!
Seriously, if I hadn’t gotten all OCD at the end about the finishing, I could have been done in less than 2 hours!

The Process
There was a definite space between the front and back of the top part of the chair.  
I did a little experimenting and realized that I could probably just push the fabric into the space.
THAT WORKED!
I didn’t make a pattern (typical Sweetwater Style)
I just cut a generous piece of fabric for the front and started tucking and trimming.
We were afraid to take the arms off…the chair is so old we thought it might never go back together again!
That meant I need to do a little more tucking and folding around the arms….more about that later.
Once the front was done….I did the same thing with the back.
I was actually pleased with the boring fabric because it is a chenille with a lot of give in it.  This made it stretch and tuck very well.
I used these tools for the tucking process because they were the first tools I saw in the drawer.
A couple of flat head screwdrivers or a cheap table knife would have worked too!
The next step was taking the back and seat apart.  
Got a little help with that because the bolts were on so tight….but with some “man” power we got it done!
Again NO pattern…I just turned the chair seat upside down on the fabric and cut around it.

The original seat was wrapped with an elastic binding that was not attached to the actual chair….kind of like a shower cap.

That made it easy to just pinch and tuck the new fabric around and underneath the old stuff.


Here is the seat once the new fabric was all tucked in.

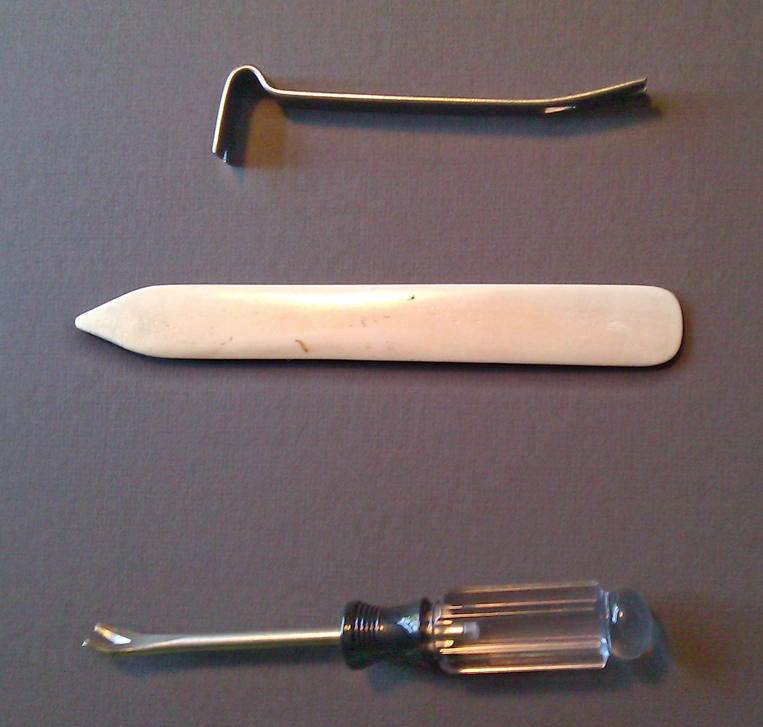
 Now I had to decide how to attach it.

I considered using my trusty glue gun….and that would have worked.

But since I have my wonderful compressor and stapler I decided to see if I could staple into the cardboard frame.  (I never said this was a quality chair)

That worked very well…giving me the ability to stretch and tuck all the way around.

Once that was done….I was too impatient to wait for “man” power and I put the chair back together with only “woman” power….I am sure John will “check my work” before he sits down!

Here is the chair in my workroom!


 From

           FADED

                 PILLED

                          REALLY UGLY

To
Pretty Darn Nice!

Don’t You Agree?
OCD Disclaimer About Finishing!
When I got the chair back together, I wasn’t satisfied with some of the places where the back wasn’t tight enough and where there were puckers where the arm attached to the seat back.  I got out my trusty curved needle and tightened up those areas.  Wouldn’t have HAD to do that….but you know!
Since every chair is different
Check out these posts with tutorials for redoing office chairs for inspiration for your own project.
Piece O’Cake Blog Tutorial

I am inspired to do my sewing chair next!

 AND…..I won’t be needing to choose a conservative fabric for this!
What do you think of these?

Looks like a trip to the fabric store for ME!
But now I have to watch the DVD that came with my new VITA MIX Blender so I can operate it! 
Go Figure that the blender is so complex that it needs it’s own DVD!
We are gonna make ice cream….wish us luck!

I am linking to these link parties, go take a look at the great ideas out there!

Fireflies and Jellybeans
Craft Junkie Too


504 Main
Miss Mustard Seed
Under the table and Dreaming


Craftomaniac Mondays
Amaze Me Monday
A Round Tuit
Nifty Thrifty Tuesday
Take A Look Tuesday
Tuesday Time Out
Tootsie Wootsie Time Out


Wicked Awesome Wednesday
The Kreative Korner Tea Time Thursday 

Home and Family Friday Linky Party

Not Bad Sundays


20 Below Thursday


Sumo’s Sweet Stuff


tip toe through Tuesday

Perfectly Imperfect

FunkyJunk Interiors

Mad In Crafts