reupholstery

How to Upholster an Old Office Chair

 Yup…..we all have at least one office chair.
An office or task chair is one of those necessities that you really can’t do without.
Even new ones usually lack any kind of decor charm.
The one in my sewing room IS NOT new…..and it certainly has no charm!

I learned to “upscale” an office chair a couple of years ago to make an eyesore part of the decor.

I could not believe how easy it is to do.
Well….it is easy to do if you have the right KIND of chair.
Notice that the cushions on this chair are inserted in a plastic frame.
All it takes for this project is:

Some really pretty fabric!

AND…..a couple of really basic tools.

It is just a matter of cutting two pieces of fabric the size of the cushion with about 2 inches of overlap.

Most decorator fabric is 54-60 inches wide.
You only need about a yard of fabric to do both the back and seat cushion.
But of course you will need to measure to be sure!

Cut the fabric to size.
Round the corners off to reduce the amount of fabric as you go around the frame.

It is a simple matter to just push the fabric in between the plastic frame and the cushion.


The putty knife usually works well.
Sometimes the screw driver helps to pull the frame out a bit to get the fabric started.

Make sure to pull and stretch the fabric tight.

One suggestion is to do part of the top, then part of the bottom, and part of each side.  This helps you get a tight fit.
Finish by going all the way around.

There is plenty of give in the plastic to get the fabric in there.

For about $10 and an hour of work time…the ugly utilitarian necessity….now looks like part of the decor!

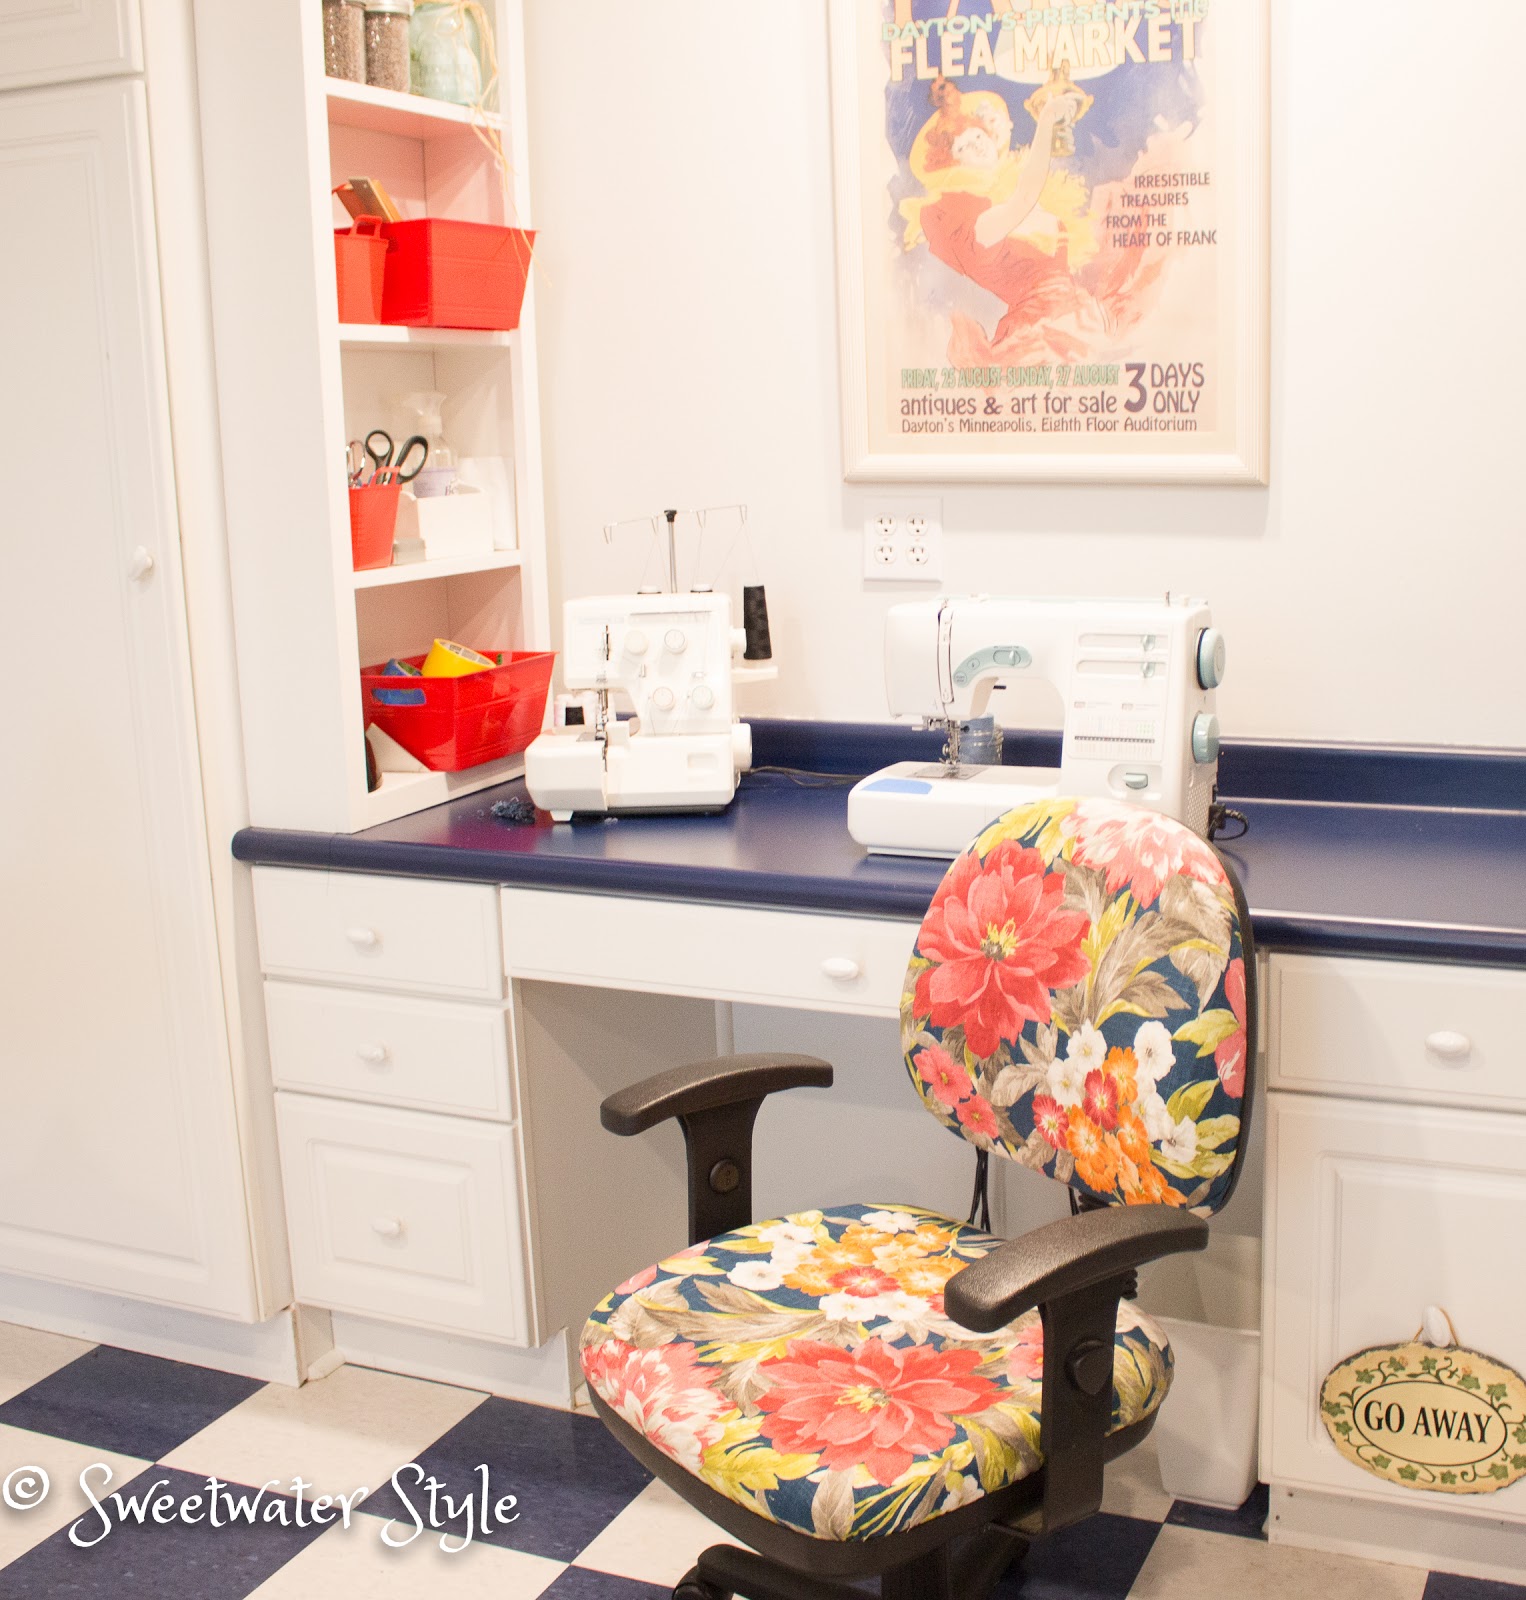
When I walked by the framed poster that was hanging in a different room….I said “AHA!”
The colors couldn’t be a better match.

Here are a couple of posts I did a few years ago that give even more details.

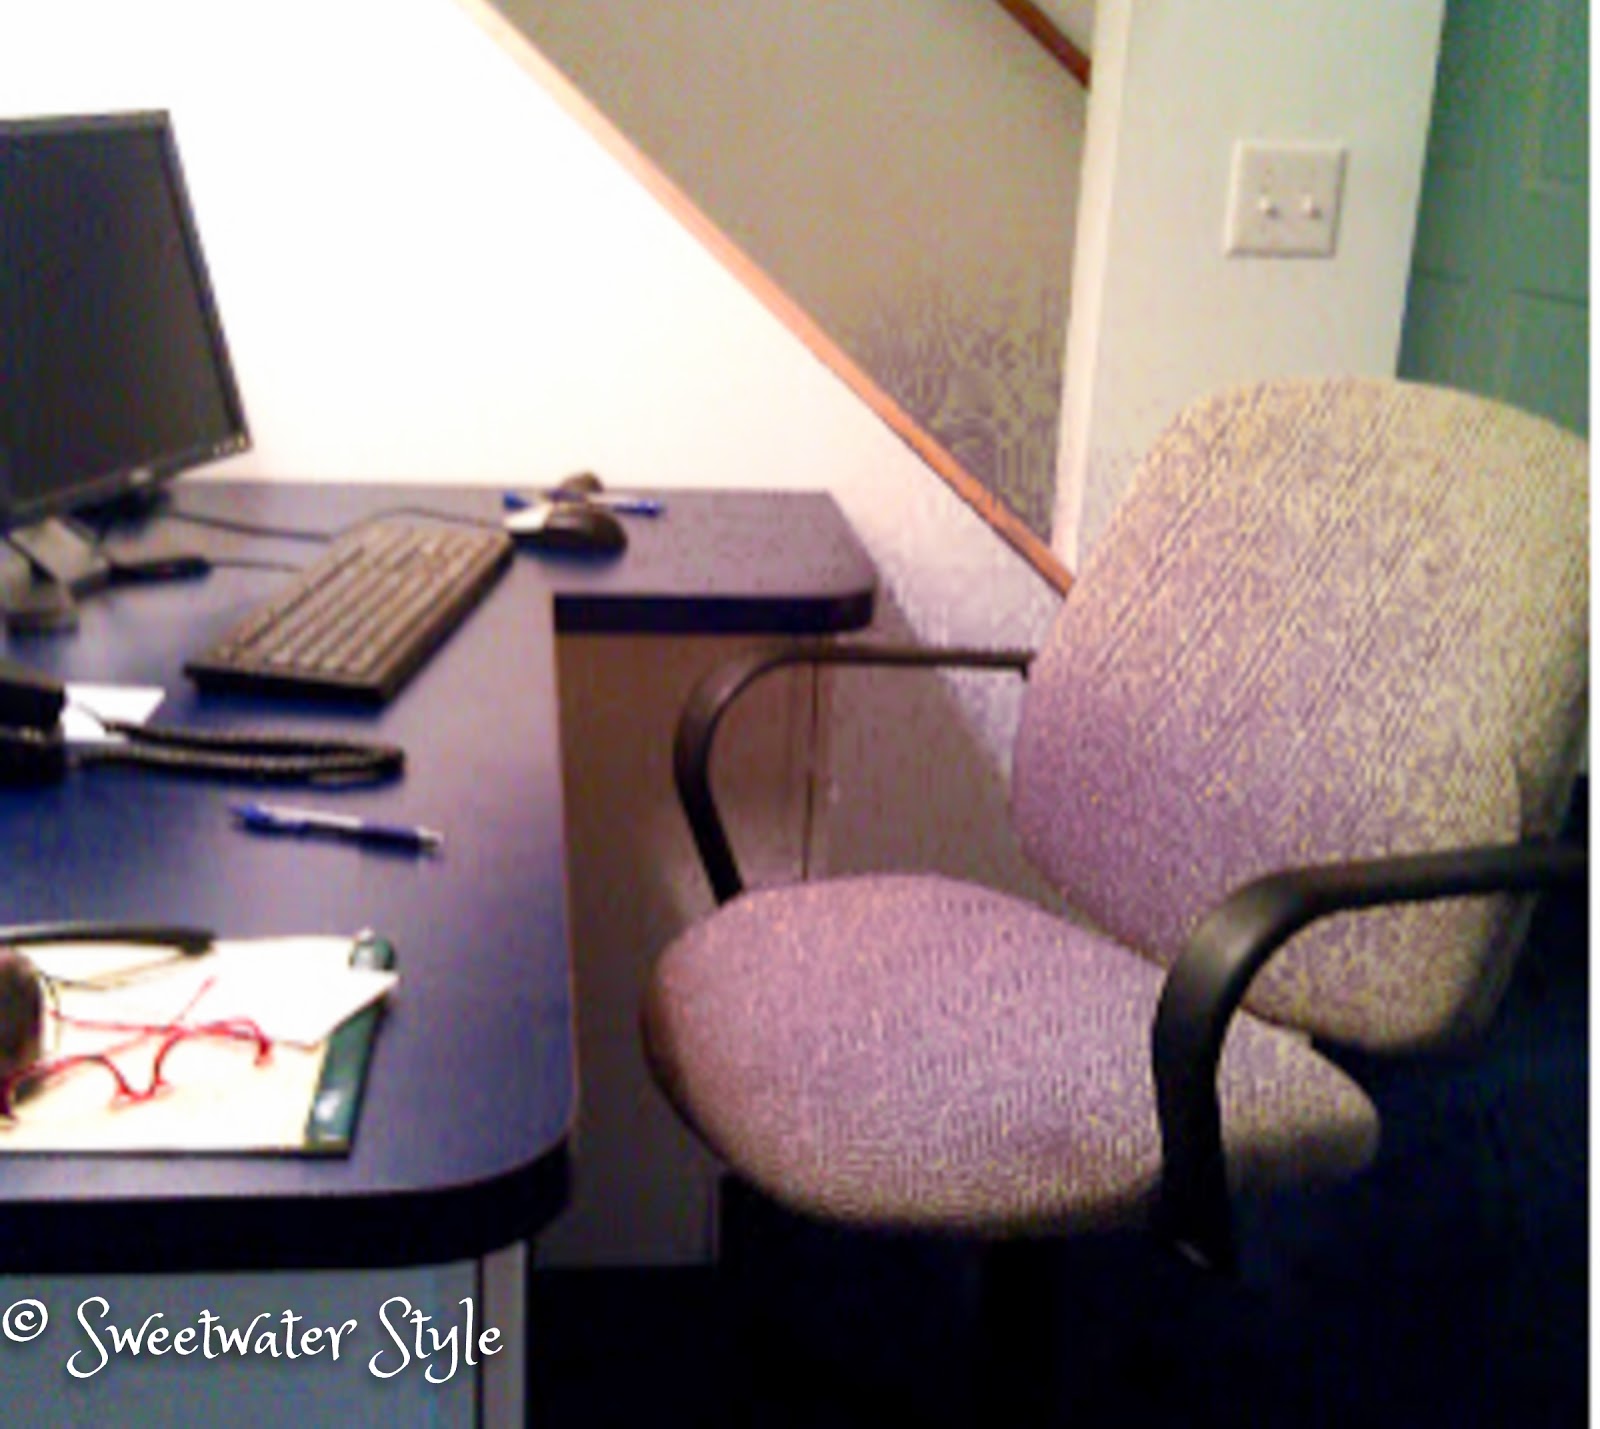
The “manly” desk chair for Mr. S.

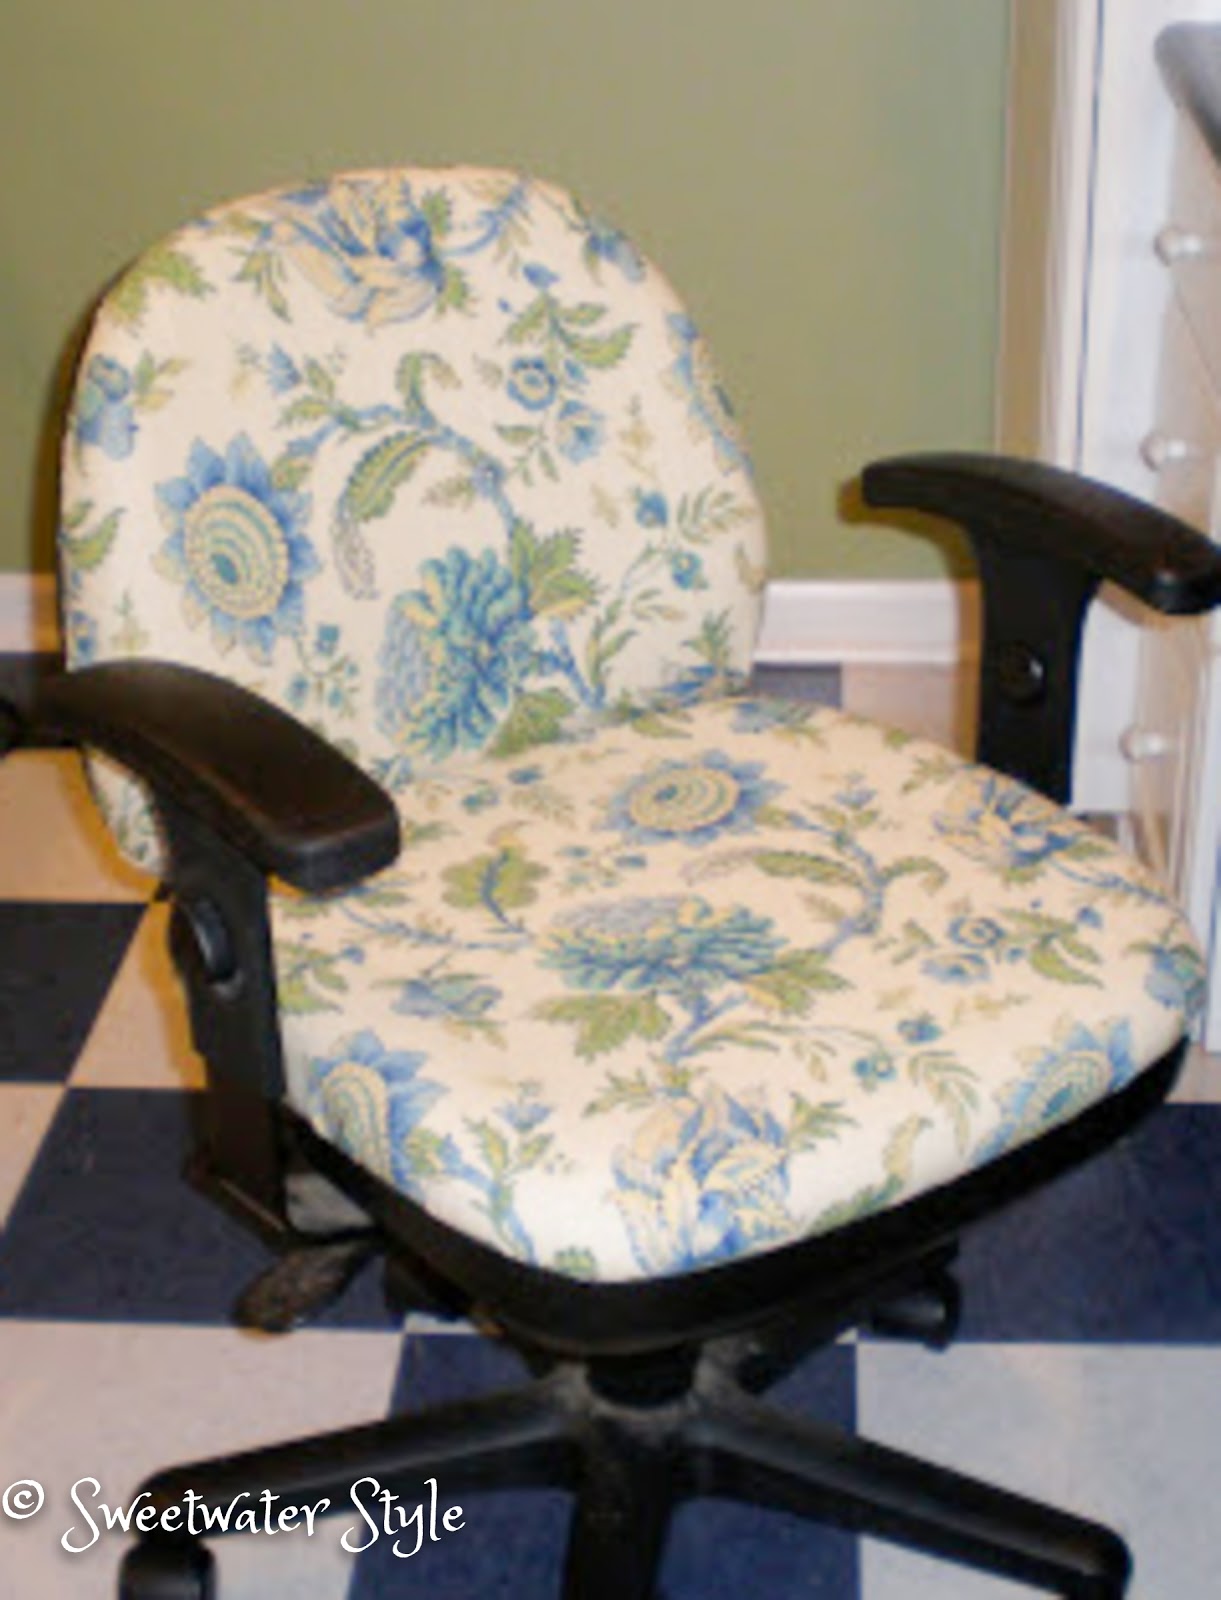
The “old version” of my sewing chair.

I hope this inspires you to upscale your own chair.

Have A Great Day!

Link Parties
Coastal Charm
Make It Pretty Monday 
I DIYed That 
Eclectic Red Barn

Summer Decorating on a Budget! Part One!

Source

Time for summer decorating….bright, fresh, and airy are words that come to mind.

Lightening up the look of the family room was the first step in the summer transformation here at Sweetwater.

When we got the new oatmeal colored couch, I no longer need to slipcover the cushions with summer weight fabric.

(Read about how I used to do this with the dark colored couch using stretch twill for cushion covers that are almost no sew)

The color scheme in the family room was pretty autumnal with all the browns and copper.

Pretty…. but definitely NOT bright, fresh and airy!

 What to do?
Obviously, I wasn’t gonna mess with the new couch!
So off to fabric.com to find some fabric to lighten up the cushions on the rattan chairs.

This is the fabric I picked.  It was less than $25 for the fabric and delivery.

Yes…I did have to sew for this project, but you could do a wrap and tack version that would be almost as good.

I can not believe the difference it made to switch out the dark for the bright!
Now I know why everyone says to buy a neutral colored couch!
It really was simple to change out a few things and get a new look.

Changing the color scheme of a room is always more than just changing the upholstery fabric.
Going with the teal and chartreuse meant that all the browns and rusts in the old accessories were just all wrong….
The room needed new stuff in the right colors.
It was so tempting to head over to Home Goods and buy everything summer in those appealing displays…..and I did find those great looking teal pillows for a bargain.  In fact…I would have spent way more $$ to make them.

I wanted to save my money for my other summer vice….PLANTS!

I decided I could go shopping…..but in my own house!
I walked the house….
I peeked into my over stuffed closets….
Looking for stuff that would go with the new colors.

I have always loved the summer themed pillow with the palm tree.  I was thrilled that it could take center stage(couch) with the perfect colors for the room.

The artificial pears have been around for awhile.  They have just the right green for the coffee table.

 Notice the pictures on the back wall…they were in other rooms and now have a new spot.

I kept the mantel simple.
The white candle sticks and lanterns have been around the house for a few years.
Looking at the photo makes me think that a bright beachy colored bow on the lanterns might make them pop. HMMM….maybe an artificial sunflower too!?

The image in the frame is an enlargement of a photo I took in Gulf Shores, Alabama.
I used Waterlogue…an iPad app to make it look like a watercolor. (You can read about how this works here)
It really is a perfect summery addition.
I imagine that I will find more things that will add summery touches…

A thrifty decorator’s work is never done!

Come back tomorrow for the second part of Summer Decorating on a Budget….the lower level family room has a new look too!

Have A Creative Day!

Link Parties
Eclectic Red Barn 

Almost No Sew Removable Ottoman Cover

It’s time for Part Two of the Kate Spade inspired mini-redo of the guest bedroom.
Yesterday was all about pink polka dots!
Today….it is all about green and white stripes!

 You have to admit that these two prints are iconically Kate Spade!
This is the green and white fabric that I found for accents in the room.
I did want a little brighter green more like the color on the Kate Spade bag….
BUT….when you find something this close to the inspiration and it only costs $.90 a yard…
YES…$.90 a yard…
There was really no question about the purchase!
I liked the idea of an upholstered ottoman to sit in front of the love seat!
This little bench turned ottoman is the perfect size!

It was a piano bench that was a thrift store find.

I painted the base white and added some padding before covering it with fabric that coordinated with the decor in another room.

Now it will be perfect with the new green stripes.

I wanted to keep the project simple and also make the new cover removable.  It is important to have the cover washable….just in case!

The old upholstery was stapled to the bottom of the ottoman.

The new cover will really be a slipcover.

I started by cutting a generous piece of fabric that goes about 6 inches down from the top.

This will leave enough fabric to turn up as a hem.

I placed the fabric wrong side up on the ottoman.

Then I pinned a mitered on each of the  four corners.

These mitered corners got stitched.

The stripes in the fabric made it easy to get a nice straight seam.

Once the stitching was done, I checked for fit.

Then it was just a simple matter of pinning up the bottom for a simple hem.

I decided to use iron on fusible stitch witchery hem tape to secure the hem.
I didn’t want any stitches to show and was afraid that even hand stitching might show.

The finished project!
Perfect!
And if by chance some little Grandboy gets it dirty….it comes off and can be washed!
This slipcover technique is one I used for the large ottoman in the living room.
This ottoman is one that we put our feet up on and I don’t have to worry about it getting dirty!  
I am still working on some other fun Kate Spade details for the mini-redo of the bedroom.
 
I have more pink polka dots, more green striped fabric and some fun golden dot stickers.

 HMMMMMM……I can’t wait to show you the details!

Have a Great Day!

Link Here to see the first installment of the mini-makeover.

Lighten Up! Summer Look For The Couch!

Summer is really here!
Time for the couches at Sweetwater to change into their Summer wardrobe!
Summer calls for smooth, cool fabric and a lighter color palette!
It is pretty simple to make “pseudo summer slipcovers” with very little sewing!
I love how changing out JUST the cushions on the couch creates the Summertime feel I am after!

The couch in the lower level family room is one of those oversized monsters….and it is a solid navy blue! But it was a great Craig’s List find and is super comfortable!
Add insult to injury and you see that the carpet is navy blue too!  Sometimes I wonder where my decorating sense is!!!!  
 
The solution for “lightening up” the sofa is a set of “pillow shams” for just the back cushions.
If you need a tutorial for the pillow sham process….hop over to this post on NO BIG DILL!
The cushions are just big pillows with no shaping at all….so this technique works really well!

I had enough fabric to use my “almost no sew box cushion” technique for the window bench…
…you can find a tutorial for making these on the link!

It isn’t “exactly” a porch swing…..but it has a lazy summer feel!

I liked the new look of the couch so much that I made winter season covers too!

Now it is a matter of a 15 minutes to go from Winter “cozy” to Summer “breezy” !

The couch in the family room is also sort of “dark”!  The chenille cushions have a soft and warm feeling during the cool months!

But once again…it seems like they need a lighter touch for the summer.

This is where the pseudo part of the slipcovering comes in!

I made big form fitting (like really tight!) tubes of fabric for each of the six cushions!
The fabric is a nice stretchy bottom weight duck!
The stretch is important because it shapes well to the cushion and looks nice and taut!

The bottom cushions on the couch are pretty simple to do…..each end is just tucked in tightly with some gathers on the corners!  This means NO sewing except the long seam for the tubes!
It is also great because taking the covers off to launder them is a simple matter!

The back cushions of the couch are a bit more problematic….because they have an angles shape to them.

I tried tucking the fabric in on them as well…but didn’t like the result!

I uses the wrapping and hand sewing technique shown here  to get the nice tight look I was after! Basically…you just fold the corners in like you are wrapping a gift!

The final result is super comfortable and cool to sit on when it is hot and humid!

Is it perfect?  Not by a long shot! 
But the moral of this story is NOT about perfection!
It is about “livin’ easy” !
I found some other summery looking slipcover looks that might inspire you to lighten up your own couches!

 This is a cover from Pottery Barn that is drop cloth weight…..hmmmm….bet it would be pretty simple to drape and tuck something like this!

Source

Source

  This look would be easy enough to create with a purchased coverlet and pillow shams.

I would love to hear from you about the ways YOU lighten up for Summer!
Have A Wonderful Day!

Link Parties
Bowdabra 

Super Simple Almost NO SEW Ottoman Slipcover!

Recovering an ottoman can seem like a daunting project!
It doesn’t have to be!
If you have an hour….
If you can sew a straight seam…
You can do it!
Would you believe THIS….?

looked like THIS just a couple of days ago……?
I think I recovered it (poorly) over 15 years ago and it was time for an update!!!

The process was pretty simple….but of course I forgot to take pictures!
BUT….

If you click on this post you can see the project that I did for the ottoman in the living room….
Living Room Ottoman
The crisp cotton slipcover is simply pulled over the existing print upholstery for a new look.  
This one is not attached on the bottom….just neatly hemmed.
It can be easily removed and laundered should it get dirty!
The process outlined in the post is the same that I used for this ottoman slipcover project except for the finishing on the bottom.

The seam from the mitering runs along each corner.

This makes the slipcover fit tightly.

Then I just tipped it over and stapled the bottom edge of the fabric under the edge.

I am always so glad I have my trusty air compressor and stapler when I do these quick projects.

You might have noticed the “welting” along the top of the ottoman!
It isn’t REAL welting….which would take some fair amount of sewing….
which I DID NOT want to do!
Look really close and you will see the little stitches….yes hand stitches!
I used my trusty curved needle to stitch the “Faux” welting by hand!
Now….you might think this was a bit much….
but in less than the time it took to watch an episode of Suits….
I had a newly updated ottoman!
I think Marvin approves!
So the next time you see a nasty looking ottoman in the thrift store….
(or in my case….the basement)
Get yourself to the fabric store and try this for yourself!
Have a Great Day!