The place mats at Sweetwater took a beating over the Holidays with all the entertaining we did!
It was time for new ones!
I spent some time shopping for new ones.
I wanted something basic….probably brown to co-ordinate with our decor!
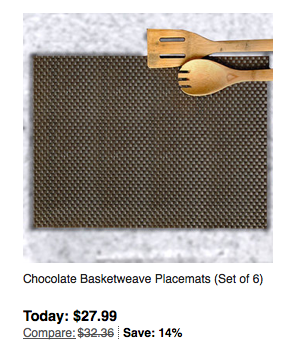
I found some at Overstock.com
They aren’t too expensive, but not exactly right and I want at least 8!
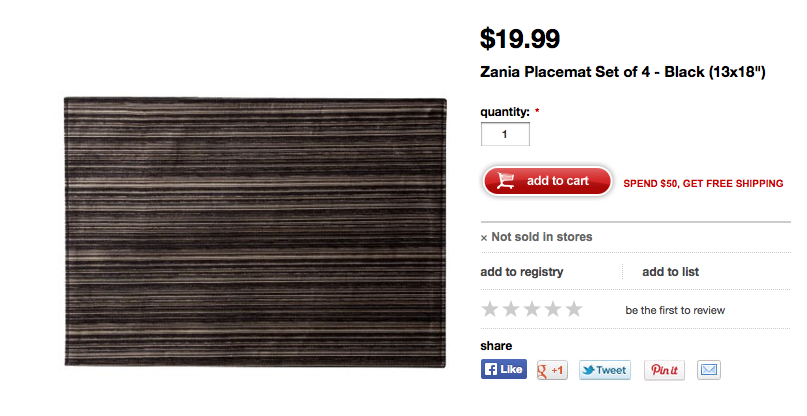
And these at Target are more what I was looking for, but it would still be $40 for 2 sets…..
I just happened to find some really nice plain brown fabric in the sale bin for $5 a yard!
I bought 3 yards….cost of $15!
I decided to make my own!
 If you are like me….you know it is always a struggle to sew something that needs to be perfectly straight and square!
AND
to do it over and over and over again!
I was determined to come up with a plan to make it easier to get the place mats perfectly straight this time!
The 3 yards of fabric is enough fabric for 12 place mats.
I planned a 2 inch “hem” for each single layered place mat.
I hit upon the idea of using my mat cutter as a simple way to cut perfectly straight edges.
The straight razor was the perfect solution….and the rulers built in to the mat cutter made it easy to be sure that each place mat was the same size!
The system made it super simple…..but any straight edge and pencil line would work.
I don’t have a rotary cutter….hmmm….go figure??? but that would also work!
Now I had 12 perfectly straight pieces of fabric…..the trick would be to get the mitered corners the same size and keep the sewing part straight!
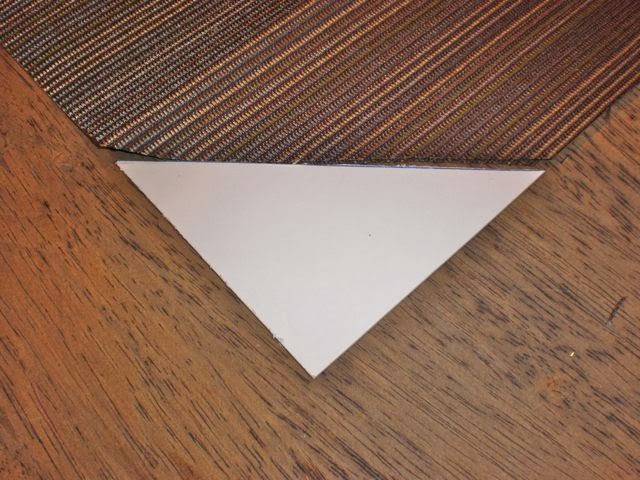
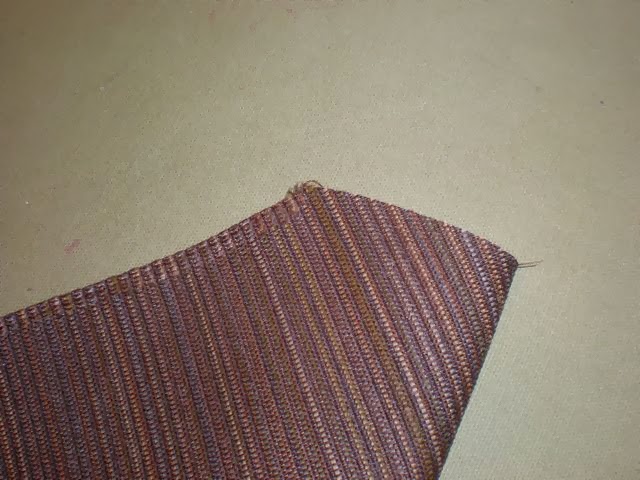
I cut a template for the mitered corner.
Each side of the triangle is 2 inches.
This way the miter will control the depth of the hem.
I cut the corners on all the place mats using the template!
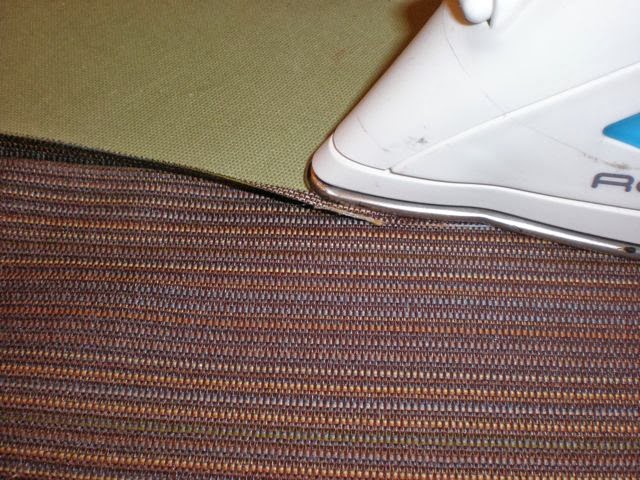
Using the “most important” sewing tool….MY IRON…I pressed a narrow 1/4 inch hem around all sides and stitched it down. More pressing to get it perfectly flat!
Now for the miter! And this is the really great trick! I surprised myself with how easily it worked!
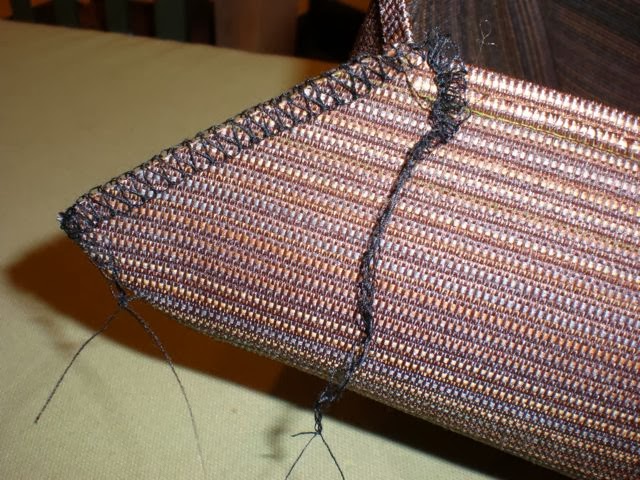
Start by folding the two edges together…..remember the triangle that was cut off earlier….that makes this diagonal that is ready to stitch.
I used the serger….nice because that was another STRAIGHT line tool that kept the seam exactly the right size. But a careful stitiching with the regular machine would definitely work too. Serging these seams meant I didn’t have to trim the seams….so if you use a regular machine be sure to closely trim your seams.
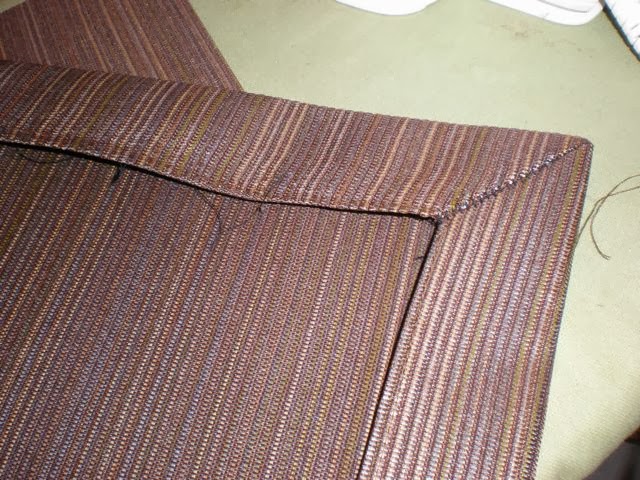
Turn the miters right side out…..use a sharp tool to push out the corners and press the whole thing flat.
The beauty of this mitering system is the way it forces the 2 inch border to be exactly the same all the way around!
The final step is to stitch all the way around the mat at exactly 2 inches.
When I need a perfect size hem and do it more than once….I put a piece of tape on the machine as a guide! This keeps me on the straight and narrow!
I have finished 8 of the 12 place mats…..if you got out a micrometer…..
you would see that they aren’t absolutely perfect…..
but hey….like always say…
“I aim to be pretty good!”
and these turned out “Pretty Good” if I do say so myself.
And….
at a cost of less than $2 a piece….a bargain besides!
Have A Great Day!

