bathroom

In Praise of Expertise Part 2…Almost Done!

The bathroom reno is nearly finished.
All that is left to do is choose window treatments and accessories.
When I walk in…..I just look around and smile!
While My last post was all about using experts to help choose the components for our bathroom remodel…..
This one will be in praise of the people who actually made it happen.

 I almost feel guilty sharing all about the new space since we really didn’t DO anything ourselves. 

It kinda feels like I am doing one of those….”look at me” deals.

So this post will NOT JUST be about how gorgeous the new space is.
It will be about….why it made sense to (gasp) spend money to get this done!

  1. Remember that Mr. S just had his ankle replaced less than 6 months ago?  Can you even imagine him trying to go up and down the steps as many times as would have been necessary.
  2. Our contractor did an amazing job of scheduling.  Because all of the people that he worked with had a relationship with him, they came when he asked and made adjustments when necessary. THAT SAVED TIME!
  3. We were able to use the discounts available to the contractor for many of the components of the project. THAT SAVED $$$$ !
  4. There were many things that needed specialized skills that we would probably have had to hire done anyway!
ANYWAY…..during the month long process….I don’t think a day went by that we didn’t say “THANK GOODNESS we are NOT doing this ourselves.  
So in good old renovation show terminology……it’s time for the big reveal!

Ahhh….the freestanding soaking tub that I have been dreaming about since we started is every bit as beautiful as I imagined! Taking out the old surround for the whirlpool tub that I never used freed up an enormous amount of room for the shower.  There used to be a soffitt over the shower.  Removing that makes the shower seem even bigger.  The custom glass is seamless.  The “experts” were able to install this in less than 2 hours.  

We found these tilting mirrors on Amazon of all places.  They look just like the ones in the lighting store where we found these great fixtures.  When the contractor actually “complained” about how difficult the installation of the mirrors was….I knew that a DIY session would have been extremely painful for Mr. S.!

I love the squared off under mount sinks.  The glossy white counter is a dream compared to the old molded “marble” that it replaces.  This really big vanity was another reason we were glad we had experts to rely on…..it is 78 inches long and came in one big piece.  Imagine us trying to haul that fro,

We still need to find window treatments and some towel bars and other stuff…and I imagine there will be some DIY with those things….
Less than a month total time….
Little or no hassles….. 
It really was worth the expense to save time, headaches, trips to Home Depot, arguments etc. etc. etc.
But the REAL proof of value….
The Sweetwater Grandboy gives his seal of approval!
Have A Wonderful Day!

When NOT to DIY….In Praise of Expertise! Part One!

Mr. S and I are confirmed DIYers.
Even if it means many trips to the hardware store….and lots of trial and error….we LOVE the feeling of a project well done by US!

A few months ago, we decided that our master bathroom had gotten pretty shabby after 25+ years of hard use.

 It wasn’t AWFUL…just outdated with a few spots that were down right worn out!

We considered the option of doing a lot of the work ourselves.
We looked at the scope of the project.
We knew that Mr. S was still in recovery mode from his ankle replacement.
Even though we knew it would be more expensive to let the
experts take care of it…we GULP…decided that the DIY route wasn’t in the cards for this remodel.

So….we hired a general contractor and put together a plan and got an estimate for the work.
The sticker shock was a bit hard to take….and then we thought about what was involved and decided to go for it!

It turns out that in this case….spending the money and relying on the experts was not just sensible….it probably was a pretty cost effective way to go.

Let me tell you why!

The first set of experts that we used were the people at the Tile Shop.
We went in….told them what our vision was…..and let them lead the way!

In less than an hour…..with Mr. S wheeling his way through the shop on his tricycle…we were able to choose floor tile, shower tile and all the additional pieces.  The advice we got was superb.  Our “expert” listened to our “wants” for elegant mid-range tile that would stand the test of time.

 Then it was off to find the fixtures…..
We started at the logical spots Home Depot and Menards.  That was not the way to go!  While there were many options…it was too overwhelming to put the package together.  Especially since I had my heart set on a free standing tub that was a good quality.  Many hours of on-line shopping and wandering around in a fog at the big box store….we headed to Fergusens.  This is a bath and kitchen source with a great show room.  We made an appointment for a consultation.  We shared our budget and design parameters and….Two hours later…..our salesperson guided us through the process and we had the whole kit and caboodle selected.  We got EXPERT advice and everything matches!  He even found the perfect free standing tub for way less money than I thought it would cost.

Lessons learned:

  • Do your homework.…so you can tell those experts what you do like and what you don’t like. This does mean lots of looking on line to see what is available.  That time pays off when you are actually making selections.
  • Set a price range and be willing to tell your expert what it is.  There is no shame in sticking to a budget…..but….if you fall in love with something see if there is something less expensive to be found.
  • Don’t obsess….the choices were overwhelming….but really…once we decided on the gray marble look and the subway tile we could really shop price because the high end and low end aren’t all that different.  As long as you talk quality….you can find a mid-range product that will work.  Making the decision to stay with one tile source and one fixture source saved us not just time….but money.
  • Listen and Learn…we found out so many things from these people about all the little things that were necessary and available…and how to save money as well.  If we had set out to do this without the advice we would have been making lots of trips to fix our mistakes.  Instead…we were able to have everything ready for the project to begin and stay on schedule.

Speaking of SCHEDULE….my next post will take you through the actual construction and demonstrate how using experts made sense for us!
Would you believe that the whole project started a month ago and we are only waiting for the vanity counter to be completely finished?

 I can’t wait to show you how it turned out!
Stay tuned….

Have A Great Day!

Simple Almost No Sew Custom Shower Curtain

A Long Long Time Ago…..
I posted about the no sew shower curtain in the guest bathroom.  The complete tutorial for how to do this can be found on the link.
This curtain really doesn’t look bad…..but heavens….it has been hanging around for over 7 years!  GASP!

 The dark brown walls will be staying for awhile.  We are redoing the master bath later on this month….and energy and budget for the guest bath just won’t happen.

My challenge:  Find some way to freshen up the room with out spending too much time and little or no money!

If you are a regular reader, you know that for me, many projects start with a fabric inspiration!
Fabric stores are my happy place!
Speaking of happy….don’t these little birds just make you smile?

I love the clean white background.
I love the multiple colors on the birds.
The green is bright and cheerful.
We can pretend the branches are brown…until we have time to paint!

 Here are the simple directions for an almost no sew shower curtain:

To make a shower curtain you will need 2 Lengths of fabric (typical drapery fabric is 54-60 inches wide).
1.  Four yards of fabric will give you enough fabric for a full looking curtain.

2. Cut the fabric in 2 pieces and seam them together (straight seam on the machine or fusible webbing will work…never tried to glue gun….but why not)

3. Cut a piece of fabric that is 8 inches wide from each of the pieces…..I cut this from the long sides of the fabric.  You will have 2 pieces that are 8 x 72.  Fold the strips to make tabs.  I don’t sew these…it has never seemed to be necessary.  Cut the folded strips into 8 inch pieces for use as the tabs.

4. Turn both of the sides of the big square in to make a smooth edge.  You can stitch or use fusible web for this.

5. Fold the top of the square down to make a 2 inch “hem”.

6. Fold the tab pieces over and pin them to the top.  Space them 5 inches apart with a 3 inch “loop”.

7.  Stitch across the top of the curtain at 1/2 inch down and 2 inches down.  This will secure the tabs.
I imagine you could do this with a glue gun too!

8.  Measure your curtain to make sure you know how long you want it….then turn up the bottom for a nice hem.

9. Hang the curtain by the tabs on a tension rod.  I have a regular shower rod with a liner behind the decorative one.

There you have it!

Then it was just a matter of “shopping the house” for some art and accents to fit the new decor.

I changed the mats on these little pictures to white for a brighter look.

This canvas has just the right color scheme for the new room.

The ceramic birds look right at home with their “friends”!

The new update was worth the couple of hours spent.
Even with new towels…I think the total cost was around $50!
My kind of decorating!

Have A Wonderful Day and Stay Warm!

Link Parties

Dropped Ceiling Panel Update

The latest project here at Sweetwater is a cosmetic update of the lower level bathroom.

This turned out to be one of those projects that reminds me of the book If You Give A Mouse a Cookie. 
If you aren’t familiar with the storyline….it goes something like this…
“If you give a mouse a cookie, he’s going to ask for a glass of milk.
When you give him the milk, he’ll probably ask you for a straw. When he’s finished, he’ll ask you for a napkin.
Then he’ll want to look in a mirror to make sure he doesn’t have a milk mustache. When he looks in the mirror, he might notice his hair needs a trim. So he’ll probably ask for a pair of nail scissors….”  and so on and so on.

The Sweetwater version goes something like this!

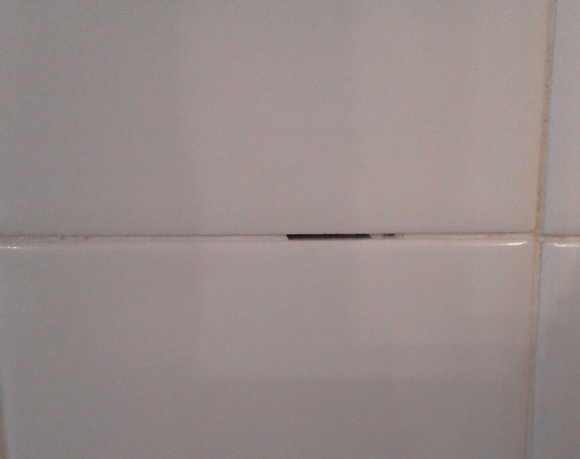
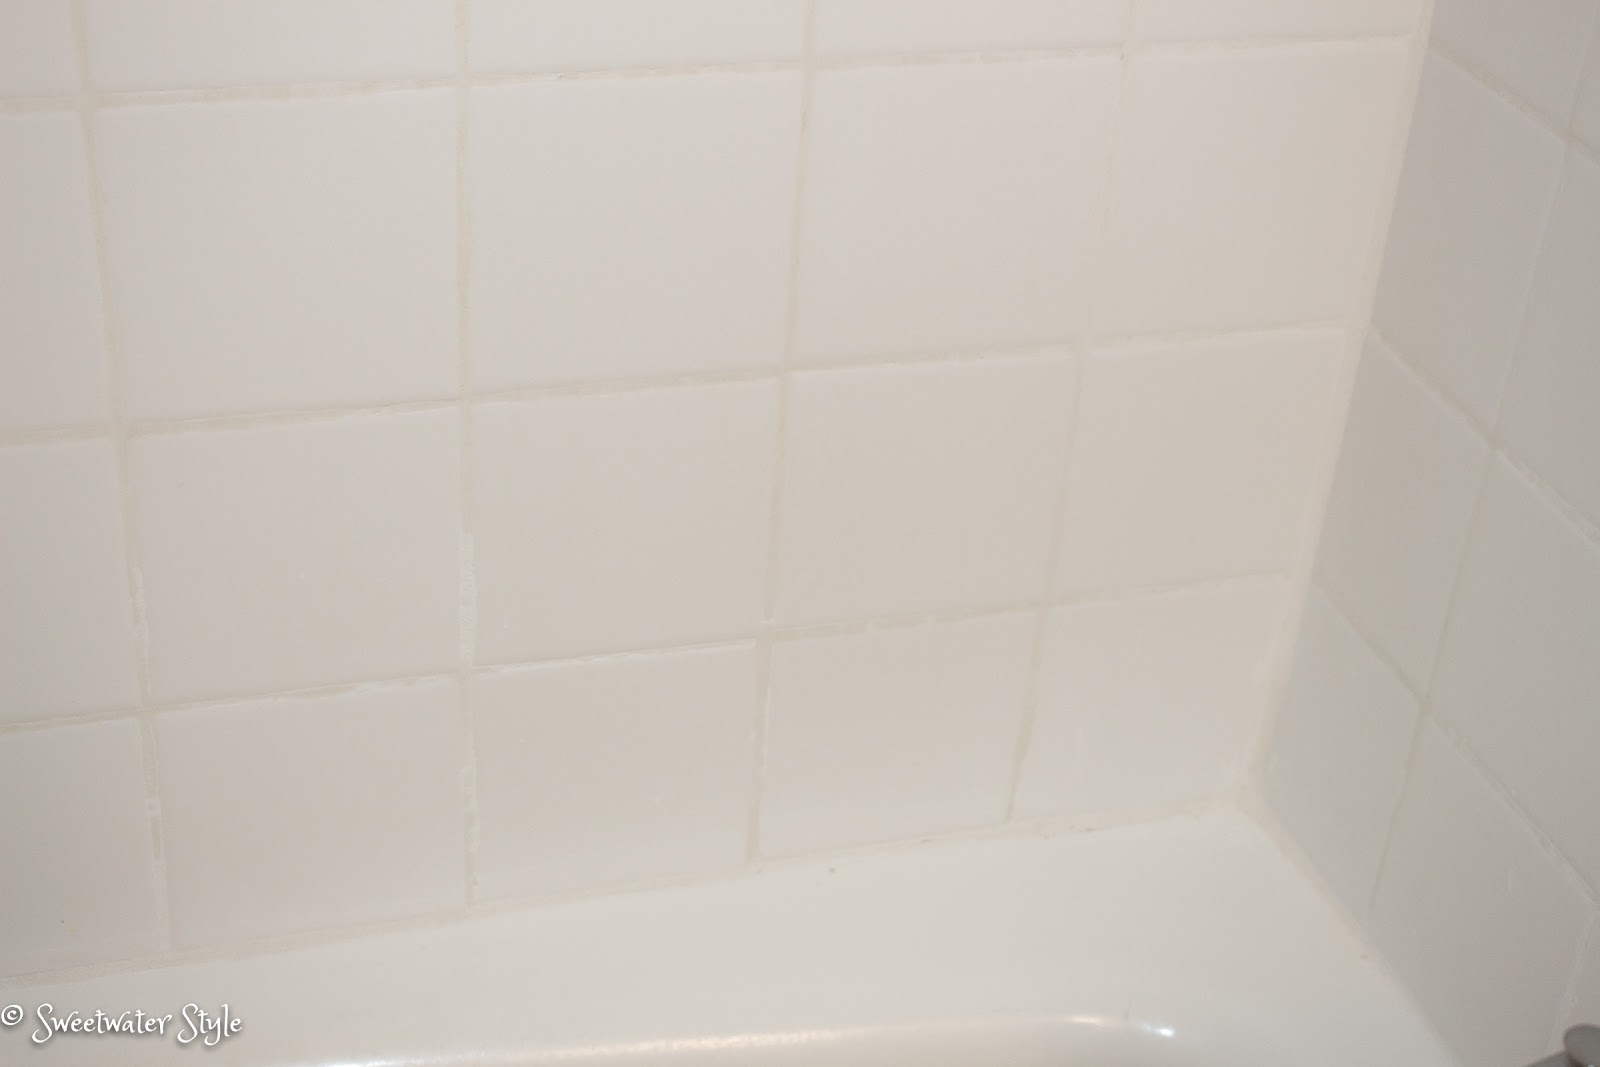
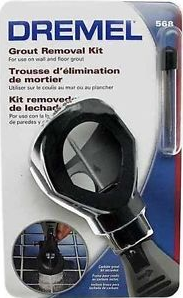
If you notice that some of the grout in the bathtub tile is cracked and dirty, you are probably going to need a trip to the store to buy a Dremel tool.

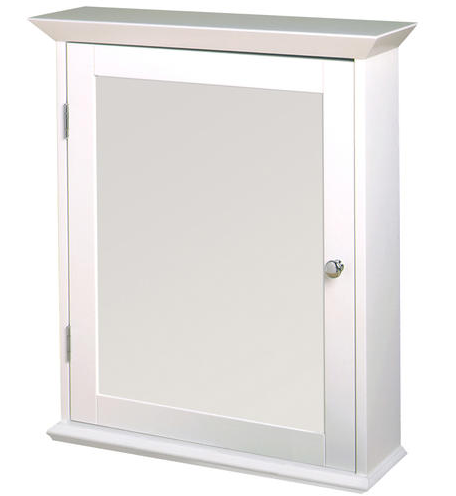
When you are at store, you will see a nice Medicine cabinet that would be a fix for the one that has a tiny chip in the mirror.

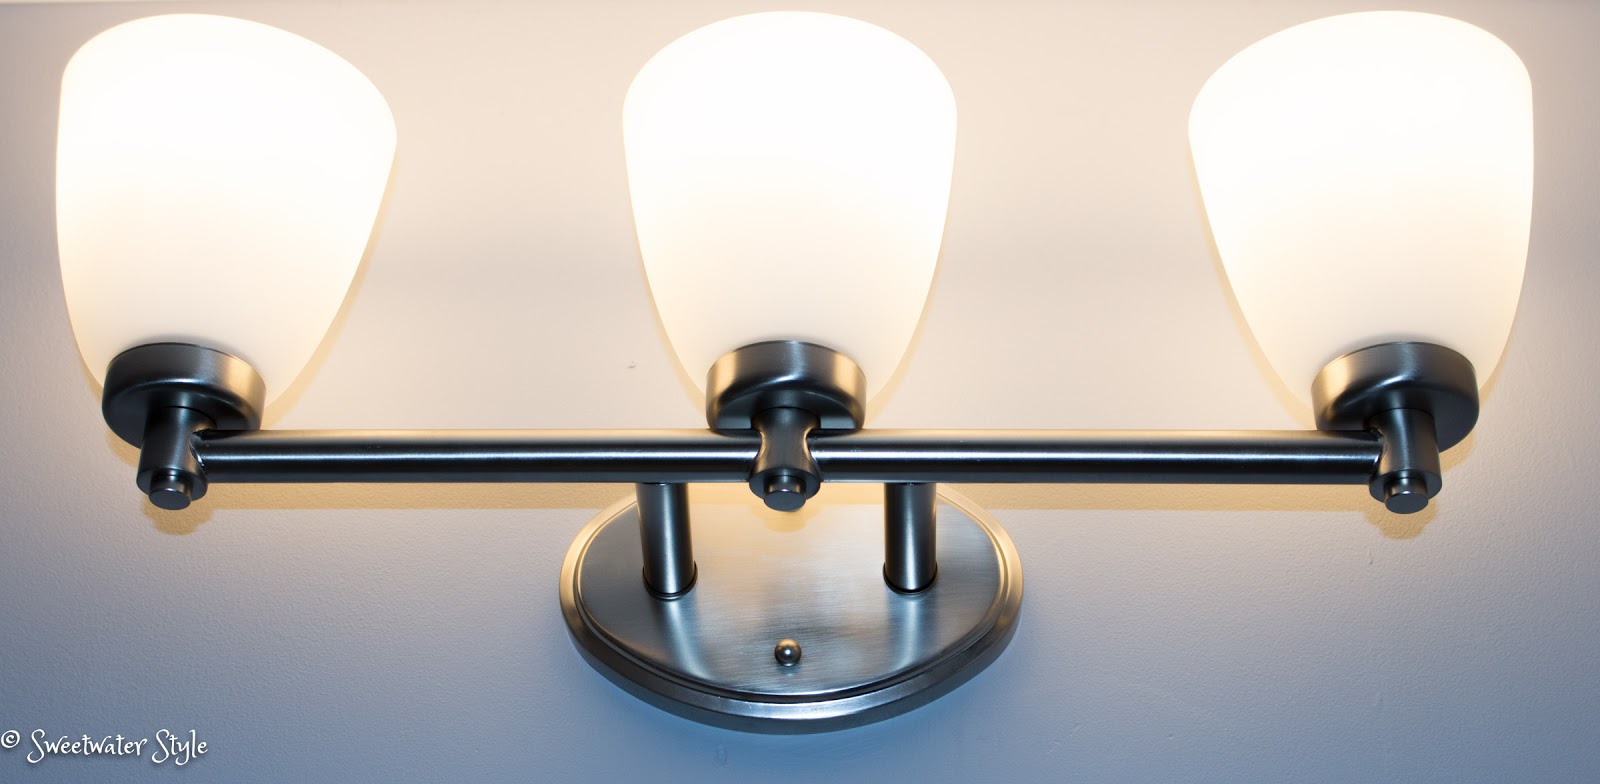
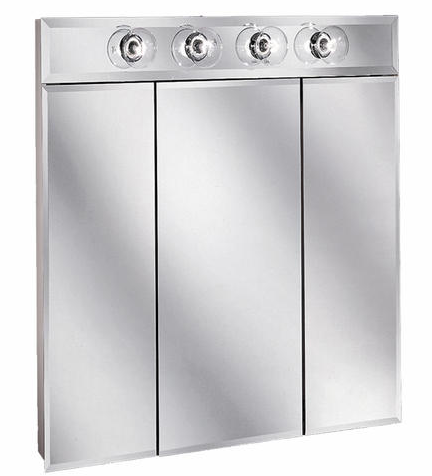
When you buy the new cabinet, you realize that the old cabinet had a light as part of it….and the new one doesn’t…

So you will just have to buy a new light.

When you take off the old medicine cabinet, you realize that the wall will need to have repairs and paint for the new light and cabinet.

Since the walls are painted a really dark red, you will need to use a primer and several coats of new gray paint to cover.

Since the bathroom is small and hard to work in with the fixtures in place, you will want to remove them.

When you take the toilet out, you find out that the flange is cracked, so you will want to call a plumber to replace this.

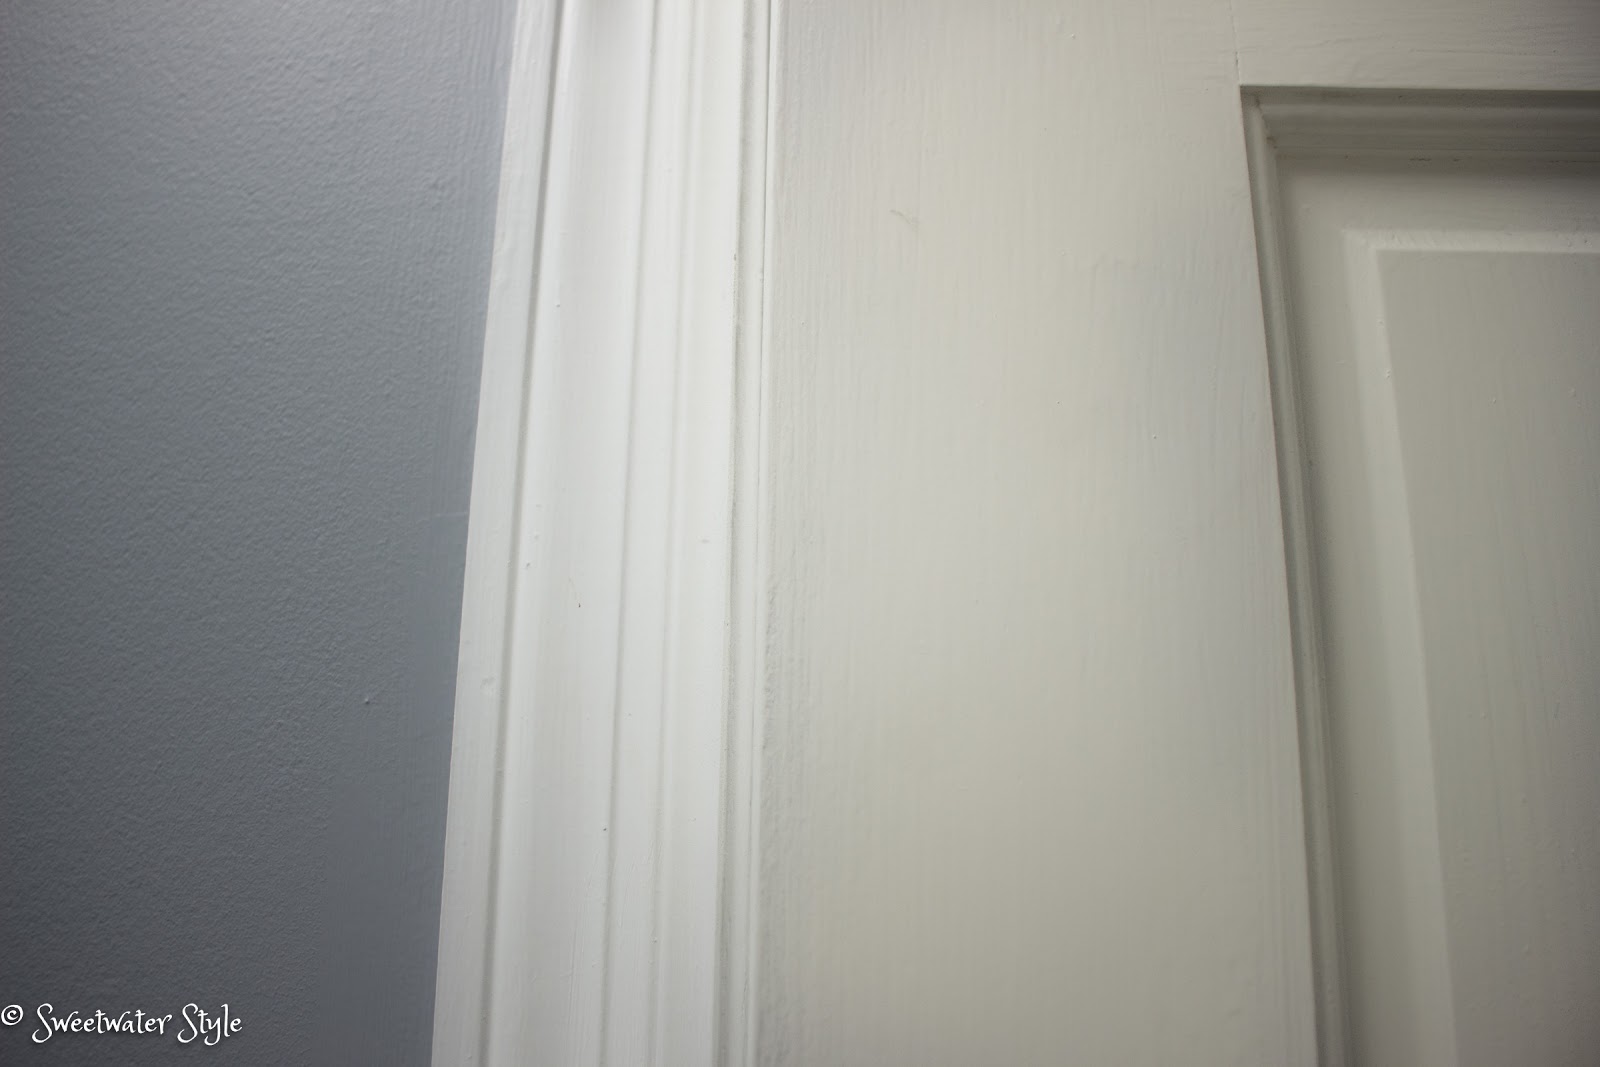
When you get the pretty new paint on the walls, you will notice that the white woodwork looks very yellow, so you will need to give it a refreshing coat of white.

FINALLY….we are getting to the real point of this post….The dropped ceiling panels.

This bathroom is in the basement and there is a need to have access to the stuff up there!  Don’t you love my technical language?  We access the plumbing for the outside deck faucet from here.  And dang it….a couple of times there has been leakage and staining.  The original acoustic tiles are no longer available….so it was time for something newer and better.

I was absolutely amazed at the variety of options available to update a dropped ceiling.
We decided on 2 x 2 foot paneled tiles.
If you have an unsightly dropped ceiling you might want to consider one of these!
I would like to tell you that this was easy peasy….BUT NOT!
It actually took Mr. S  three days and multiple trips to the store to get it finished.
AND…it involved lots of MATH and cutting and swearing under his breath.
But the results are amazing!

We are waiting for delivery on the special order medicine chest and a visit from the plumber to repair and install the toilet.  I also need to repaint the door a bright white. But all in all….this project is a wrap.

So…..if you give Mr. S a bathroom redo project, he is probably going to need a beer.
If Mr. S has a beer, he is probably going to want to go fishing!  And he earned it!

Now for me…..
If you give a girl a new ceiling in the bathroom, she is probably going to want one in the craft room!

Oh…and the original problem with the missing grout?
Solved!

Have A Wonderful Day!

Link Parties
The Cottage Market Cup of Joe

Dawn and Vinegar Magical Cleaner

Do those Dawn dish soap commercials tug at your heart the way they do mine?


The commercials  prove what a great grease cutter and cleaner this amazing soap is!

Everyone also touts the effectiveness of vinegar as a cleaning agent.

It only makes sense that if you put the two together they would work even better.

So after reading about this a couple of months ago….I decided to try it.

I imagine that many of you are sitting there saying “what took her so long to discover this?”
Who knows….but I do know that this stuff is truly magical….

The recipe is simple: 

Use equal parts Dawn Soap and White Distilled Vinegar.

  1. Heat vinegar in microwave until hot and pour into squirt bottle.
  2. Add the Dawn soap. Put the lid on and gently shake to incorporate.

You really don’t have to heat the vinegar to have the stuff work, but it doesn’t hurt either.

Here are some things that you can use this solution for:

  •  clean soap scum and tub and shower buildup with just a little scrubbing
  •  clean sinks
  • greasy build up on the grill
  • use instead of plain dish soap on baking or broiler pans with baked on grease

 If you don’t believe me…..because you might have noticed that I am not sharing amazing before and after photos…..here is an article from Sisters Shopping On a Shoestring with that photographic evidence!


http://www.sistersshoppingonashoestring.com/cleaning-dream-team-vinegar-and-dawn
If you haven’t tried this stuff yet…you really need to!
If you already make your own magic….share your success stories.
Have a Great Day!