furniture

These Chairs Have History!

You know the old saying, “everything old is new again”?
The idea that mid-century modern furniture is uber popular kind of makes me smile.
You know….that stuff we thought looked so tacky in our parent’s living rooms…..??
That is the stuff our kids lust after at Wayfair and West Elm.

Like this:

westelm.com

overstock.com

Well…..
Look at these chairs!

They may not have quite the same “fancy-ness” as the West Elm or Overstock versions, but they have something that I like even better!

They have HISTORY!

One of the chairs actually came from Coffman Memorial Union at the U of M!

It was given to us by a friend who somehow “liberated” it sometime in the late 1960’s! 
I have fond memories pulling a couple of these chairs together to take a study break while I waited between classes.  So when we had the chance to have one to furnish our apartment, we jumped at the chance.

 Through the years, the single chair got lots of makeovers.  New cushion covers and even a coat of white paint.  I was never able to discard it….but always tucked it in the corner.

The other chair doesn’t have quite as clear a provenance.  It was a streetside rescue…..saved by the Sweetwater Daughter a couple of decades later!

It only made sense that our old chair would join the “new chair” in her house…
Until…..
She found some new chairs and wondered what to do with these treasures…

I knew!
….a trip to the fabric store was in order.
This really nice faux leather was perfect. Maybe I should call it VEGAN leather?
Anyway….the color was perfect and it would also solve the problem of cat hair on the cushions when company comes.  Just a quick wipe and even people wearing black can sit on them.

 The project of recovering them was a combination of wrapping and sewing.  This is one of those times when a “tutorial” doesn’t make sense.  Every chair project is different.  My advice to you if you want to try something like this….just start!  Worst case….you can take it to a “real” upholstery shop.

 I think these were worth the effort!

Now…when people lust over “vintage” furniture…I can smile and know I have the real deal in the living room

In case you were wondering about the difference between antique, vintage and retro, read on!
Here is what the good folks over at Apartment Therapy have to say!
OFFICIAL DEFINITIONS:
What is antique?
According to Merriam Webster, an antique is “a relic or object of ancient times” or “a work of art, piece of furniture, or decorative object made at an earlier period and according to various customs laws at least 100 years ago.” Ruby Lane, an online marketplace of independent antique and collectible shops, offers a similar definition, explaining, “Most authorities consider the actual definition of the term ‘antique’ to mean an age of at least 100 years. If an item is not definitively datable to 100 or more years in age, it should not be directly referred to as an antique.”
What is vintage?
If antiques are things that are 100 years old or older, what are vintage pieces? The defnition of vintage is trickier. According to Merriam Webster, the term vintage relates primarily to wine and is an altered form of the French word vendage, meaning “the grapes picked during a season.” One of its secondary definitions is “a period of origin or manufacture” (e.g., a vintage 1960s Mercedes) or “length of existence: age.” Ruby Lane provides a much more helpful explanation, noting that “an item described as ‘vintage’ should speak of the era in which it was produced. Vintage can mean an item is of a certain period of time, as in “vintage 1950’s” but it can also mean (and probably always should) that the item exhibits the best of a certain quality, or qualities, associated with or belonging to that specific era. In other words, for the term vintage to accurately apply to it, an item should be somewhat representational and recognizable as belonging to the era in which it was made.” Ruby Lane also suggests that ‘vintage’ should not be used in reference to objects less than 20 years old.
What is retro?
According to Merriam Webster, retro is “relating to, reviving, or being the styles and especially the fashions of the past : fashionably nostalgic or old-fashioned.” Retro furniture may not actually be old but it references styles of the recent past. Retro can also mean something that is not very old but is old enough to be more than just “so last season”. (i.e., the woman wearing the early 80s high-waisted jeans because she hasn’t updated her wardrobe since the Reagan Administration is not retro. She is just outdated.) I am still not entirely clear on the difference between retro and vintage, I must admit. There seems to be some overlap. For whatever reason, “retro” makes me think of mod, geometric shapes and “vintage” conjures up images of faded, floral fabrics. But that’s just me!

Good to know!

Tee Public

Have A Great Day!

How To Build DIY Industrial Shelving

All great DIY projects have a back story to them.
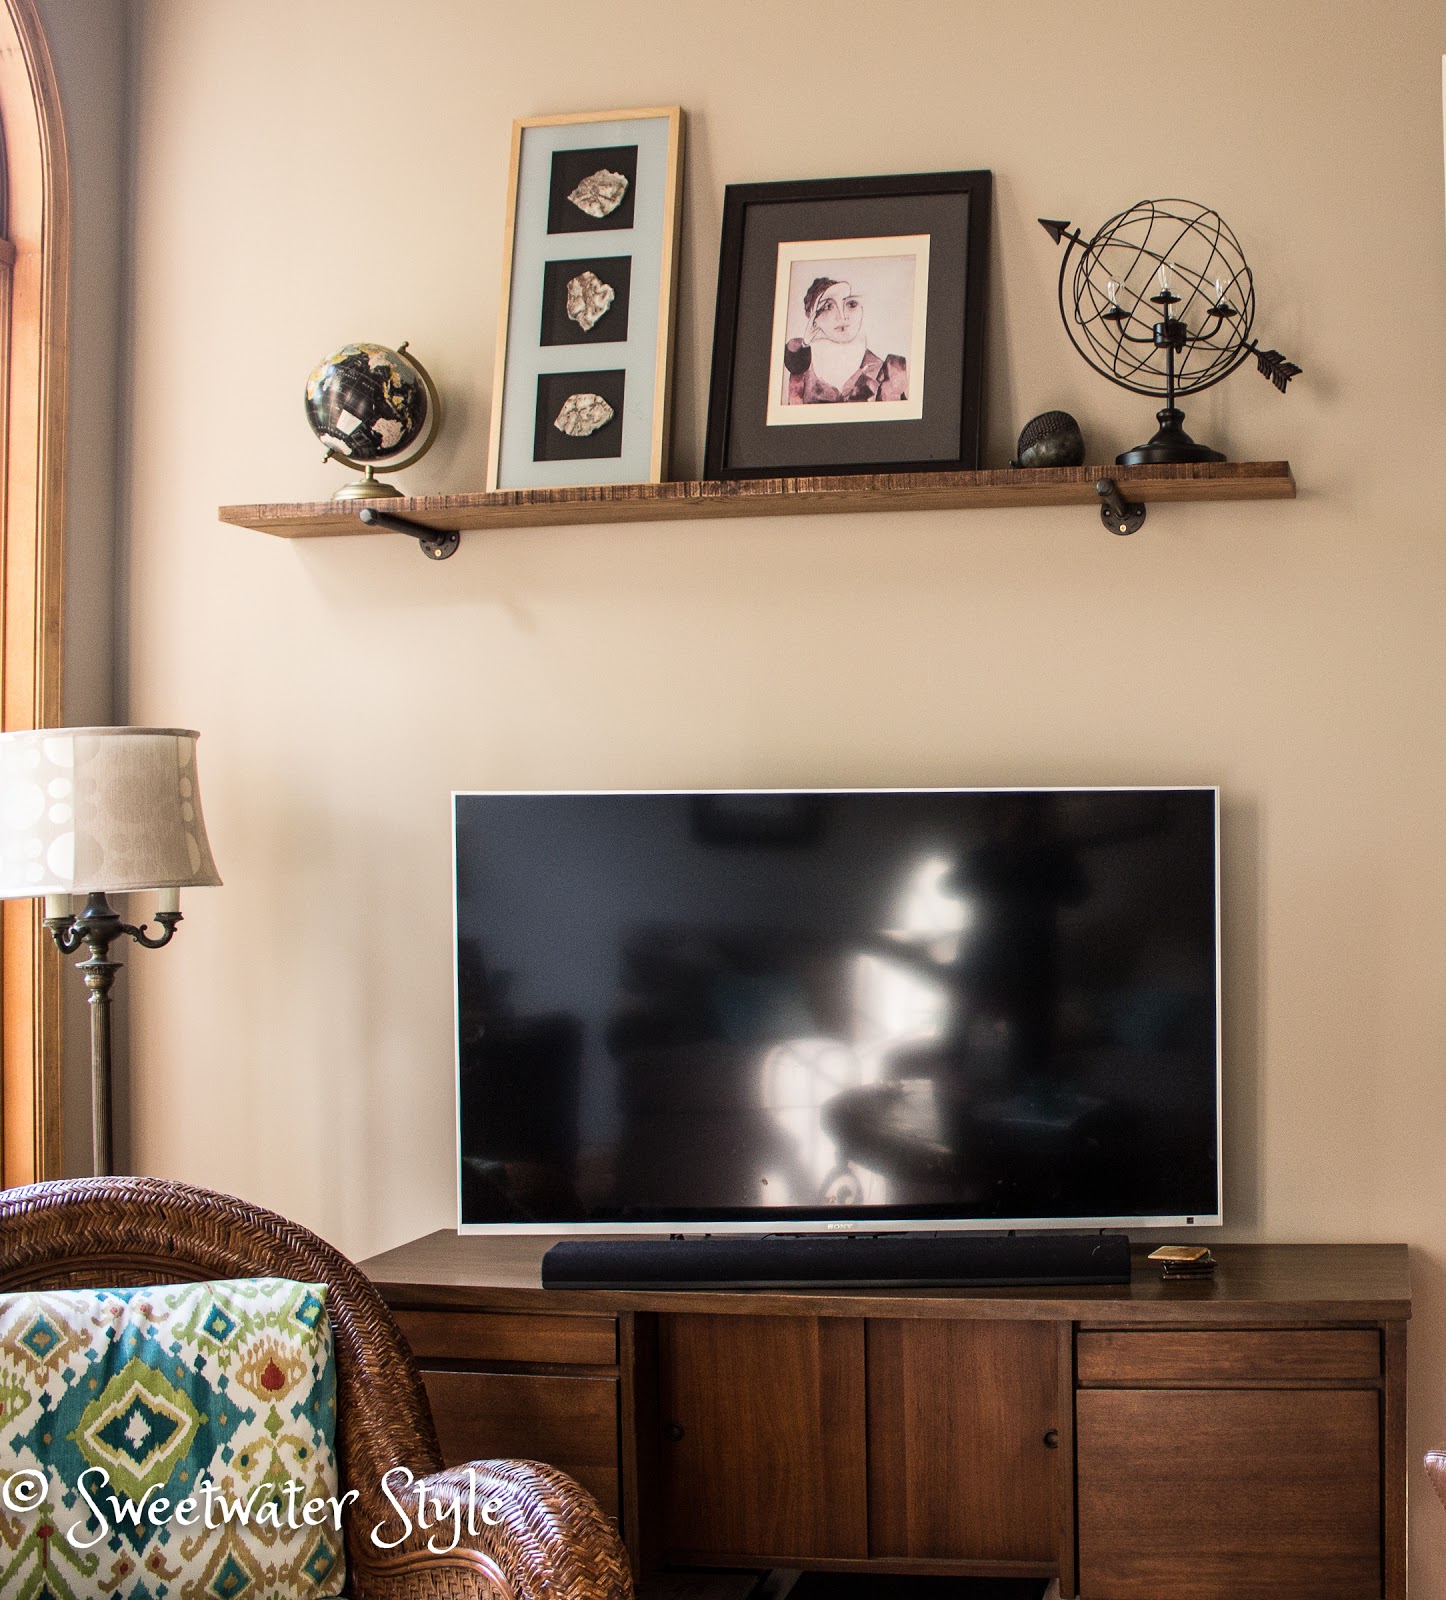
This is the story of the DIY shelf over the television in the Sweetwater family room.

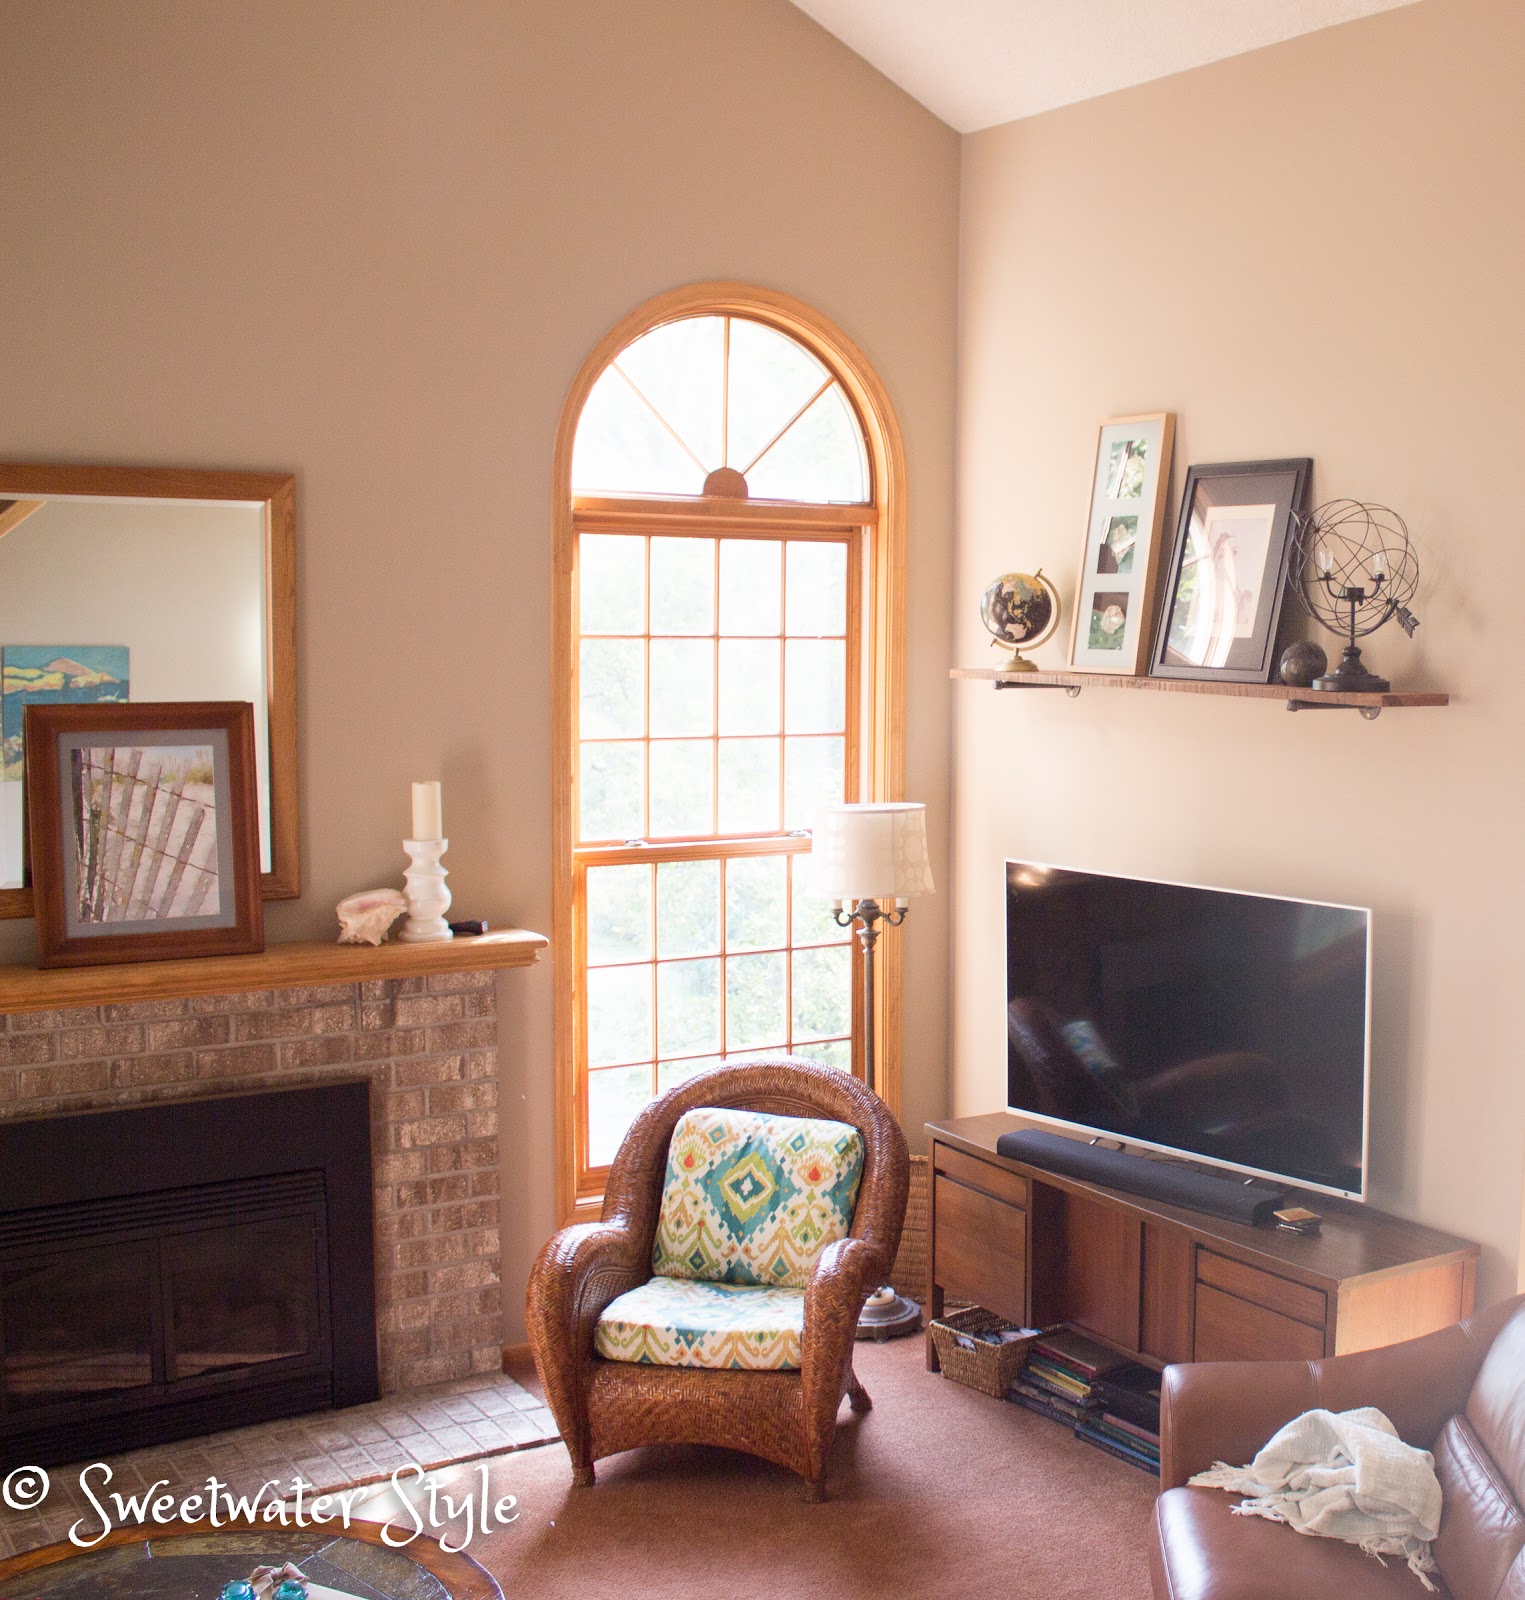
Once upon a time in the “Sweetwater Castle” the “Queen” decided it was time to repaint.

With the help of a wonderful painter….the yellow walls became a beautiful “griege” color.

All was well in the kingdom of Sweetwater…..

UNTIL….the “Queen” noticed the big blank wall above the television.

“This will not do!” she decreed.

She called for advice from the “Princess”,  who suggested a floating shelf as the “crowning” accent for the wall.

“It shall be done,” commanded the “Queen”.

What follows is the “real” story behind this fairy tale!

 I was thrilled when the Sweetwater Daughter gave me the perfect shelf for Christmas…..
well…since it was on back order….she gave me a “picture” of a shelf!

Hey…you might be saying….that isn’t very DIY !

The deal was…..the shelf never arrived.
With much follow up and a bit of confusion, the order was cancelled.

Now we are ready for the DIY part.
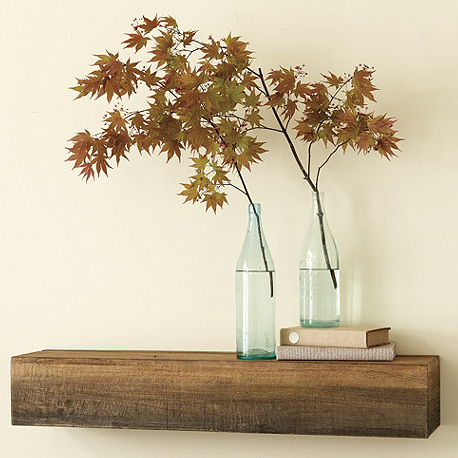
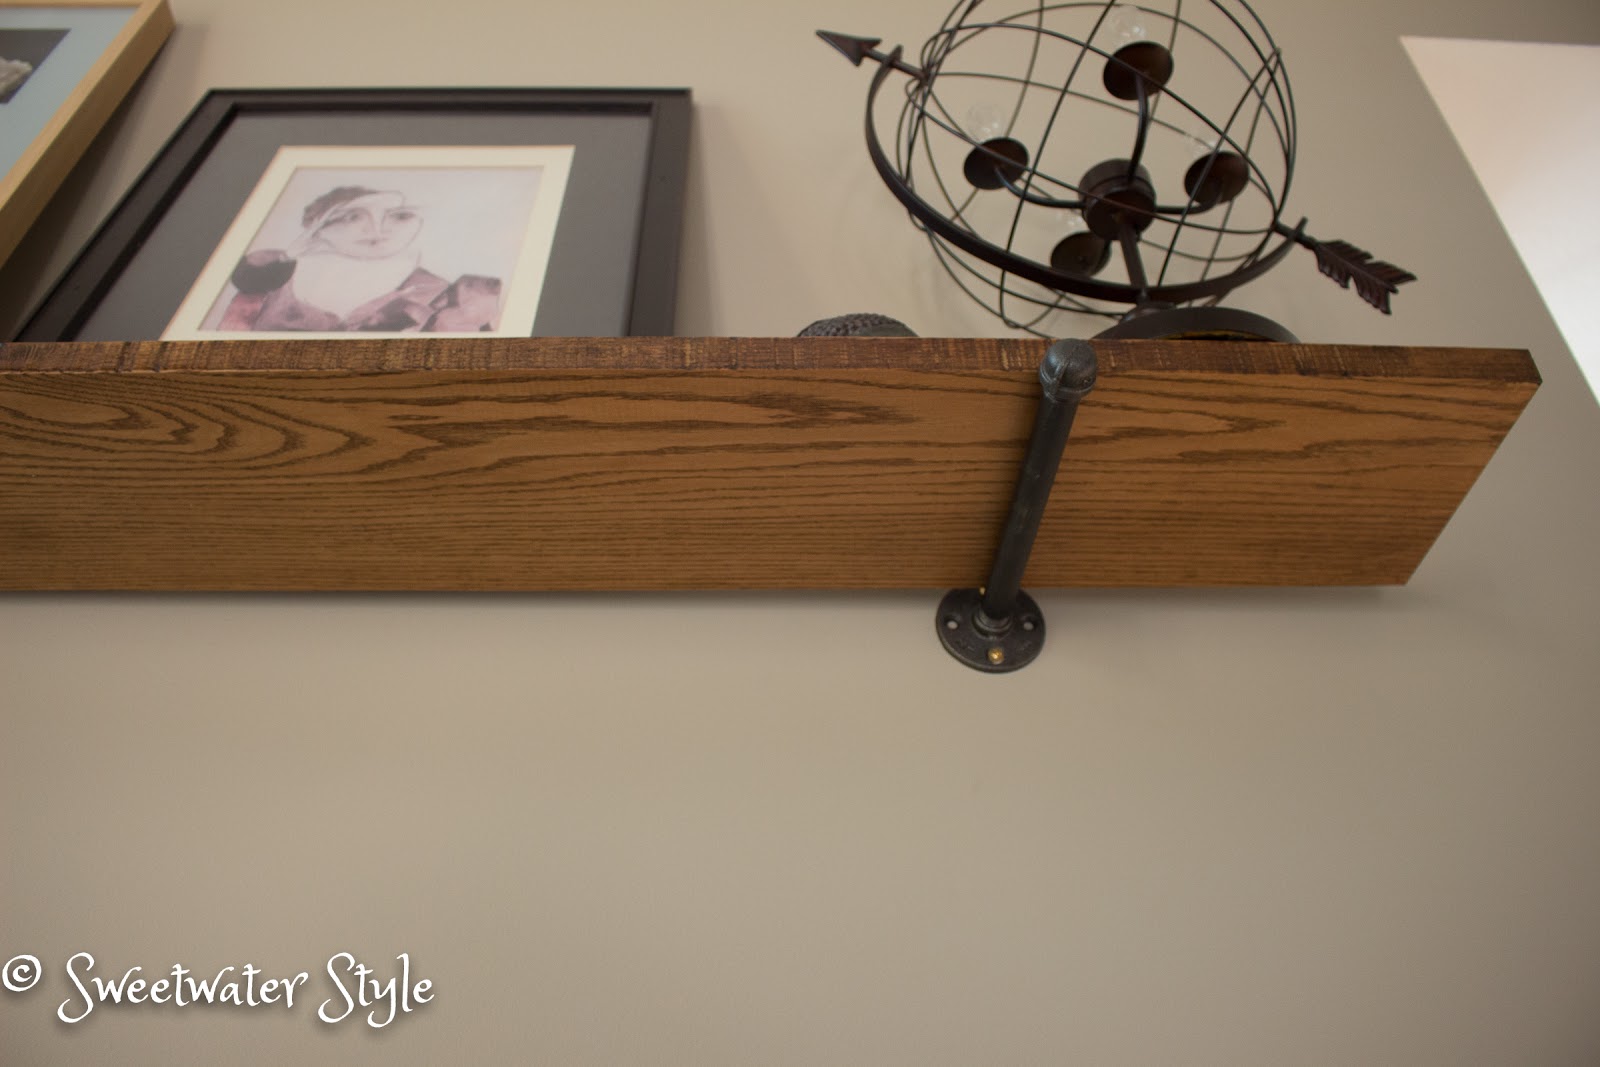
I decided I wanted to have the look of the exposed galvanized pipe and board shelf.

Hey….we could do this!

Mr. S …or the “King” decided that it would be almost the same price to order the pipes already made as opposed to piecing them together.  We got two pipes from the OverTheLedge Etsy Shop. 

And they sat waiting for the shelf….and they sat and sat and sat.

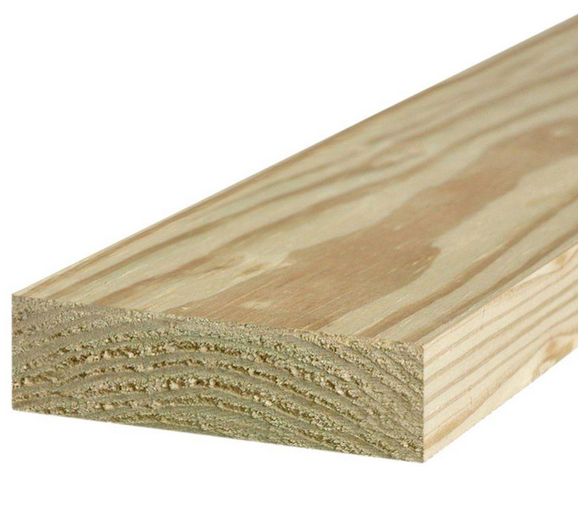
After a couple of months…..we headed out to get the board.
That meant a trip to HomeDepot and Menards…..
We bought stain too.

And THAT sat and sat and sat.

*Disclaimer:  Sweetwater household projects were necessarily interrupted by several trips and other diversions.

Then one day…..we decided it was time!

We measured carefully and then measured again and those pipes were fianally put up!

We went to get the board out of the garage to try it out before sanding and staining.
OH MY!

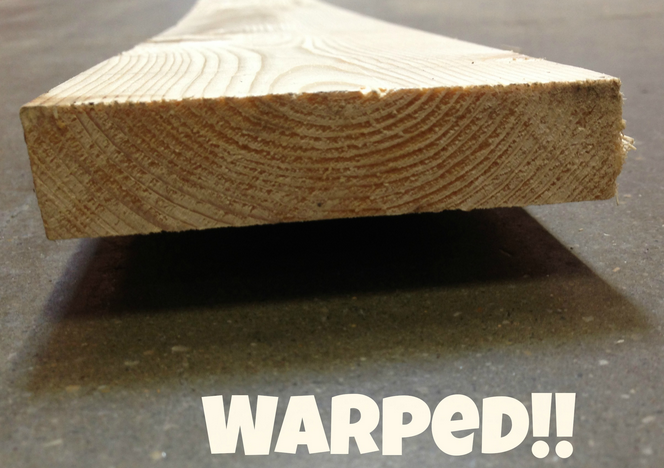
And…we learned that there is no way that a board from a big box store can age and stay completely flat!

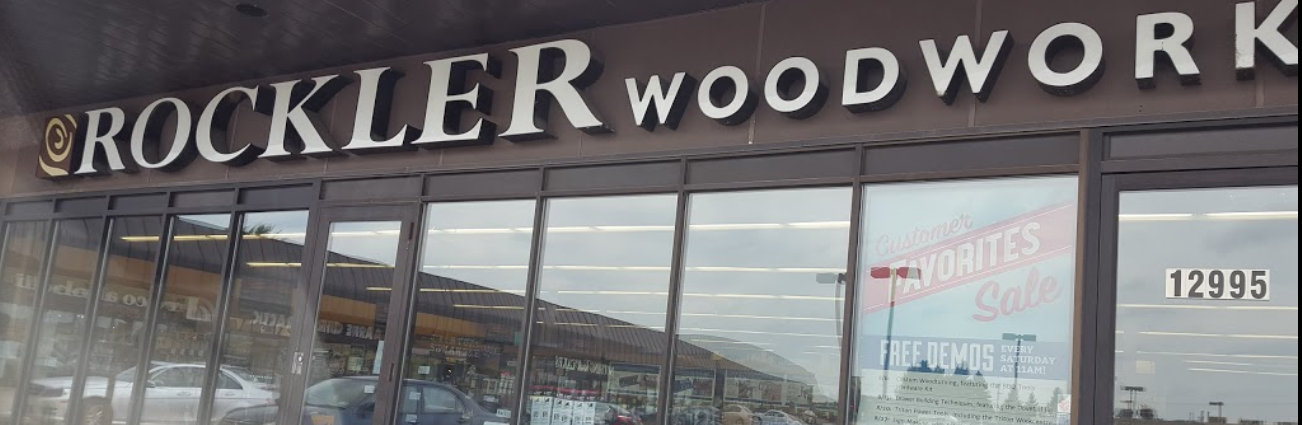
Mr. S headed to “a real woodworking store”.

He purchased a lovely piece of red oak that hardly needed any sanding.
It was cut to size….and stained.

This board is PERFECTLY flat and straight.

This project was really not that “thrifty”.   You could probably buy one from a store for about the same or less cost. 
The lesson learned….do your research about whatever shelving you decide to use for whatever project you are doing!

If you do want to tackle this Industrial Shelf look for your house: Great Tutorial…step-by-step…clear and concise.  Cherished Bliss has done a way better job of the process than I ever could.  (Especially because I never remember to take photos during the project!)

The REAL moral of this cautionary Fairy Tale is:

Have A Wonderful Day!

The Problem With New Furniture!

It seems like ages ago that Mr. S,  the Sweetwater Grandboy and I went shopping and bought a new sofa.
It WAS ages ago….November in fact!

Don’t you just hate it when they tell you that your new furniture will be here in 6 weeks and it takes more like 15!!!!
The store finally called last week to schedule the delivery!
I was so happy.
I had a meeting and was gone when the sofa was delivered.
When Mr. S asked where I wanted them to put it….I said it should go right where the old one was.
Sounds like a plan….

The sofa was in place when I got home…
…and it is absolutely wonderful!I love it….

  • Great neutral color that goes with the new wall paint and the rattan chair cushions.
  • Long enough for Mr. S to stretch out on at naptime.
  • Deep cushions to cuddle into.

BUT…..something was just a bit off with the room arrangement!

Mr. S was off to go ice fishing for 3 days.
I figured that rearranging could wait…..but it was bugging me that my beautiful new couch was not in the right spot!

And then….
Sweetwater Daughter to the rescue!

When I “whined” about the arrangement….she said….”Let’s just DO IT!”

I love moving furniture with her….she doesn’t get “an attitude” 
when something needs moving more than once! 
I am sure you know what I mean!


We got moving!
Now the room looks like this!


I guess there are “rules” for arranging furniture!
If you are a rule follower, here are a couple of sites to look over:

This link is from Better Homes and Gardens.  Once you register, you can virtually move your furniture around.  “Say What? ”

 Furniture Arranging Tool – BHG.com‎ 

These rules are pretty good…..and amazingly I think I followed a lot of them!

10 Rules for Arranging Furniture 

The problem with RULES is that you don’t always have the pieces that allow you to follow the rules!
The problem with RULES is that you can’t just go out and buy new stuff….especially when you just spent your furniture budget on a new couch!
Instead of going out to buy new things to follow the rules….
I “shopped” the house!

There are a few more tweaks to do…..hey….at Sweetwater the decorating is never done!
Sadly, drinking red wine on the couch is a thing of the past! It is good that the little leather loveseat is comfortable and easy to wipe clean!
But for now…..I am going to sit on my new couch with a clear glass of water and enjoy!

Have A Wonderful Day!

Blog Parties

Wow Me Wednesdays


Good Will Bargain!

I was shopping at the thrift store the other day!  Now why does that NOT surprise you?
These three white ceramic vases on a white plate were a good buy and reminded me of something similar I had seen in a boutique. 

Boutique version…..I think this ran somewhere in the neighborhood of $40.

Sweetwater Thrift Version
$5.00

Just perfect for single blooms from the garden!

I found a board book for the Sweetwater Grandboy…$.99!

And THEN!

The absolute perfect piece of furniture for a Media Console in the family room!

Oh SCORE!
I had been searching consignment stores and Craig’s List for a dresser to rehab…and those were all running in the $200 range before the rehab!
So when I saw this…I did a double take….and then a little happy dance! 

Now….I did have to go through the thrift store angst before I actually made the purchase.

To BUY or NOT to BUY?

I mean really…..it was marked at $25.00!  (and I had a 25% off coupon too)

 Seriously…my last lunch with a friend cost more than that.

Still, I was flip flopping about spending ALL that money!

I sent a photo to the Sweetwater Daughter asking for advice…..she was able to get my head on straight!

Of course I should buy it!
So I did!

Mr. S was somewhat guarded in his enthusiasm for my bargain.
That might have been because he was the one who would have to pick it up, load it into the truck, and find a friend to help move it into the house.
AND…it is hard to believe that a $20 piece of thrift store furniture would be nice enough to have in a main living space!

BEFORE
(actually this is an old photo….one TV and a lot of extra components before)
The parson’s table is the furniture piece I was looking to replace.
AFTER!!!
Even Mr. S has to agree that this is a nice look….especially for $20!

The moral of the story:
if you shop at the thrift store often enough, you will find the diamond in the rough!

We are going to cut a hole in the back of the center area to put the Satellite box.
But for now…I am just gonna sit back and enjoy my bargain!
Have A Great Day!

How to Recover Cushions! Ice House Edition!

I bet you didn’t know that Mr. S owns a Castle!  
Yes he does! 
Sadly it is not located in some faraway locale that we jet off to for getaways! !  
It is however used for getaways….of the hunting and fishing variety.

Right now the “Ice Castle” resides in our driveway awaiting the start of Deer Hunting.

Mr. S. has used my “decorating” services through the years for the decor in the trailer.

Past projects were custom curtains for the windows that attach with velcro.

This fun bulletin board was fashioned from an old wool shirt with some wine corks for a border edge! 

 The trailer is 7 years old and has seen a lot of use over those years.  The cushions for the table and sleeping area had taken the hardest hit.  
The foam was all out of shape.  NOT to mention the fact that the CAMO fabric was forgive my pun….”BUTT UGLY”!

Time for another “almost no sew box cushion” project!  If you follow this blog, you know I am all about NO SEW projects even though I do know my way around a sewing machine.

You can go to these past posts about the technique for making good looking box cushions without a lot of work. There are really specific how to instructions here:
Almost No Sew Box Cushions
Almost No Sew Box Cushions with a twist

The first step for the trailer cushions was finding the foam and picking the fabric.
It meant a trip to the huge outlet fabric store with Mr. S.  Now THAT was an adventure in shopping!

First off….the price sticker shock for the foam was pretty intense!  There are five 48 inch cushions to do.  At 75 cents an inch….YIKES!  Mr. S carefully did the math and we had them cut to length right there.

On to the fabric selection!  I could have browsed for hours to check out all the options.

  • A “manly” plaid?  
  • A subtle texture? 
  •  A bright pattern? 
  •  More CAMO (NOT)?  

That isn’t exactly how it went!  One trip down the denim aisle…..BOOM….the choice was made!

PLAIN DARK BLUE DENIM!

Once we were back home, the cushions were cut to width using an electric knife.
I covered two cushions at a time so that Mr. S. could check for fit each time.  This was a good plan as the last cushion needed to be a tiny bit smaller to make the fit perfect.

Go check out the tutorials
Almost No Sew Box Cushions
Almost No Sew Box Cushions with a twist

The basic technique is to sew a tight tube of fabric to go the length of the cushion.
Then fold the ends like you would a present you are wrapping.
Hand stitch this.
DONE….SIMPLE….QUICK!

I imagine that having these professionally recovered would have cost a pretty penny.
This project was right around $125 even with the expensive foam!

I guess the plain navy blue does look nice….

but next time how about something a little more in keeping with the CASTLE theme?

Have A Wonderful Day!

Link Parties
Bowdabra  
Share it One More Time