DYI

Vacation Memories Art Project

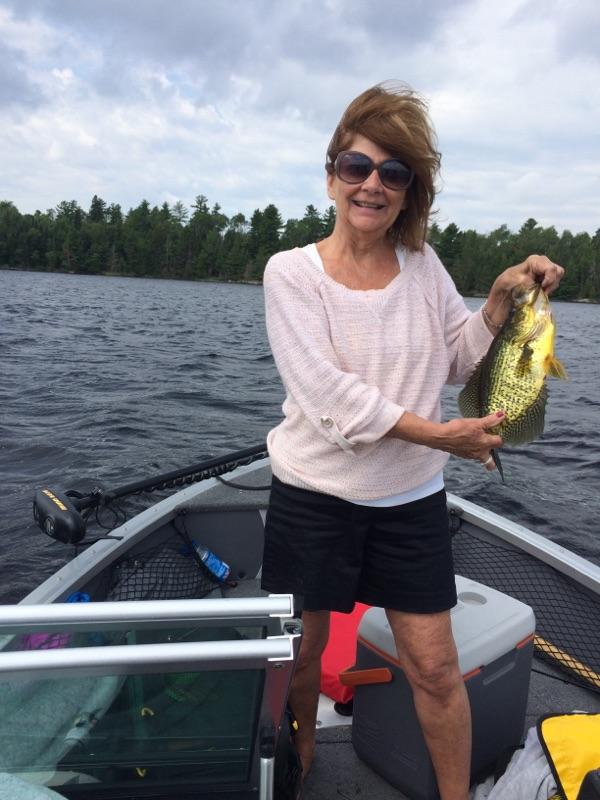
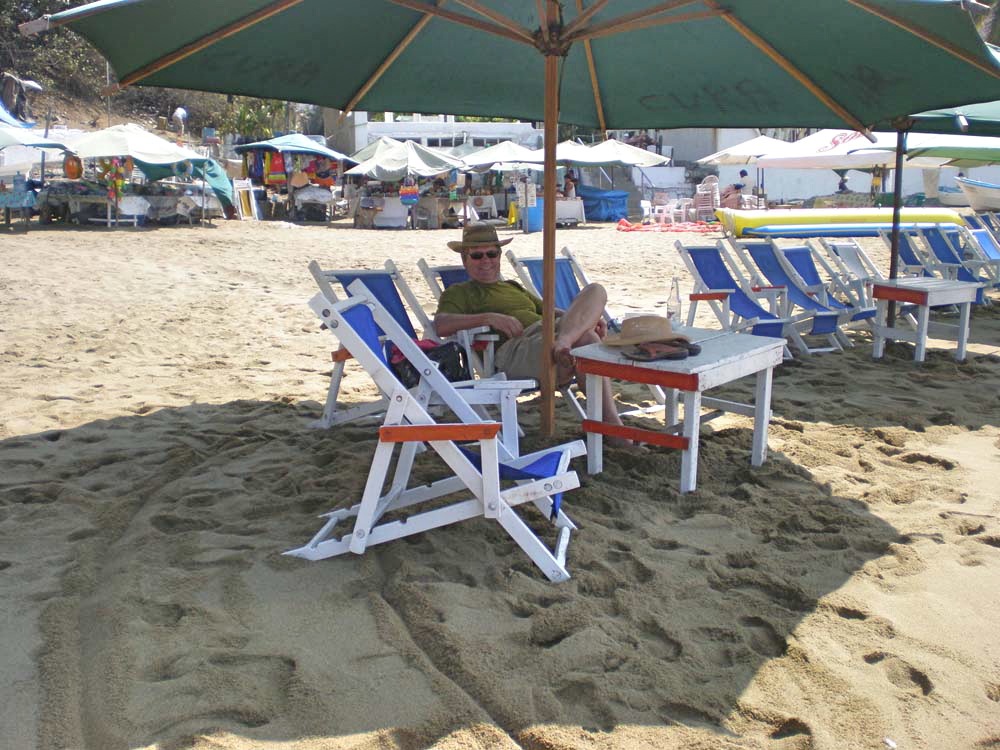
We just got back from a trip to Voyageur’s National Park.
What fun….and yes…I actually caught a fish or two!
In fact…I was voted “most improved” fisherman in our group.
That wasn’t hard considering that on the first day I couldn’t even make my reel work!

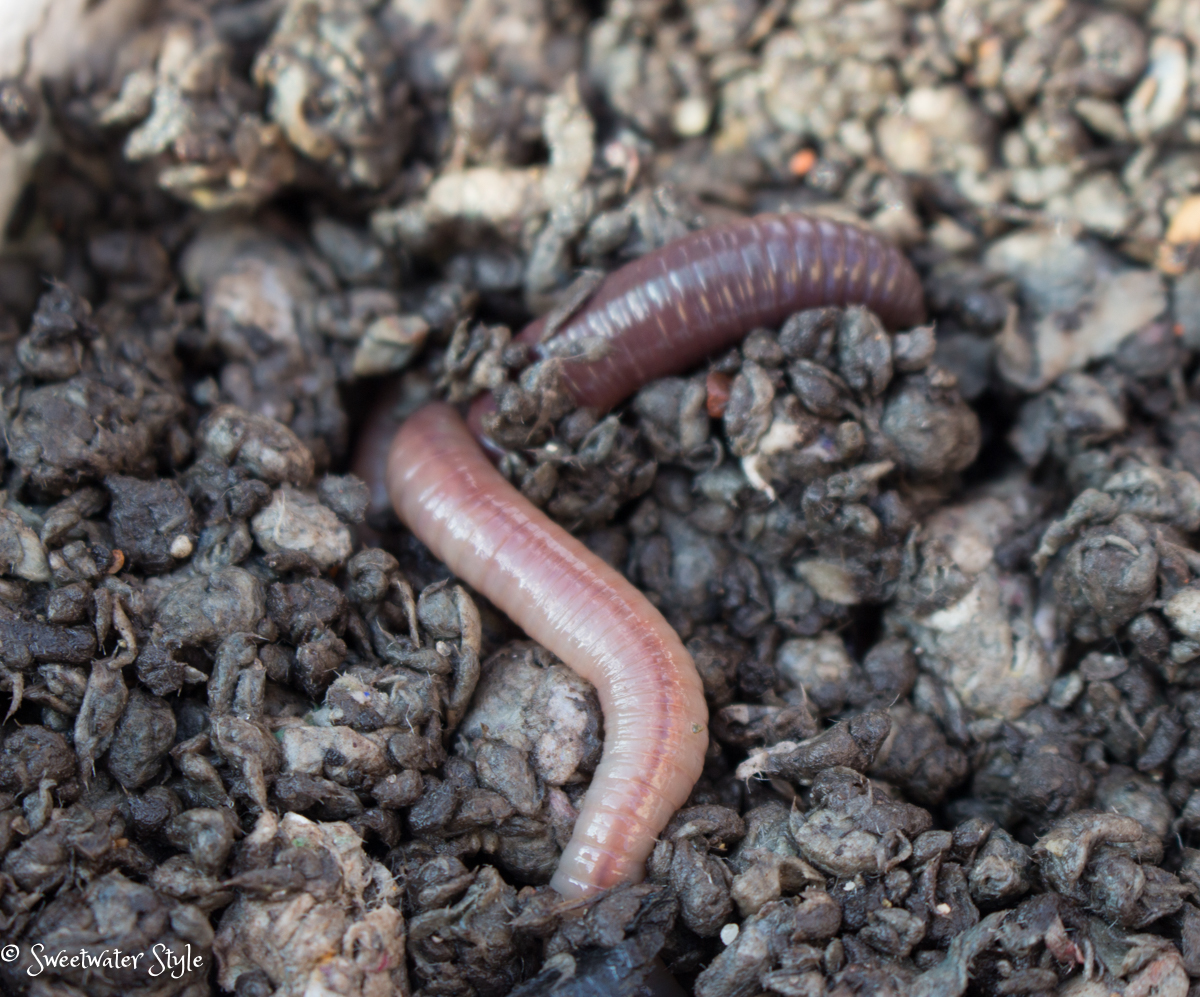
I never did get over the gag reflex about the whole sticking the worm on the hook deal!

Of course we took bunches and bunches of photos.
It is so easy to take too many pictures….and then it is so hard to figure out what to do with them.

This article from the Washington Post has some great suggestions for organizing and “doing something” with those photos.  These tips are definitely on my to do list!

I am not much for scrapbooking….so I also enjoyed this article about NON-scrapbooking ways to remember your vacation.

This quick craft is a way to turn a scenic photo into canvas art at home.

What you need:
a scenic vacation photo
photo editing software or APP
canvas “paper” for your printer purchased or DIY (directions here)
frame (no glass)
fabric covered mat (tutorial follows)

One of our favorite places in Manzanillo, Mexico is Playa la Audencia.
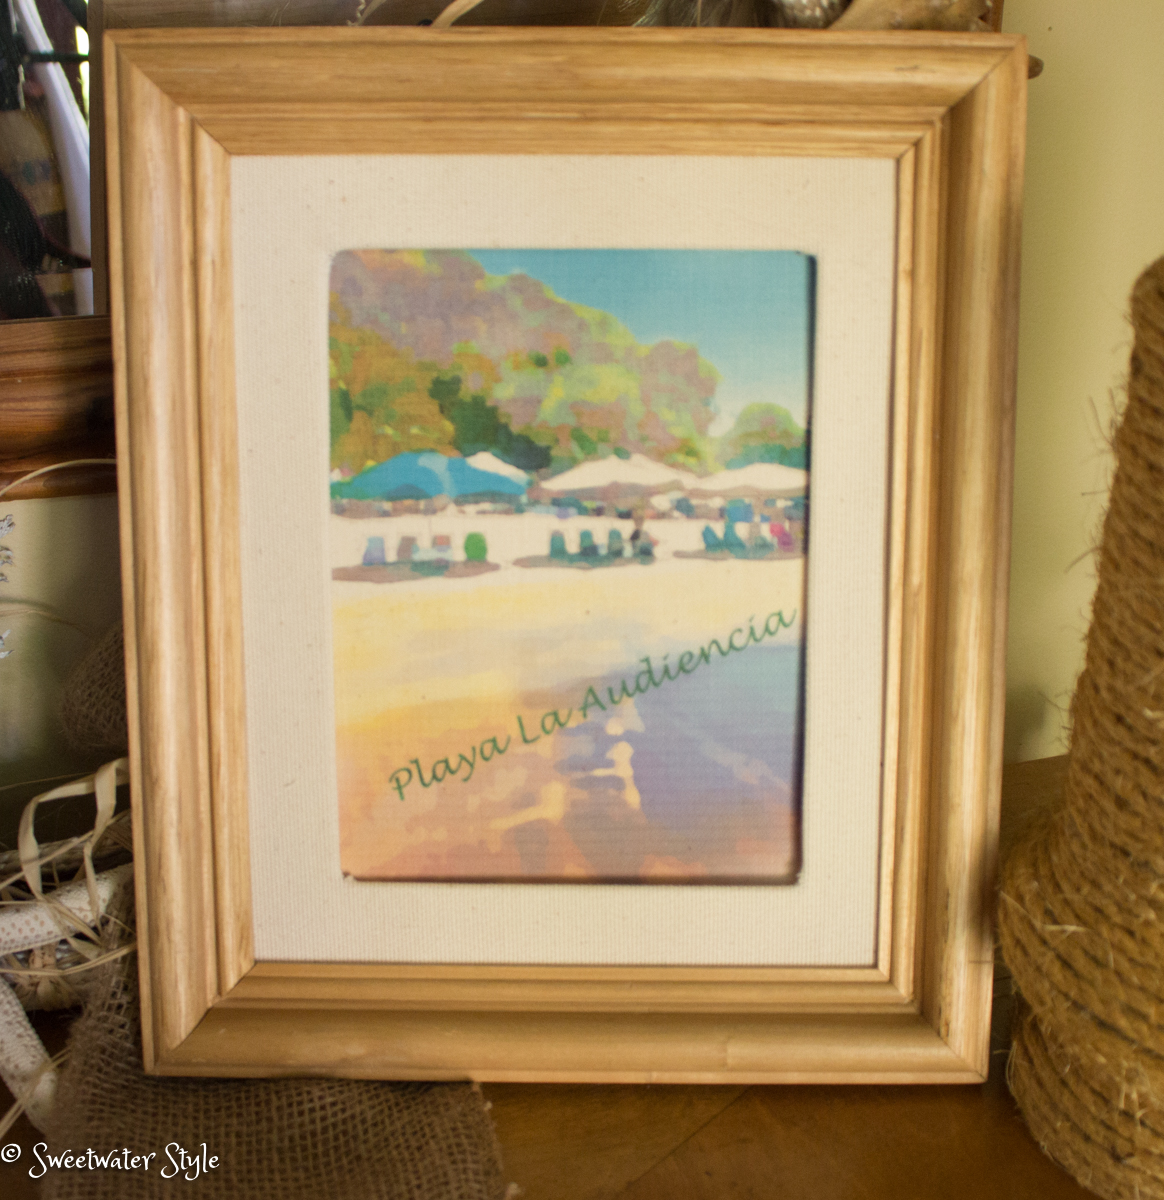
The Waterlogue App for iPad is free.
This app makes it easy to create a watercolor effect with any photo.

This photo turned watercolor is a wonderful memory of our favorite spot.
Somehow…the original went “missing” in all of the zillions of Mexican vacation photos…..

This is one from the same day to give you an idea of the scene.
If you look closely in the watercolor version, you will see Mr. S in his classic “kicked back” position!  
Don’t you think it adds an even more personal touch to the image?

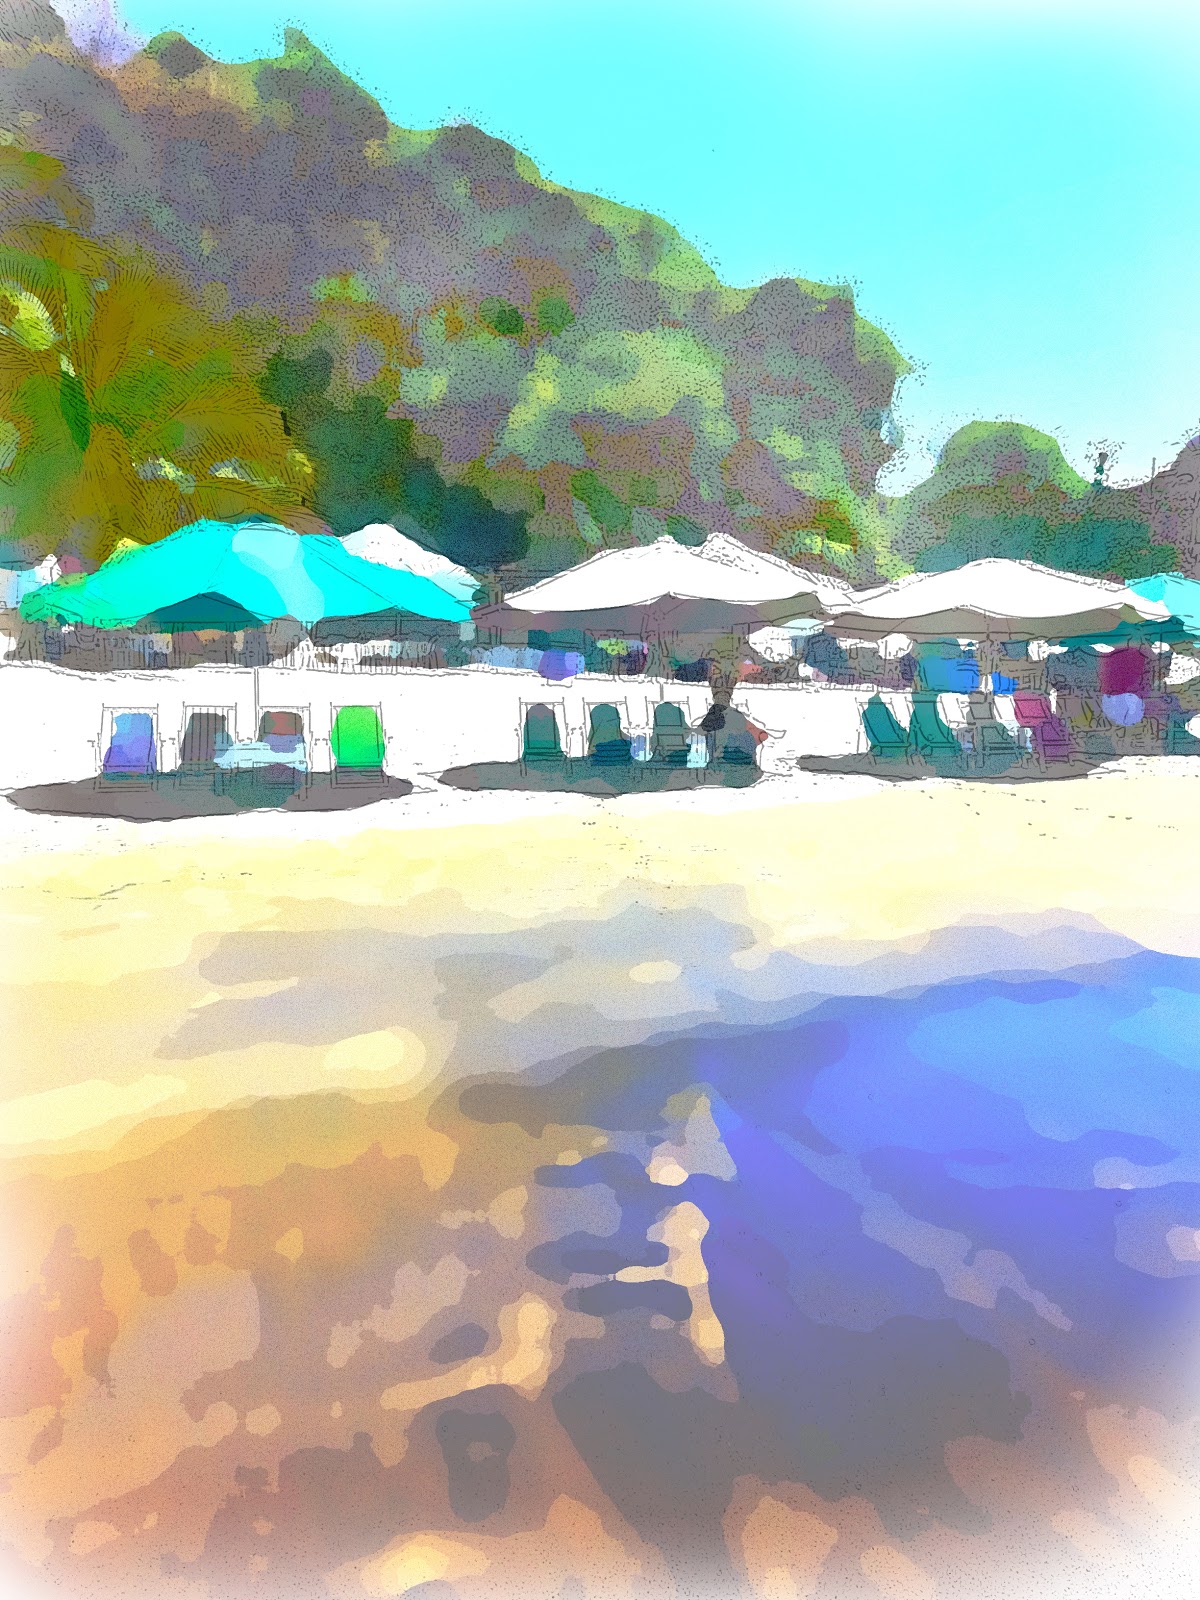
Then it is a simple matter of printing the water color image on canvas.
Here are the directions for DIY printing on fabric.

I removed the glass from a frame I had.
I decided that a fabric covered mat would look nicer than plain mat board.

The finished project is a nice addition to the beach themed table in the entry way.
Adding the “caption” makes this a wonderful vacation memory.
I am in the process of doing one from our fishing trip.
I have the frame with the mat done  
Here is the tutorial for covering a mat with fabric.

Start with a plain mat cut to size.

 Use an adhesive spray to attach the fabric.

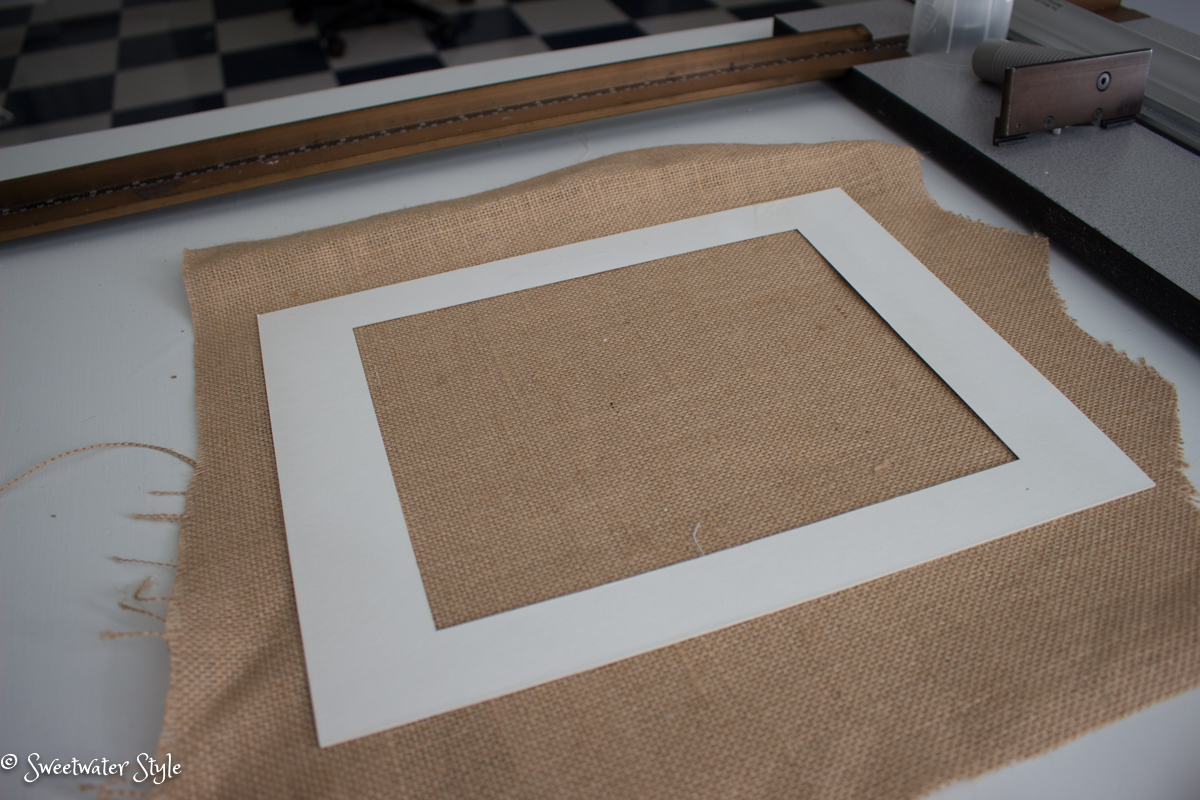
 Press the fabric smoothly on the mat.

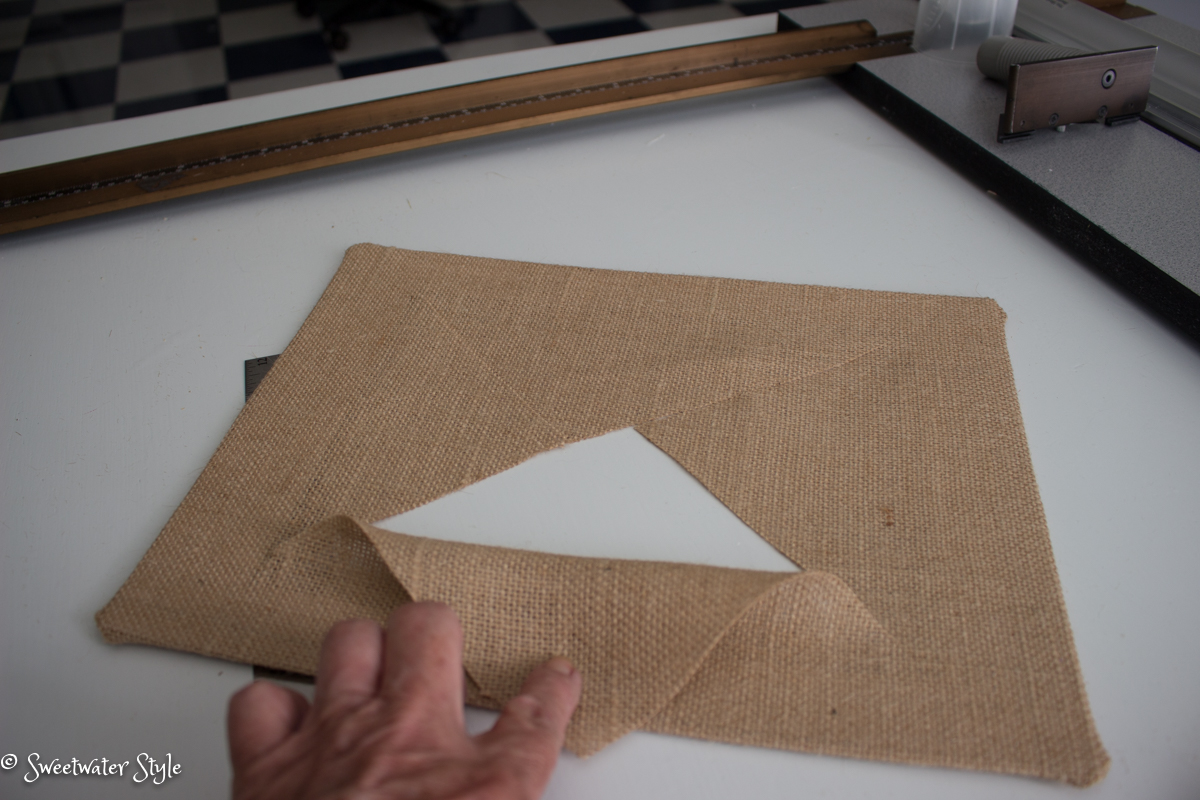
 Cut an x from corner to corner.

Fold the sections back and press well.

I use mounting tissue to attach them to the back.
You can just use tape.

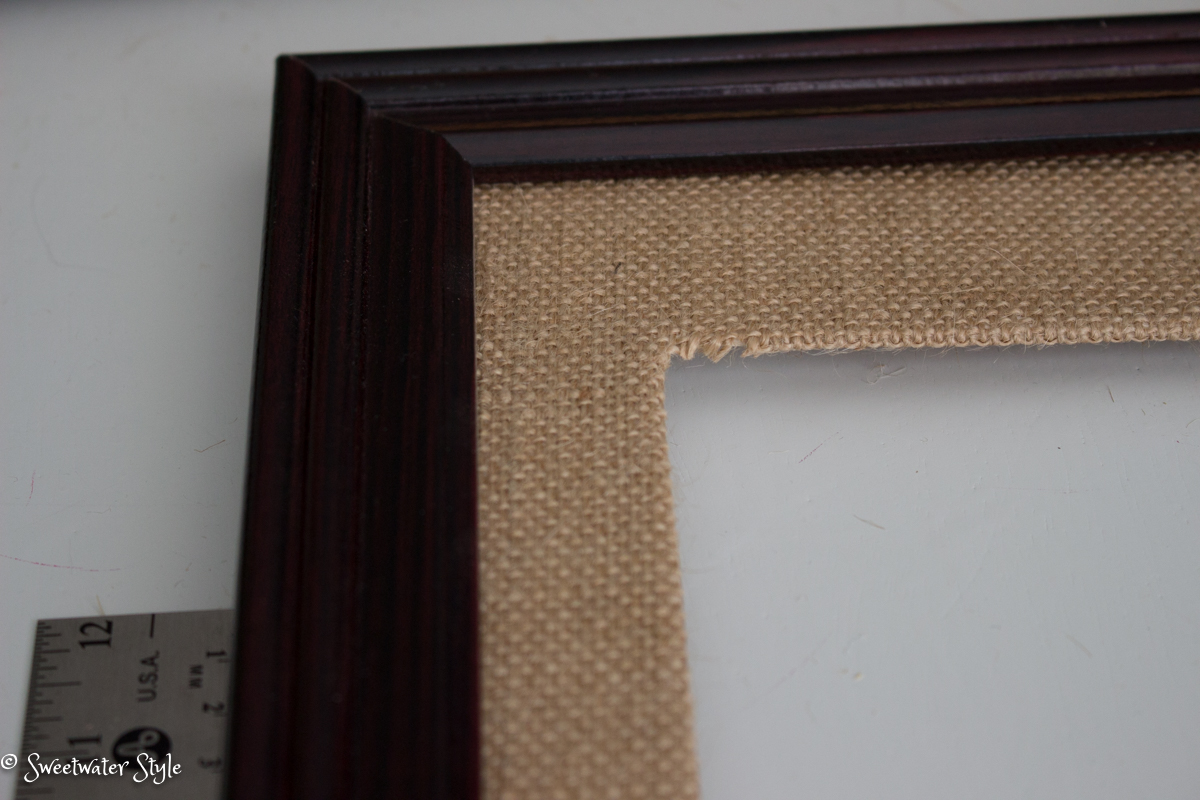
The burlap looks nice…but those frayed corners will need a little attention with some glue.

Insert the mat into the frame and you have a nice fabric mat that looks good without glass.

Now it is just a matter of figuring out which scenic photo to use for my water color technique.

HMMMM….

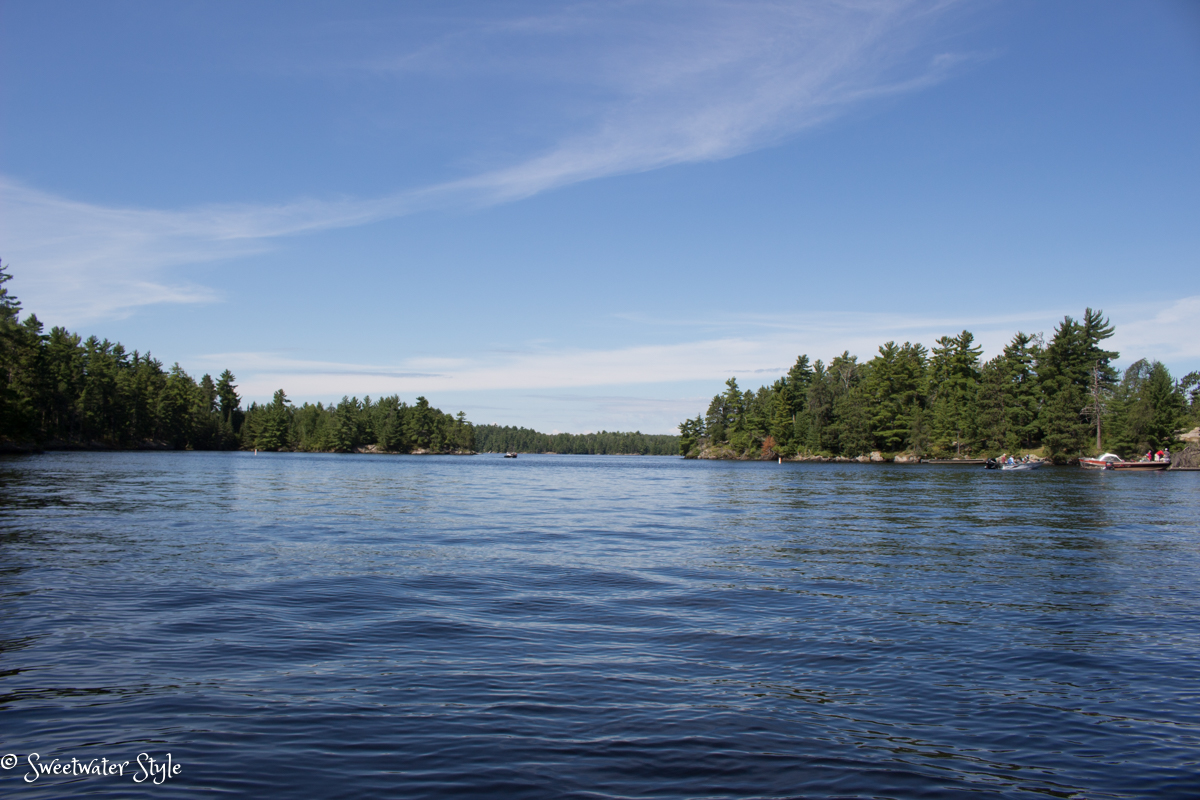
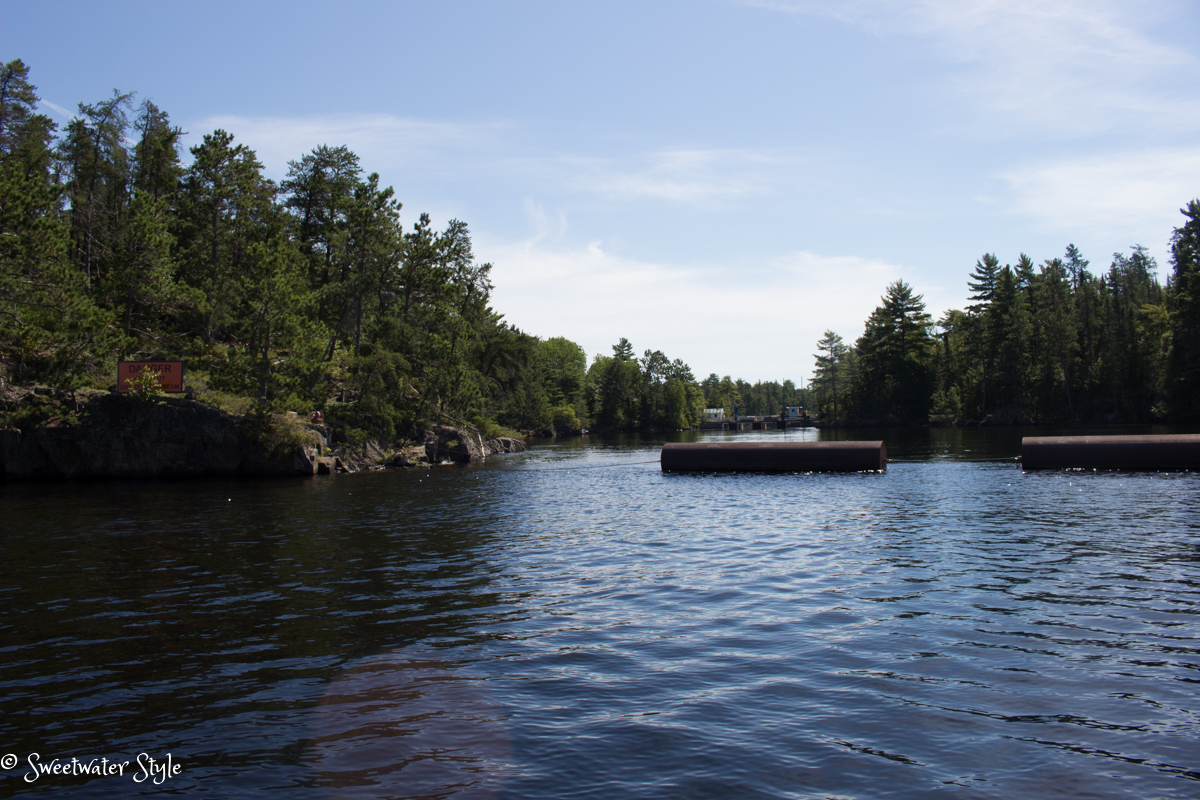
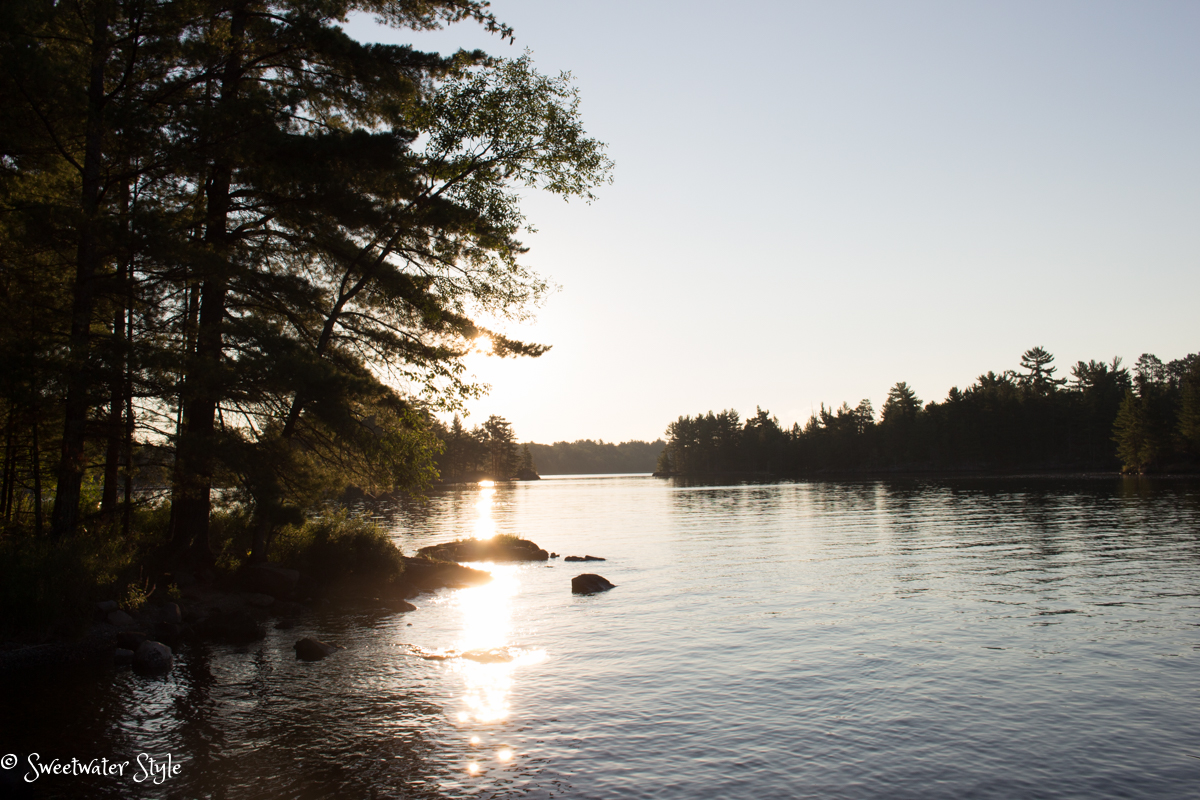
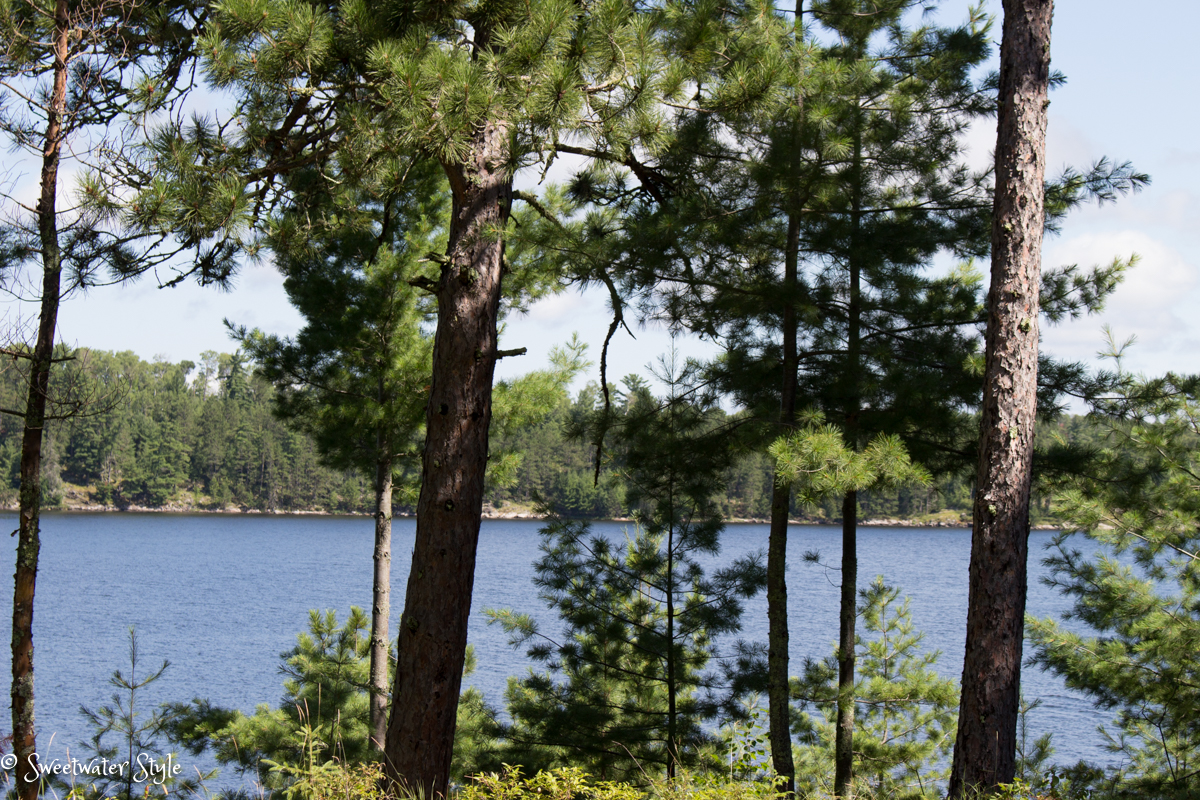
Now wasn’t that a sneaky way to make you look at our vacation pictures?

Have a Wonderful Day!

Almost NO SEW Outdoor Box Cushion and Tablecloth

A trip to the fabric store is always one of the best ways for me to get inspired.
I found this fabric in the $5 a yard bin.
It has a monkey motif!
I love monkeys!

Since 2016 is the Year of the Monkey, it was the perfect fabric to inspire one of my “almost NO SEW” projects.

In fact, why stop at one project?

If one is good….two is better!

These two projects are the perfect color boost for the deck.
The furniture on the deck is pretty neutral….black and taupe.
The greenery is sometimes a little overwhelming.
The flowers this year are nice, but they need a punch of color.

Almost No Sew Weighted Tablecloth

The table has a glass top that always gets water spotted.
I cut the fabric one inch bigger than the glass.
Then I did a simple hem.
If you want to make this “totally” NO SEW, you could use fusible iron on webbing to secure the hem.
But here is the tricky little thing that makes the table cloth stay in place.
Every 6 inches there is a little washer sewn into the hem.
This keeps the cloth weighted enough to stay flat even on the windiest afternoon!
The total time for this….about 45 minutes!
 Almost NO SEW Box Cushion

Would you believe that this cushion was done in less than an hour?
(I had a piece of foam that needed an update, but you can have one cut at the fabric store to just the size you need)
Well, if you can wrap a gift box, you can cover a foam cushion!
I used the sewing machine to make a tube that was the exact width of the foam.
If you don’t want to sew….you could even use your glue gun to close the long edge.

Then…
Just tuck the fabric in like you were wrapping a present….

I used a needle to hand sew these edges….but the glue gun or fusible web would work too.

Not bad for a couple of hours and less than $15 dollars.

If you want more complete directions and want some more inspiration, here are a couple of links to my tutorials for the no sew cushion technique.

NO SEW BOX CUSHIONS

NO SEW BOX CUSHIONS WITH A TRICK

If you are like I am….you don’t want to spend buckets of money on custom cushions….
Outdoor cushions have a limited life span….and being able to change them in an inexpensive way just seems smart!

BESIDES….

Have a Wonderful Day!

Linking to:
Sunny Simple Life
Eclectic Red Barn   
Stone Cottage Adventures
Funky Polka Dot Giraffe 

Dollar Store Craft WITH Caffiene!

Crafting
Coffee
The perfect combination!
I wouldn’t say that I am addicted to crafting…well maybe a little obsessed…not addicted!
 
I would have to admit that I am addicted to coffee.
The aroma…
The taste…
The warmth…
The BUZZ… 
It is all good!
There are some things you can do with coffee besides drinking it!
 
How simple to make aromatic candles using coffee beans and votives.

Put some coffee beans in a pretty glass, vase or funny coffee cup to make a pencil holder.
When you pick up a pencil, you get a little hint of coffee aroma!
Funny story….I used to do this for the coffee holders in the Media Center.
Great idea….until…I got a phone call from a parent informing me that some of the kids were EATING the beans to get a caffeine buzz!
GO FIGURE!

This is a wreath I saw hanging on the door of a coffee shop in New Orleans this winter.
I took the picture thinking, “I could make one of these!”

It took me seven months to finally get around to doing it!

A dollar store foam wreath is the base. 
This burlap ribbon was another find at the dollar store.

 The ribbon is wrapped around the foam base to make sure none of the green would show through.
No coffee related project should happen WITHOUT a cup of coffee.
Trusty glue gun heated up….
Coffee beans at hand….
It is just a matter of gluing those babies on…..

So I glued and glued and glued!
I have to admit…
This took a little longer than I had hoped!
AND…..my fingers ended up dark brown with a few glue gun burns.
In fact…I did this over the course of a couple of days!
No one ever accused me of having a long attention span!
ESPECIALLY when I am drinking coffee!
Perserverance paid off!
With a burlap bow and a favorite coffee quote, this little craft turned out well.
I was hoping the wreath would give off a bit of aroma.
It doesn’t!
I was hoping that the project would lend itself to a “gift project”.
But I know I won’t have the patience to do this again.
So my friends….if you want one of these…you will have to make it yourself!
Have A Wonderful Day!

Lighten Up!

You know how I always talk about making a vision a reality?
Well, this past week that happened here at Sweetwater.

 The golden brown or shall we say peanut butter colored walls in the living room and dining room have been the same for the last 9 years.

It seemed like a good idea…..an update from the very traditional look that we started with.

Anyway….it was time for another update!

I have been envisioning a much lighter pallette.

Did you know that WHITE is Benjamin Moore’s Color of the Year for 2016?

So off to the paint store to get us some LINEN WHITE paint.

The purpose of this post is not to teach you how to paint….there are bunches of websites out there to do that….but here THE MOST IMPORTANT PAINTING TIP  Mr. S and I have learned over the years!

Use the BEST paint that you can!  
I will say it AGAIN!   Use the BEST paint that you can! 

We are fans of Hirshfields here in the MPLS area…. They carry Benjamin Moore Regal Select.
Even on sale it is $50 + a gallon.  In this case, thrifty DOES NOT make sense.

Look at how this expensive paint covers that dark paint in just two coats.
Think how much time and energy is saved by not having to paint the room 3 times!
Somehow….the second coat is an expectation….when it looks great it is a reward!
If you have to do a third coat….it is just plain painful…and you have to buy that much more paint!

I am pretty much over the moon with the way it turned out!

Truly, this is the reality of the vision that I had!
I love how the brighter room color makes the furniture and accessories feel almost brand new!
It was fun to “shop the house” to pick the right art accents that play on the lightened up attitude!

So…..what vision is floating around in your head….maybe you should find a way to make it a reality?

My way….includes a huge thank-you to Mr. S for all his hard work on the project!  Pretty remarkable after 3 months since his knee replacement!  His new knee climbs ladders way better than the old one!

Have A Wonderful Day!

Bar Table from a Wine Barrel

Today’s post is brought to you by some dear “old” friends of ours.
You know those friends that you have and don’t see often enough?
But. when you do see them….it is like you were still hanging out in the old neighborhood?
Well these are THOSE friends!
AND
Thank Goodness for Facebook to help us stay connected.
When our friends posted about a fabulous DIY project, I just knew I had to share it with you.
 Is that cool or what?
Even better….I asked for specifics and directions and my friend basically wrote the post for me!
Tutorial for Wine Cork Topped Bar Table
Acquire a wine barrel. 
Drink copious amounts of wine, reserving the corks. 
Purchase a glass top (we went to Pier 1). 
I organized the corks by length, although it’s not necessary. 
Then by trial and error, place the corks on the barrel top creating your own design. 
Finally, place 8+ vinyl or silicon cabinet door stoppers on the barrel top. 
Put on the glass top. Super easy!

I feel a little embarrassed to show you the Sweetwater Wine Cork Projects.
They are pretty simplistic in comparison…
BUT…
The “drink copious amounts of wine” part holds true!
These trays or trivets are made by hot gluing corks into thrift store wood trays.
They come in very handy and save the surface of your table.

Corks were the perfect border to hide the raw edge of the wool shirt!

So I challenge you to “drink copious amounts of wine” 
or make friends with a bartender and ask her to save you some…
And GET CREATIVE!

And to my old friends…thanks for sharing!
Wish the house that this bar is in wasn’t so far away!
and remember….
 
Have A Wonderful Day!