photography

Round Up of Inexpensive Wall Art

 Finding great looking things to hang on the walls without spending a fortune can be a challenge.

But NOT having great looking things to hang on the walls would be just SAD!

When we travel, I love to shop in all the fancy art galleries we see.
I should clarify the word “SHOP” and change it to “LOOK”.
Oh, how I would love to rationalize spending thousands of dollars on unique pieces of art!
Alas, I just can’t do it!
My thrifty alter ego reminds me that there are other ways to have pretty things on the wall.

I decided to do a post about the many ways and many places you to find great “art” for you walls.
Since I have been doing this for more years than I want to tell you….I will take you on a “art walk” around Sweetwater as well as share some great ideas from some other thrifty folks.

First though…..about frames and framing.
One of the best sources for frames is the thrift store. 
Look past the questionable “ART” in the frame and imagine it with your own.
A little spray paint or touch up with a sharpie can make a battered frame look new.
If you don’t have access to a mat cutter, look for standard sized frames.

One great source for art is those vacation photos you take.
This is an enlargement of the view from our hotel on our trip to Hong Kong.  I used a photo effect program for my iPad called Waterlogue to create the watercolor effect. 

Look for coffee table sized art books at the thrift store.  You won’t feel bad tearing out a page that has a fabulous image.  Adding an oversized mat allows the image to look larger than it actually is.

Note cards or greeting cards with a theme can make a nice tryptic. I have to confess that since I wanted the images from the purchased cards to be bigger, I scanned and printed them larger.  It probably doesn’t exactly follow copyright law…but I did buy them and didn’t make them that much bigger.

Wrapping paper come in many beautiful patterns.  A lot of boutiques sell single poster sized sheets of paper.  This chocolate themed paper will be perfect as subtle valentine decor…althought the “real” thing might be tastier.

Framing a tea towel is a similar way to have a large image on the wall.  Keep an eye open for these when you are boutique shopping. Here are two different towels switched out for the season with new mats in the same frame.

Those of you who are frequent readers know my obsession with fabric.  Using a fabulous print as a wrap around a frame is a simple way to create large interesting pieces of art.

I did a little looking for some other sources for interesting and inexpensive art.

Check out  https://www.posterhaste.com  
There are really wonderful options for personalized art here.

Mr. S got this print as a gift from the Sweetwater Daughter.

She ordered it from this site.
https://grafomap.com 

You just type in the place and a cool looking graphic is generated.


I think I might do one for our current location in blue.

Here are a couple of other people’s blog posts about “cheap” art!

www.apartmenttherapy.com/cheap-art-frame-ideas

https://www.pinterest.com/favillephoto/unique-things-to-frame 

So….anyway….that is my roundup of ways to have “luxury” art on a budget.
What are your suggestions?
I would love to hear from you!

How To Cut Your Own Custom Picture Mats

Custom framing is soooo expensive!
Even when you take advantage of deals at the frame shop, a typical framing job will cost you a bundle.

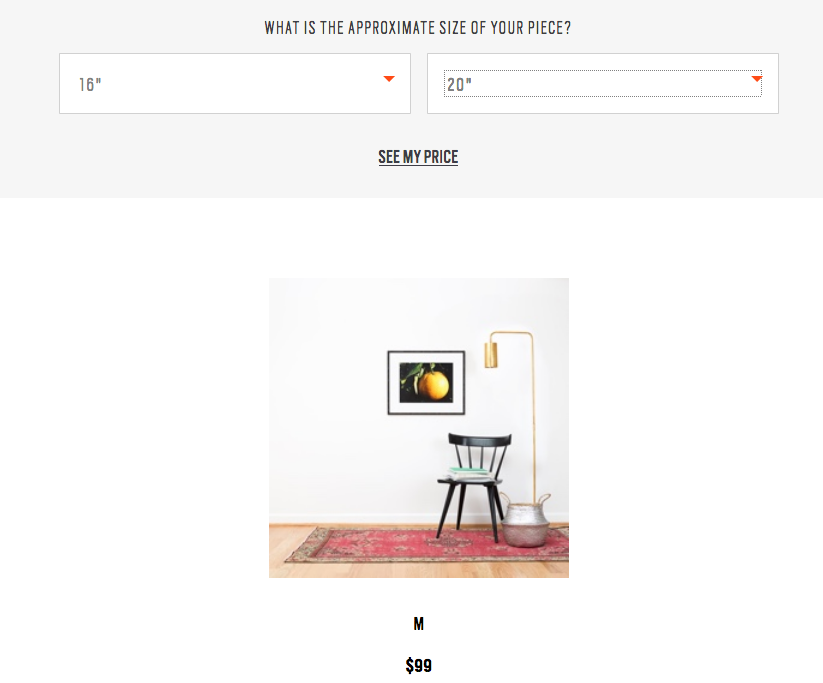
I found this great website that has a princing estimator built in: https://www.framebridge.com/pricing
I ran the numbers for a 16 x 20 print….

YUP….$99!  Now that might seem reasonable to you….but NOT to me.  Especially because I am someone who wants to change out the stuff on my walls a LOT!

Here at Sweetwater, I have found a way to mat and frame things without spending this kind of money.

Sometimes you have to spend some money to save some money.

This post is all about that!

A few (or maybe many) year ago, I invested in a professional mat cutter like this one.

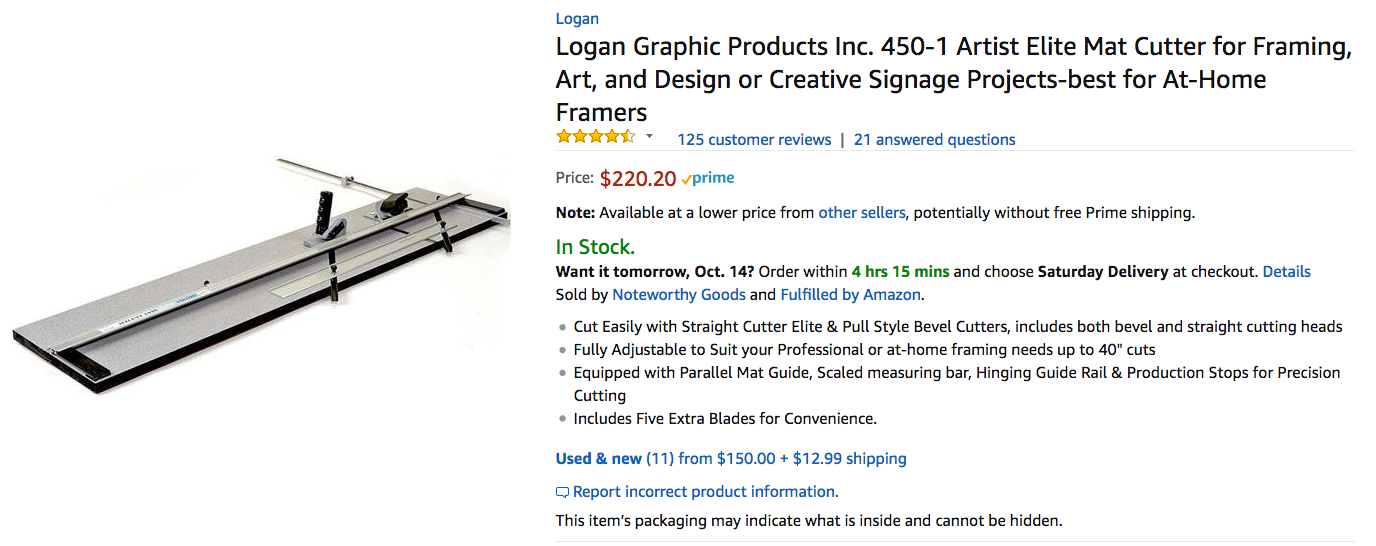
Okay…..$220 seems like a lot of money…..but remember how much ONE 16 x 20 picture cost?

You also need to buy matboard and frames.
I buy matboard at Dick Blick.  A 32 x 40 inch piece costs between $8 and $10 depending on how fancy it is…..
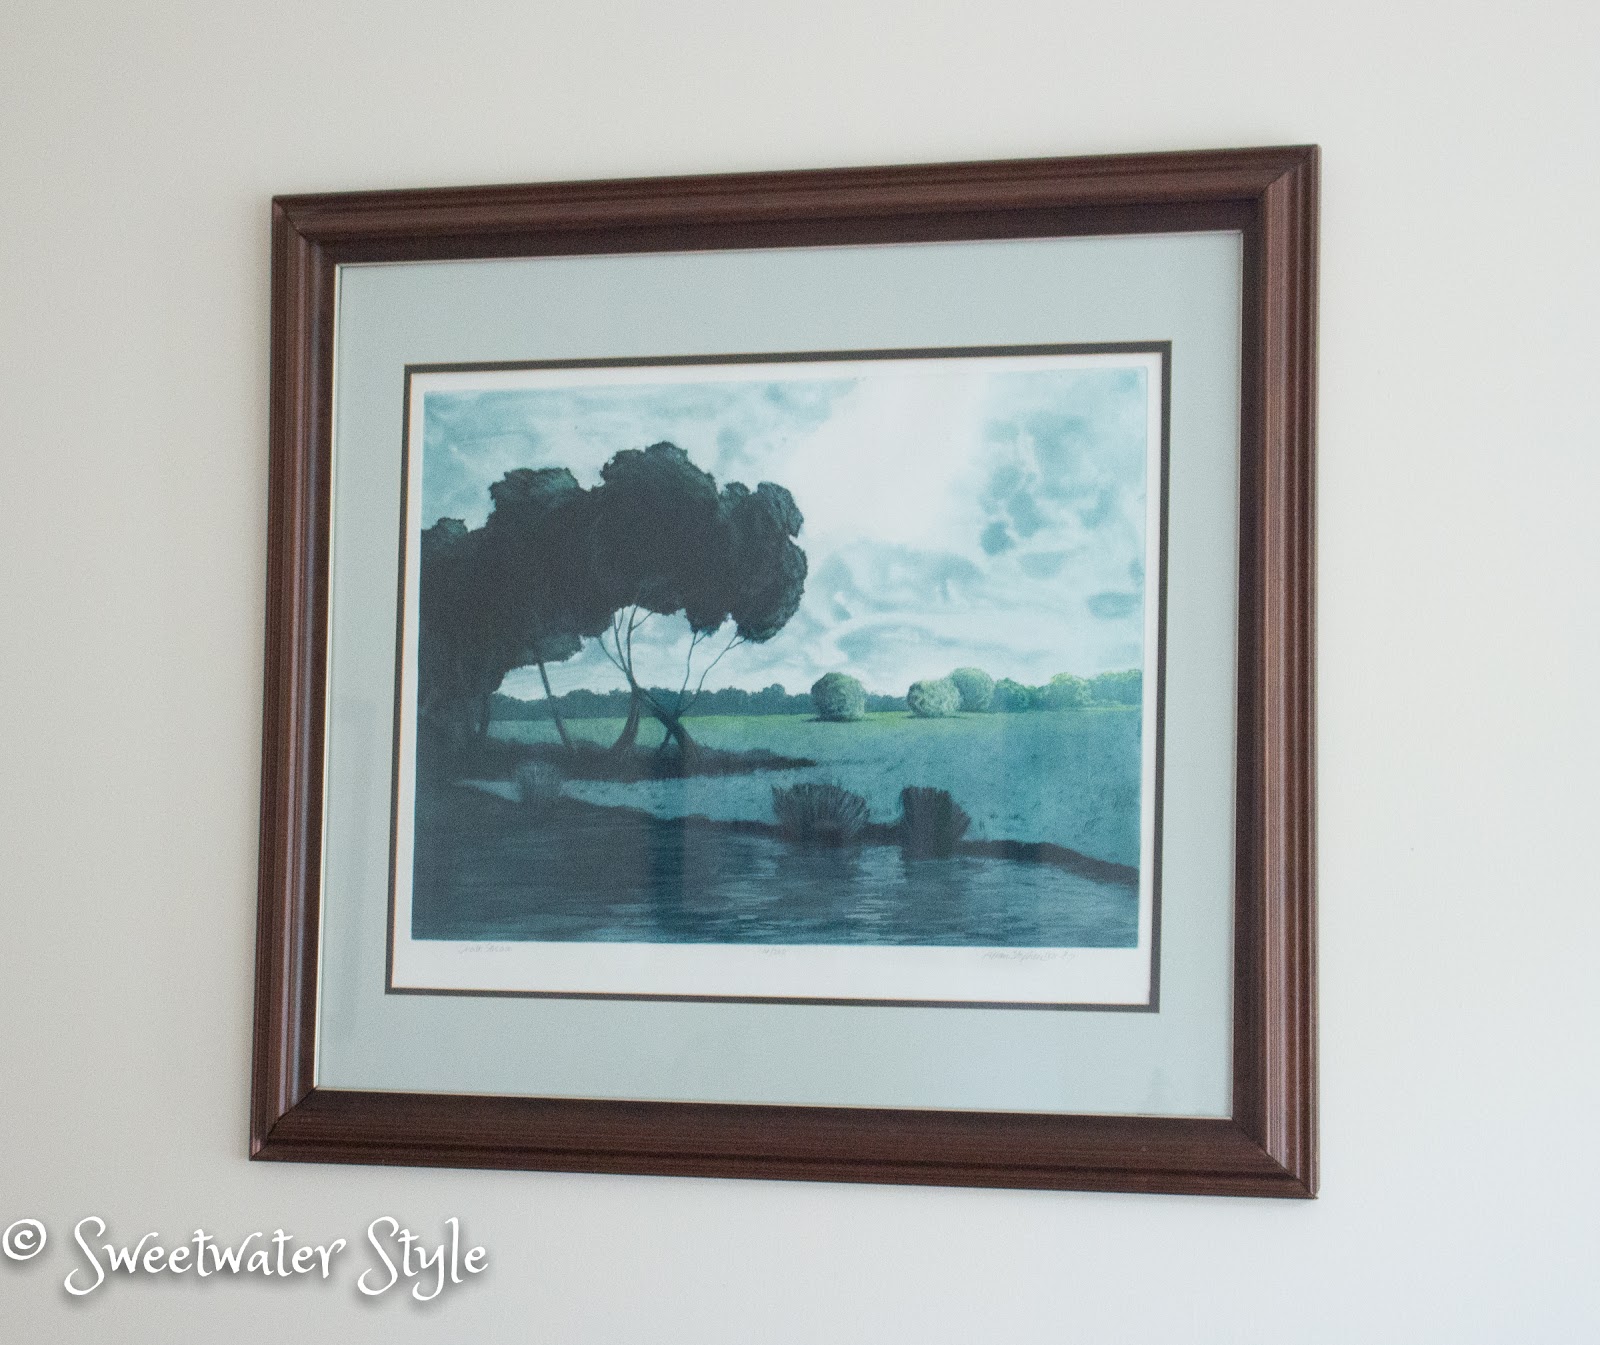
I buy my frames at the thrift store.  The array is pretty amazing.  You look at the FRAME not the ugly art that is in there.

Any new tool can seem intimidating…..but once you learn the basics….you can mat and frame your piece in less than 30 minutes.

So let’s get started on the tutorial!

I was “just gonna” go down to the craft room and do a step by step photo shoot for you….
And then I realized that….hmmm…..somebody probably already did that on YouTube!
Watch this and see how it is done!
(this is the link if the video doesn’t load)  https://youtu.be/PT1n0r_87tQ


It really isn’t that difficult after you have practiced a bit.

Now the fun begins!
With a few pieces of mat board and some thrift store frames….the sky is the limit!

Framed Projects Around Sweetwater

A spooky photo of a graveyard in a thrift store frame.  Instant seasonal decor.
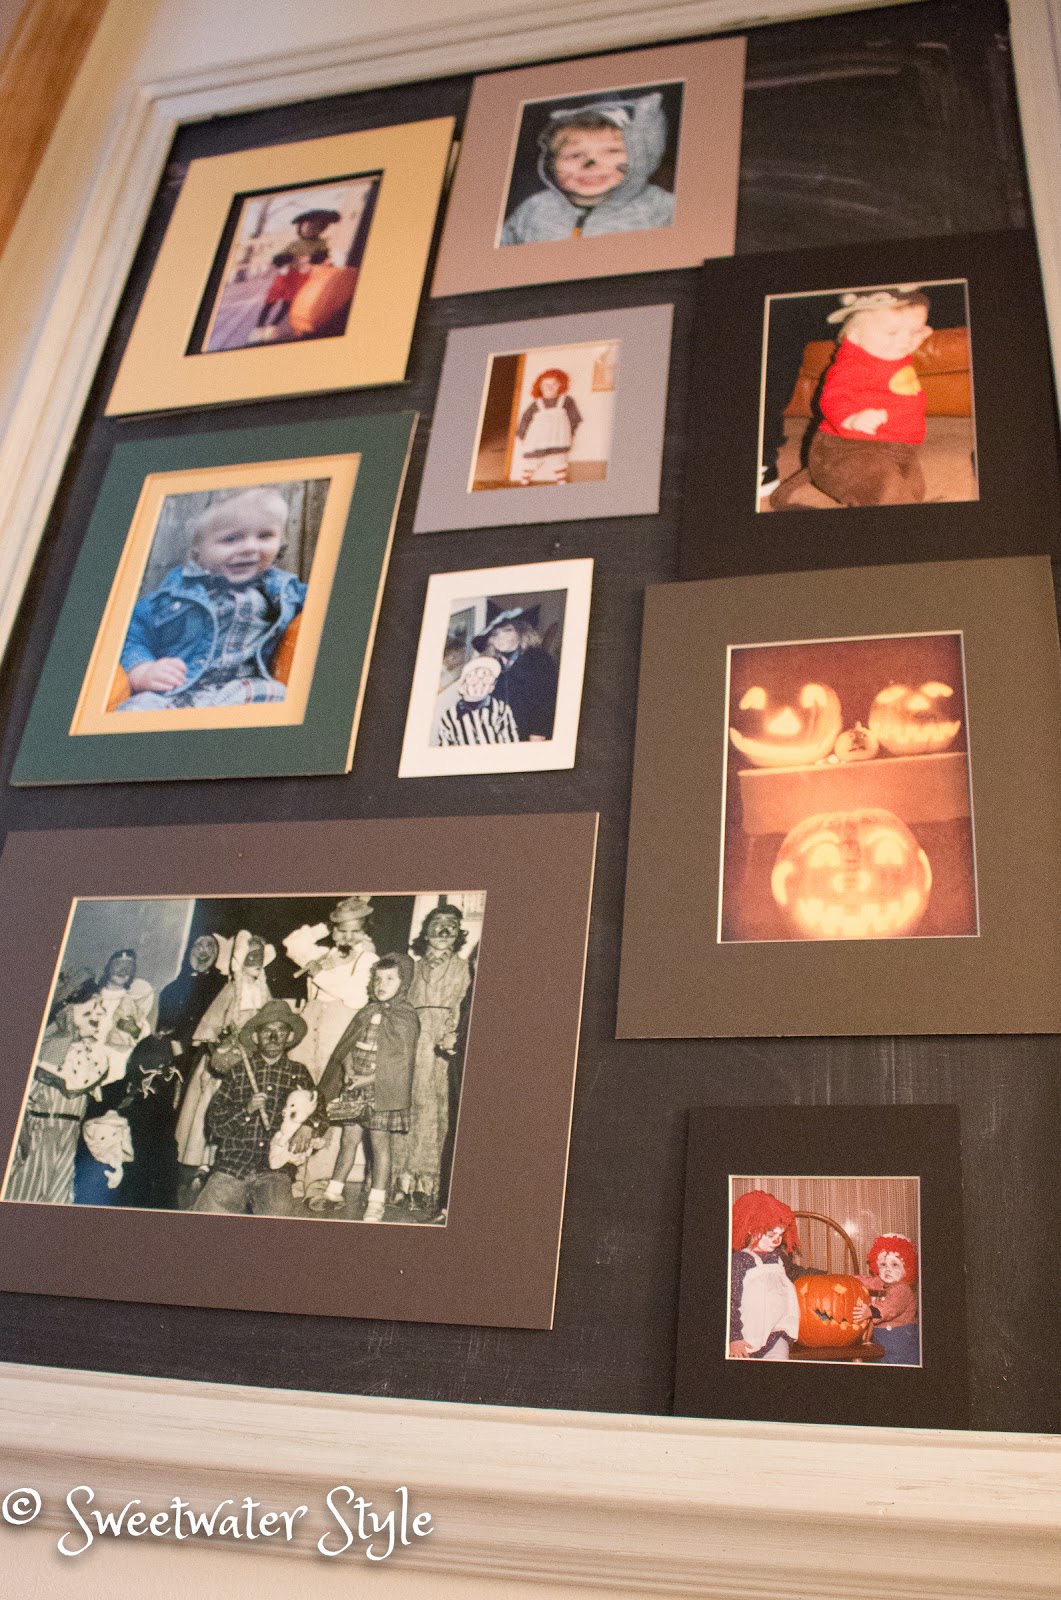
  Favorite photos from Halloween past.  Mats only….displayed on the big chalkboard in the stairwell.
 

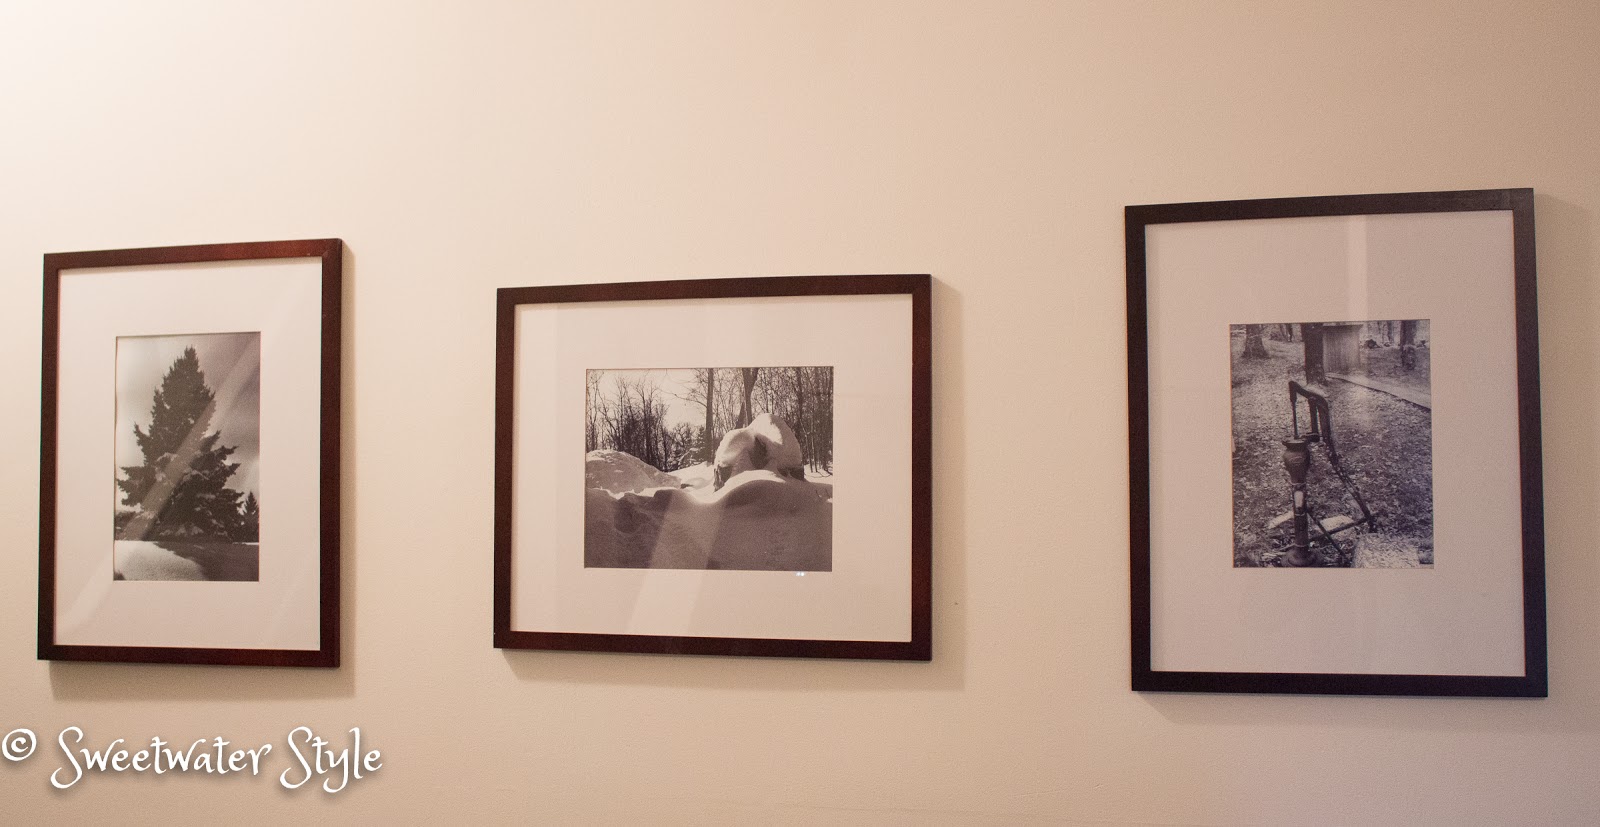
 Gallery style display of photos taken by the Sweetwater Son.

 This old window is from the childhood home of Mr. S.  The poster was a gift from the Sweetwater Daughter and SIL.  The Minnesota Home print from the Sweetwater Son and DIL.
My family always gives me fun things to frame because they know it can be done inexpensively.

Nobody wants to see ALL of our vacation photos….but making a quick collage is a fun way to display just a few.  This is an unframed mat with a foam core backing.  The back has magnets that let it hang on the refrigerator.  A quick way share without “oversharing”.  BTW….Ireland was amazing! 
This is a tea towel that I picked up in a fun boutique on a trip to Florida.  It can easily be switched out when I want a new look….or find a new tea towel!

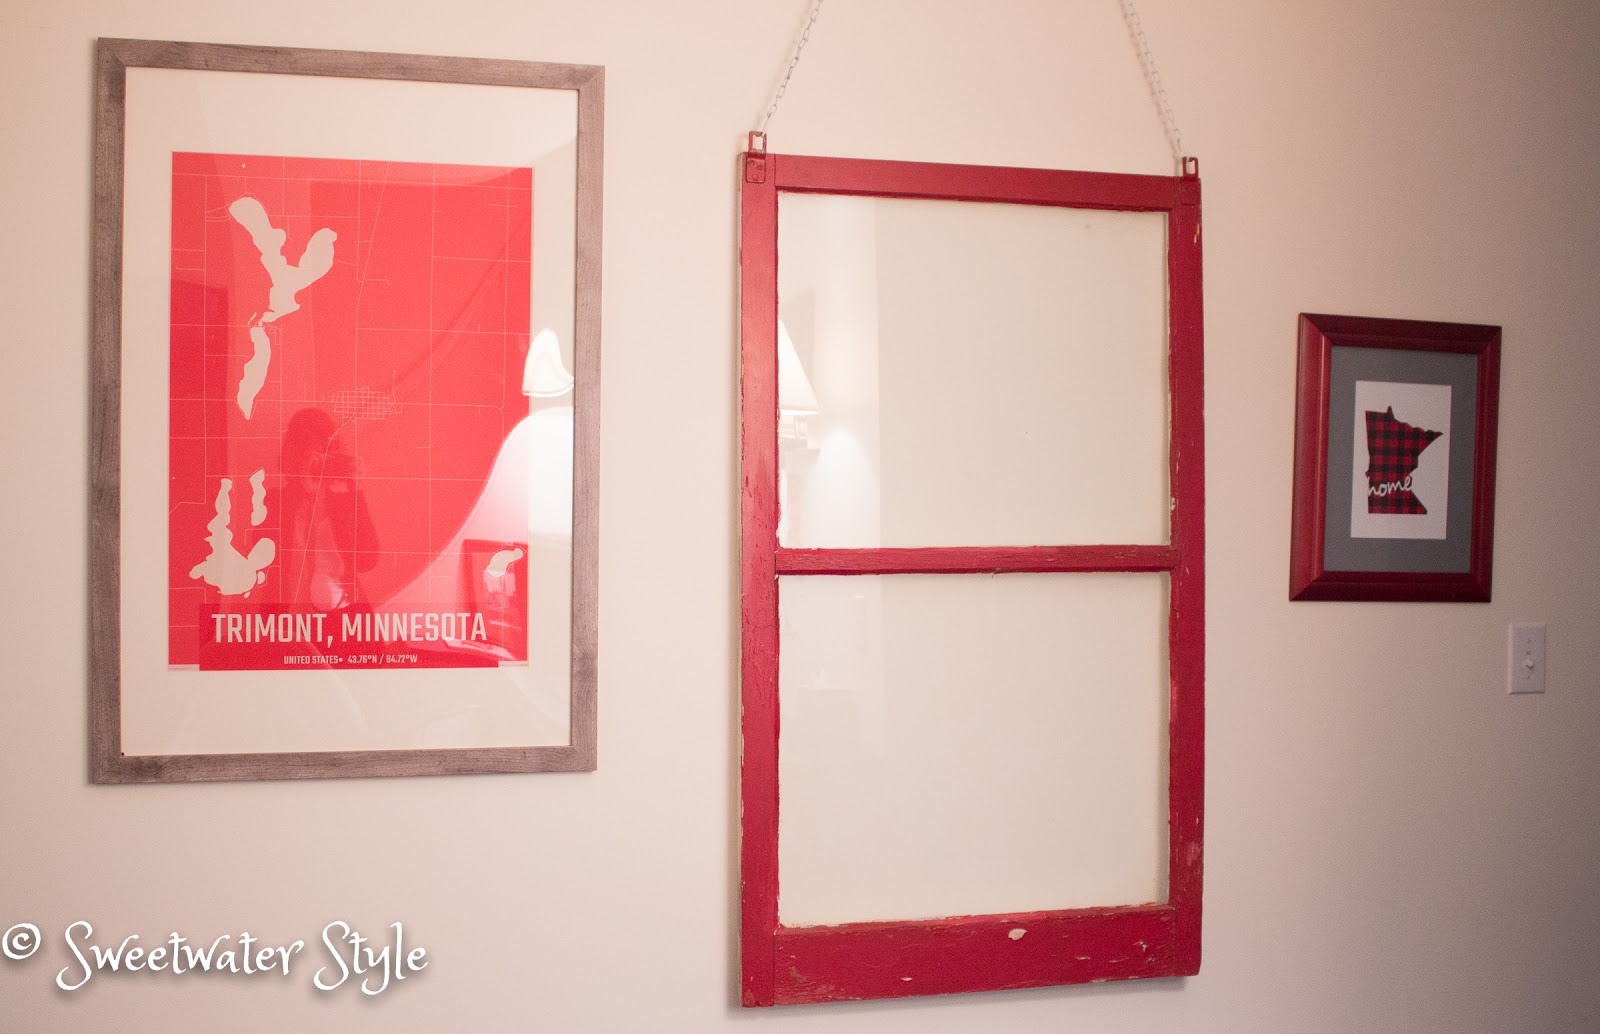
More Minneapolis themed art….would you believe that I actually took the top photo….good for me!

A cluster of framed posters and photographs lean against the wall on Mr. S’s desk in the office.
I love the look of the vintage posters….The blue and green one was purchased on a trip to Voyageur National Park.

We have had this chalk pastel for many years.  I love being able to change the mat color to coordinate with what ever decor scheme we have.  No need for new art…..just $10 for new mat board.  I am always amazed that you can find a color in your favorite image that goes with any scheme.
These white mats look nice with the off white walls.  This is another photo by me and the New Orleans scene is another we purchased at an art fair in Memphis….go figure. 

These are just a few of the ways I have used the ability cut custom mats….
Even better….
Now that people know that I have the mat cutting system…they come over and either mat their own things or let me do it for them.

I always tell folks….”I MAT FOR WINE”….

Hope this inspires you to spend some of your crafting or decorating budget on a mat cutter….you will be glad you did.

Have a Wonderful Day!

Free Graphic Design Tool

I have always been fascinated by graphic design.
I admire people who can DIY their own beautiful graphic designs.
I am NOT one of those people!

That is why I am so in love with CANVA!
This on-line graphic design tool is free with sign up.

What Is Canva?
Canva is a free tool that is available over at Canva.com which you can use to create graphic designs.

The tool is designed to make designing simple and provides templates that are very professional looking.

There are posters, flyers, cards, facebook headers, instagram, and so many more.

I am obsessed with the photo collage and the posters.

You can also make a custom sized graphic for almost any purpose.

Canva is a simple drag-and-drop type of software and that’s all there is to it.
There are a variety of options that are so fun to pick from.
In fact…..knowing when to stop “picking” and get on with it is probably the biggest down side.

As you can see from the images, you can select from a lot of features to help you create your design such as: text, layout grids, backgrounds and objects.

The best thing about having a CANVA account is that you can upload your own photos and images.  CANVA saves them so you can use them any time.

Here are some of my Canva designs.

Somethings just don’t have to be complicated.   Creating simple blog graphic or a social media post should be simple and enjoyable.
I really recommend that you check it out.
I bet you get hooked too!

Have A Wonderful Creative Day!

Fancy Schmancy Refrigerator Art Display!

Back to School time means that your favorite kids will be bringing backpacks filled with their artistic endeavors!
Slapping that artwork up on the refrigerator is the typical way to display these treasures.
Why not elevate your typical refrigerator display so that it has  “Gallery” style?
Adding a mat to a any photo or art piece makes it seem special!

Now…if you follow my blog…you know that I do a lot of custom matting with my trusty Logan Mat Cutter!

The $200 spent on this tool was one great investment….but that is a story for another day!

So….for this project….I used it to cut an 11 x 14 mat with an opening of a little bigger than 8 x 10.
The ability to cut a custom opening for any piece of artwork is what makes having your own cutter so nice!

You can still do this without a mat cutter!
(or you could come over to Sweetwater and I will let you use mine!)

Amazon sells this set of 10 picture mats with backs for $19.99

Once you have the mats, you will glue JUST THE TOP of the mat to the backing.

This allows you to slide the artwork in.

It also allows you to change them easily when a new masterpiece comes your way.

I just use a bit of rolled tape in the bottom corners to secure the edge.

Amazon also sells a set of 100 round craft magnets….or you may be able to find these at the dollar store

Glue one magnet on each corner of the backing.

Presto!
In about 10 minutes…
you can create something pretty “fancy schmancy”!

Have a Wonderful Day!

Link Parties
Make It Pretty Monday

Vacation Memories Art Project

We just got back from a trip to Voyageur’s National Park.
What fun….and yes…I actually caught a fish or two!
In fact…I was voted “most improved” fisherman in our group.
That wasn’t hard considering that on the first day I couldn’t even make my reel work!

I never did get over the gag reflex about the whole sticking the worm on the hook deal!

Of course we took bunches and bunches of photos.
It is so easy to take too many pictures….and then it is so hard to figure out what to do with them.

This article from the Washington Post has some great suggestions for organizing and “doing something” with those photos.  These tips are definitely on my to do list!

I am not much for scrapbooking….so I also enjoyed this article about NON-scrapbooking ways to remember your vacation.

This quick craft is a way to turn a scenic photo into canvas art at home.

What you need:
a scenic vacation photo
photo editing software or APP
canvas “paper” for your printer purchased or DIY (directions here)
frame (no glass)
fabric covered mat (tutorial follows)

One of our favorite places in Manzanillo, Mexico is Playa la Audencia.
The Waterlogue App for iPad is free.
This app makes it easy to create a watercolor effect with any photo.

This photo turned watercolor is a wonderful memory of our favorite spot.
Somehow…the original went “missing” in all of the zillions of Mexican vacation photos…..

This is one from the same day to give you an idea of the scene.
If you look closely in the watercolor version, you will see Mr. S in his classic “kicked back” position!  
Don’t you think it adds an even more personal touch to the image?

Then it is a simple matter of printing the water color image on canvas.
Here are the directions for DIY printing on fabric.

I removed the glass from a frame I had.
I decided that a fabric covered mat would look nicer than plain mat board.

The finished project is a nice addition to the beach themed table in the entry way.
Adding the “caption” makes this a wonderful vacation memory.
I am in the process of doing one from our fishing trip.
I have the frame with the mat done  
Here is the tutorial for covering a mat with fabric.

Start with a plain mat cut to size.

 Use an adhesive spray to attach the fabric.

 Press the fabric smoothly on the mat.

 Cut an x from corner to corner.

Fold the sections back and press well.

I use mounting tissue to attach them to the back.
You can just use tape.

The burlap looks nice…but those frayed corners will need a little attention with some glue.

Insert the mat into the frame and you have a nice fabric mat that looks good without glass.

Now it is just a matter of figuring out which scenic photo to use for my water color technique.

HMMMM….

Now wasn’t that a sneaky way to make you look at our vacation pictures?

Have a Wonderful Day!