pillows

Quick and Easy Halloween Decor Ideas!

What is your Halloween decor style?
Do you go all out Haunted House….?
Or
Do you settle for a simple Jack-O-Lantern or two?

I like to find a middle ground….that pretty much eliminates the “haunted” stuff.

Here is a round up of some simple decor ideas that have a Halloween feel with a bit of elegance and/or whimsy.

Display old and new photos of Halloween’s of the past!

I have so many fun photos of the Sweetwater kids in costume.  It is simple to have prints made and then find a fun way to display them.  I have framed them and clustered them around the house.  This year the display is a simple “gallery” of the photos matted and mounted to the big chalkboard in the stairwell. There are some spaces left for some new photos I need to get printed….but I wanted to get the post done!


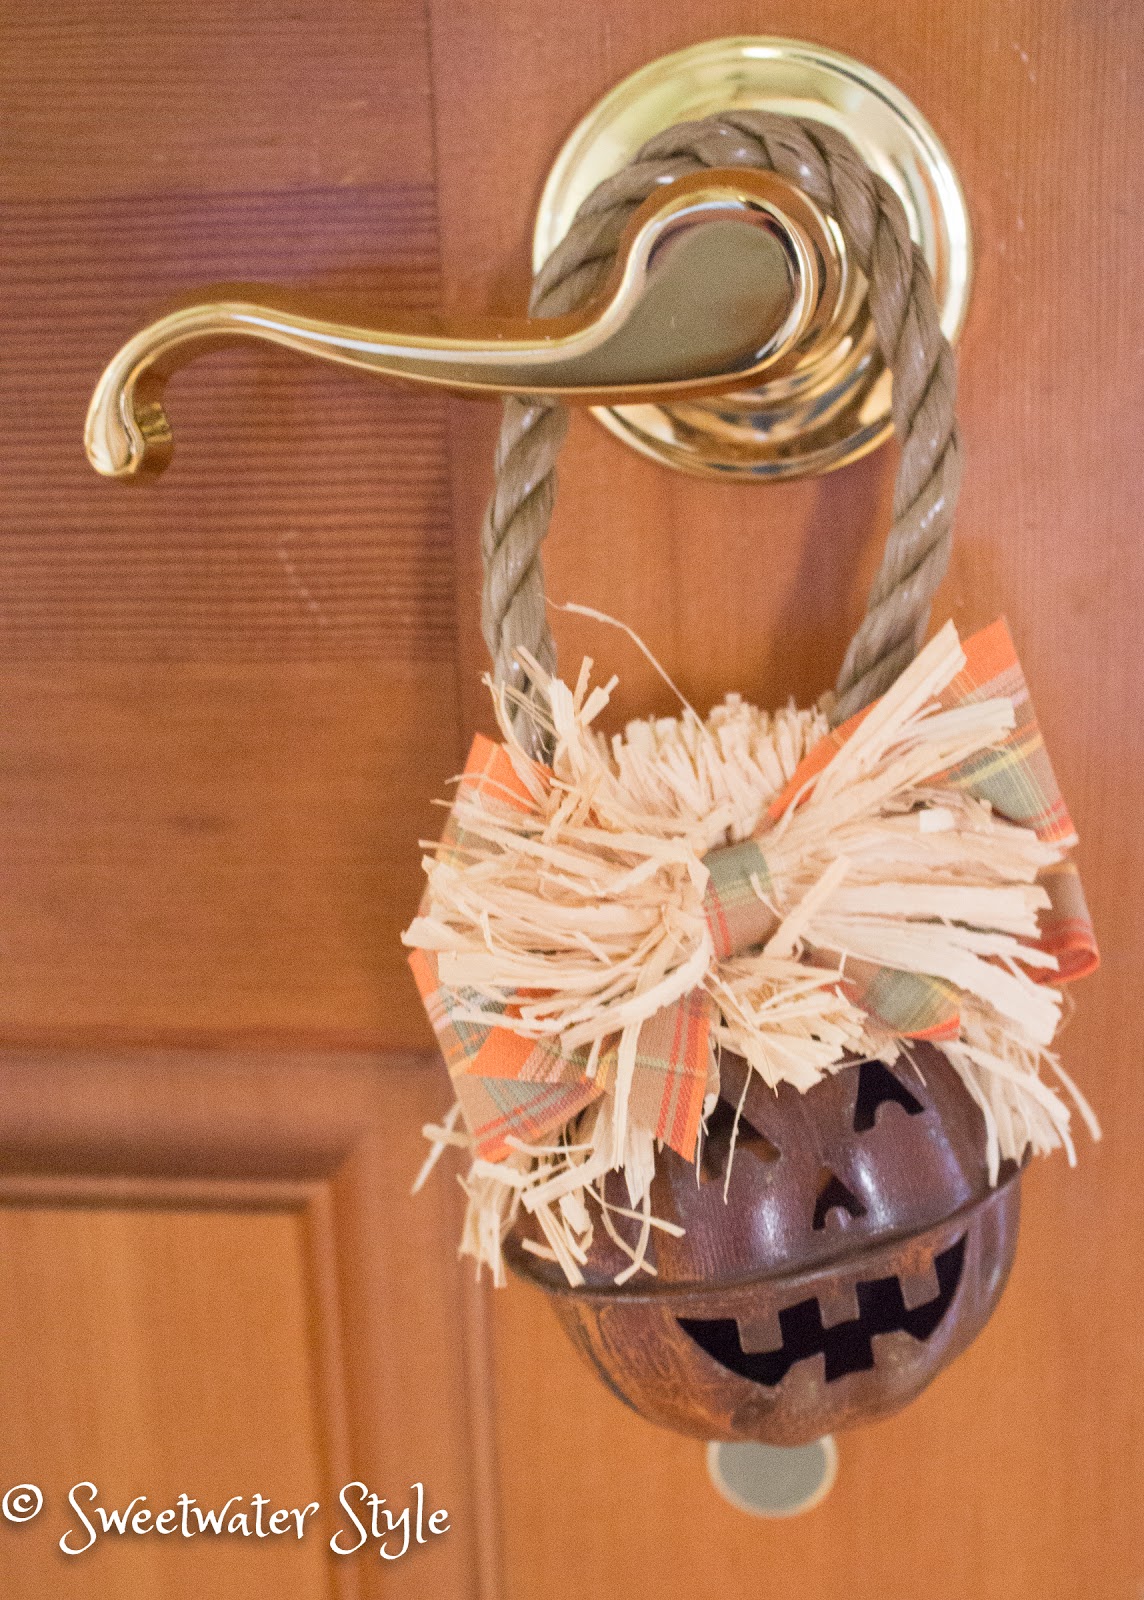
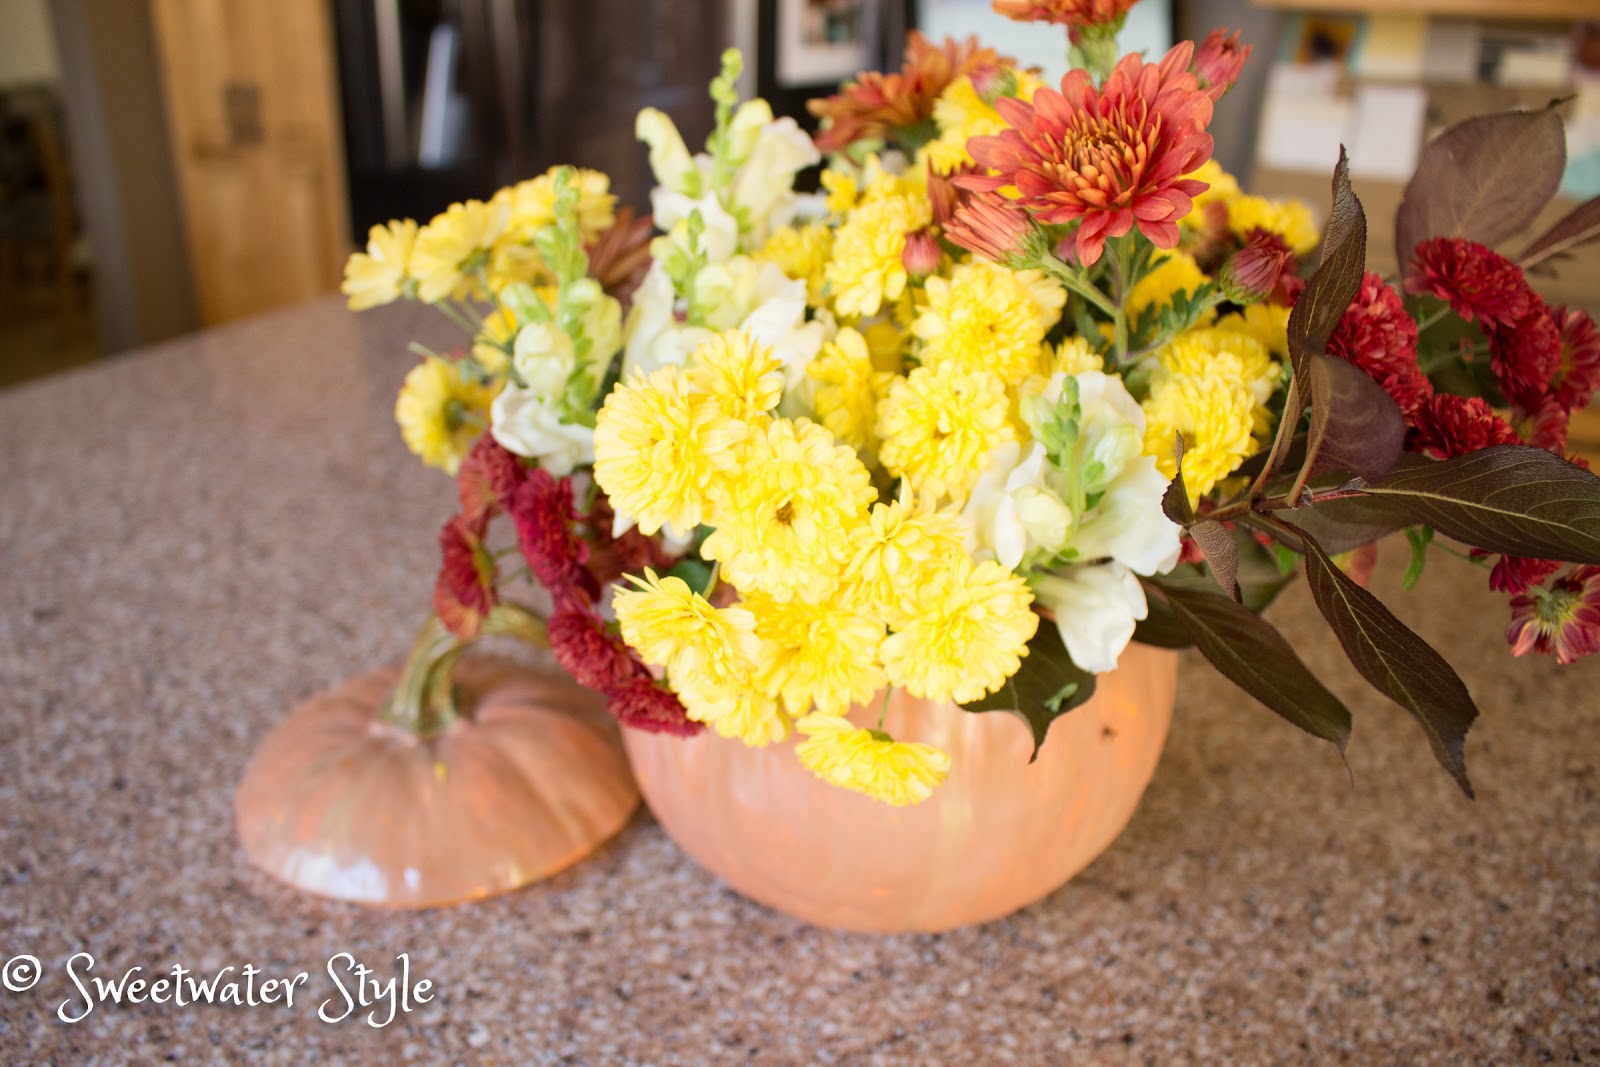
Get Your Pumpkins ON!

Simply placing these interesting pumpkins in odd spots through the house makes a Halloween statement with out SHOUTING!  The thrift store is a wonderful source for interesting Halloween themed decor.


Keep those Real Pumpkins Looking Good!
 
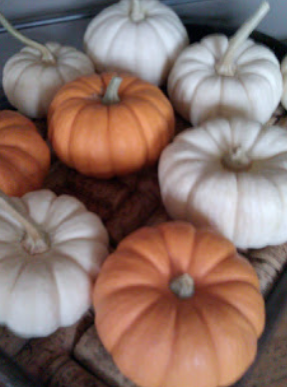
This trick will keep your real pumpkins and gourds from getting rotten.  If you follow this “recipe”, you may still have usable gourds at Thanksgiving!  
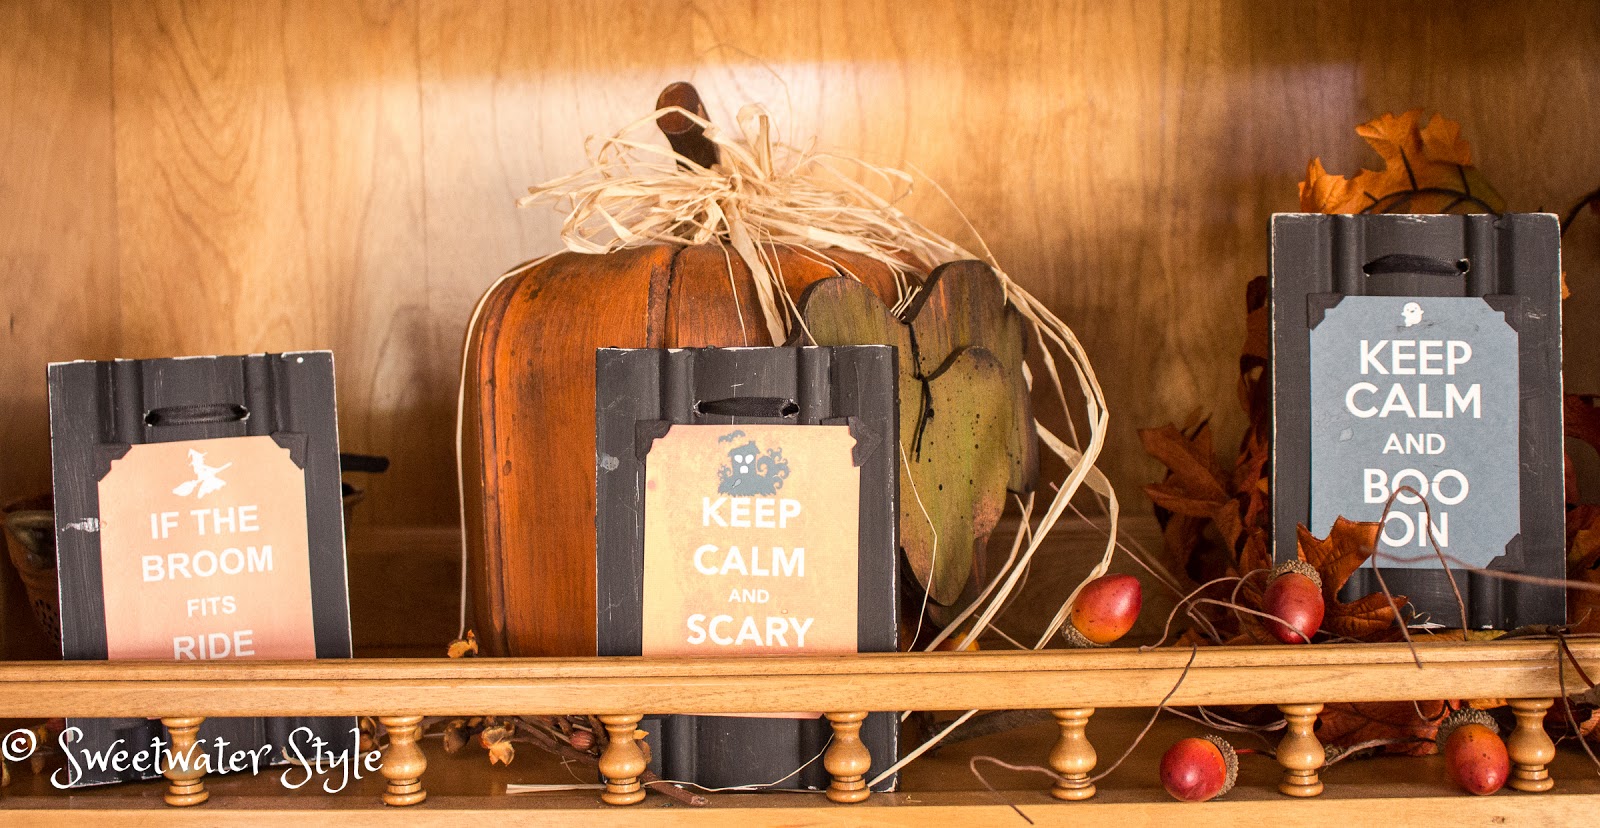
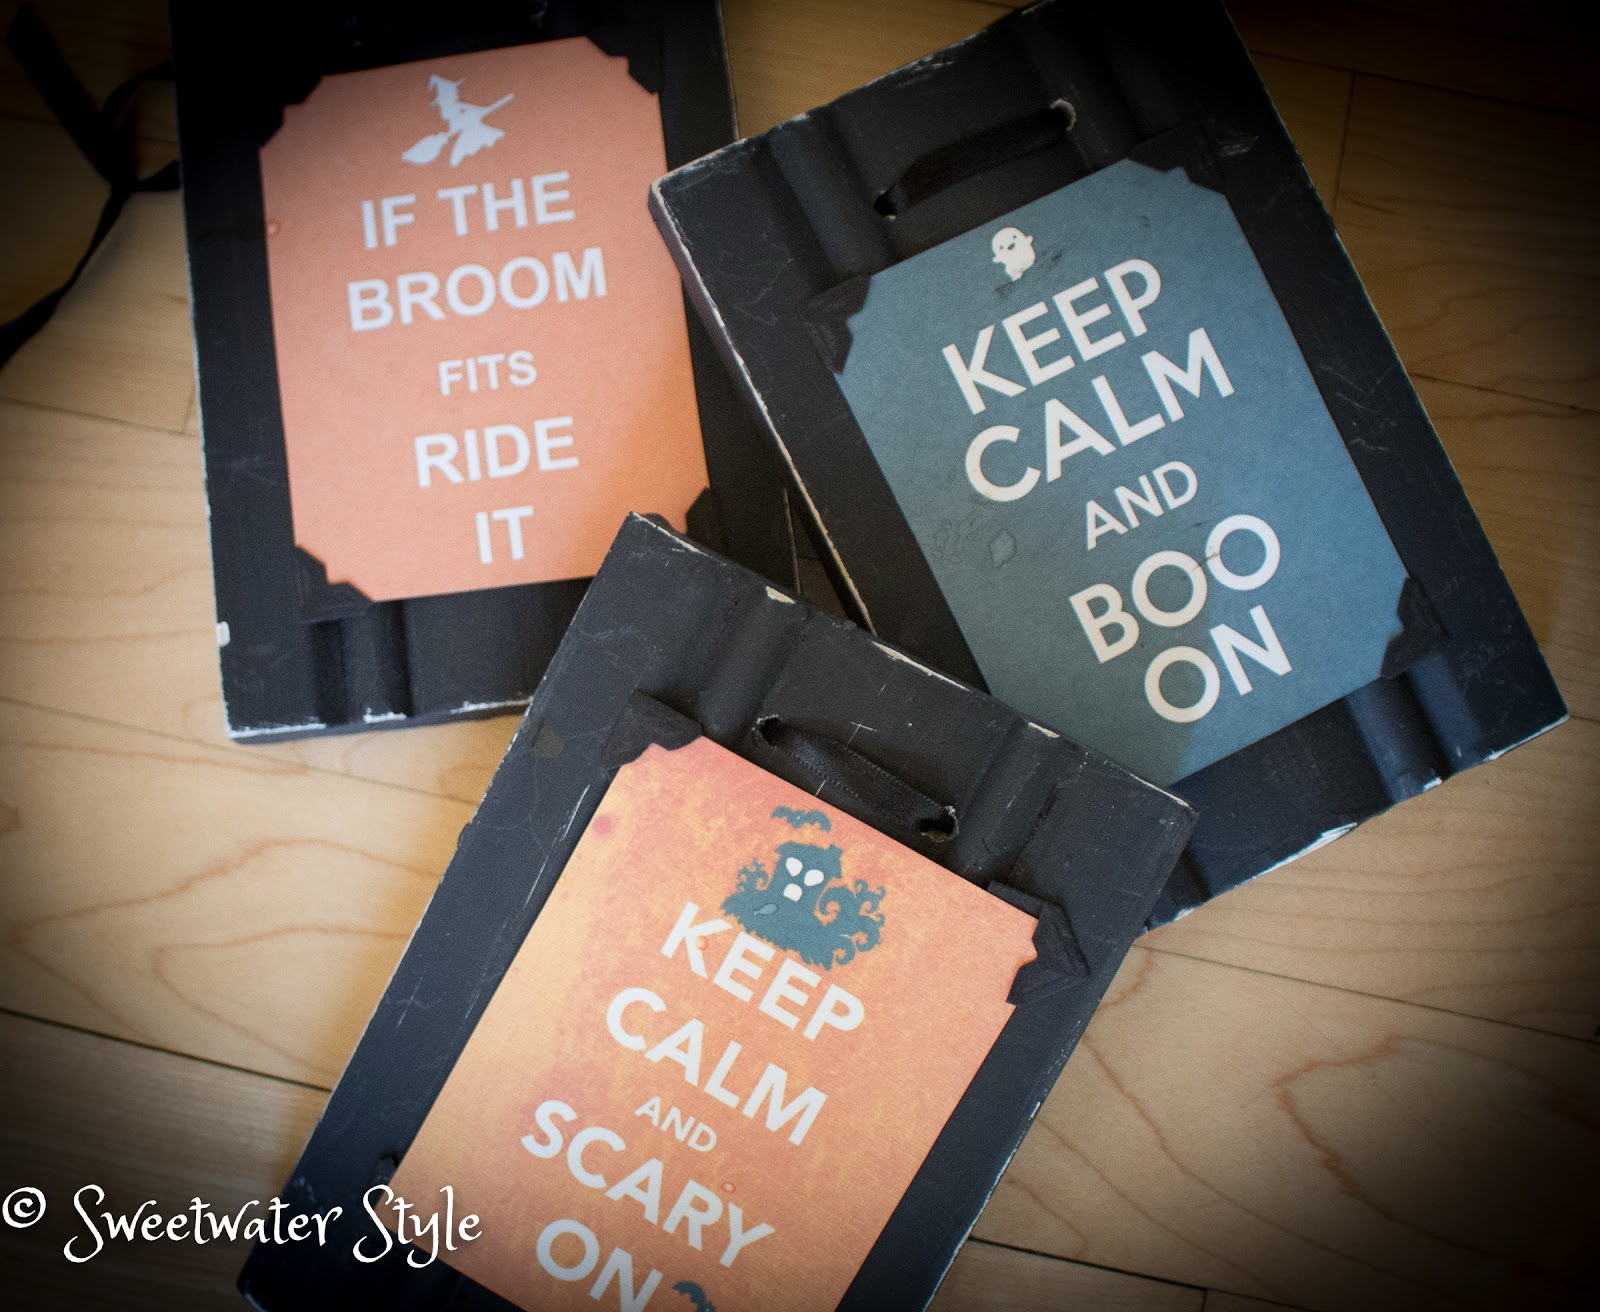
Inject some Humor!
These little plaques are easy to make….but would also be simple to print and frame.
Check out the tutorial here or take a few minutes to browse for some funny quotes to use on a chalkboard.

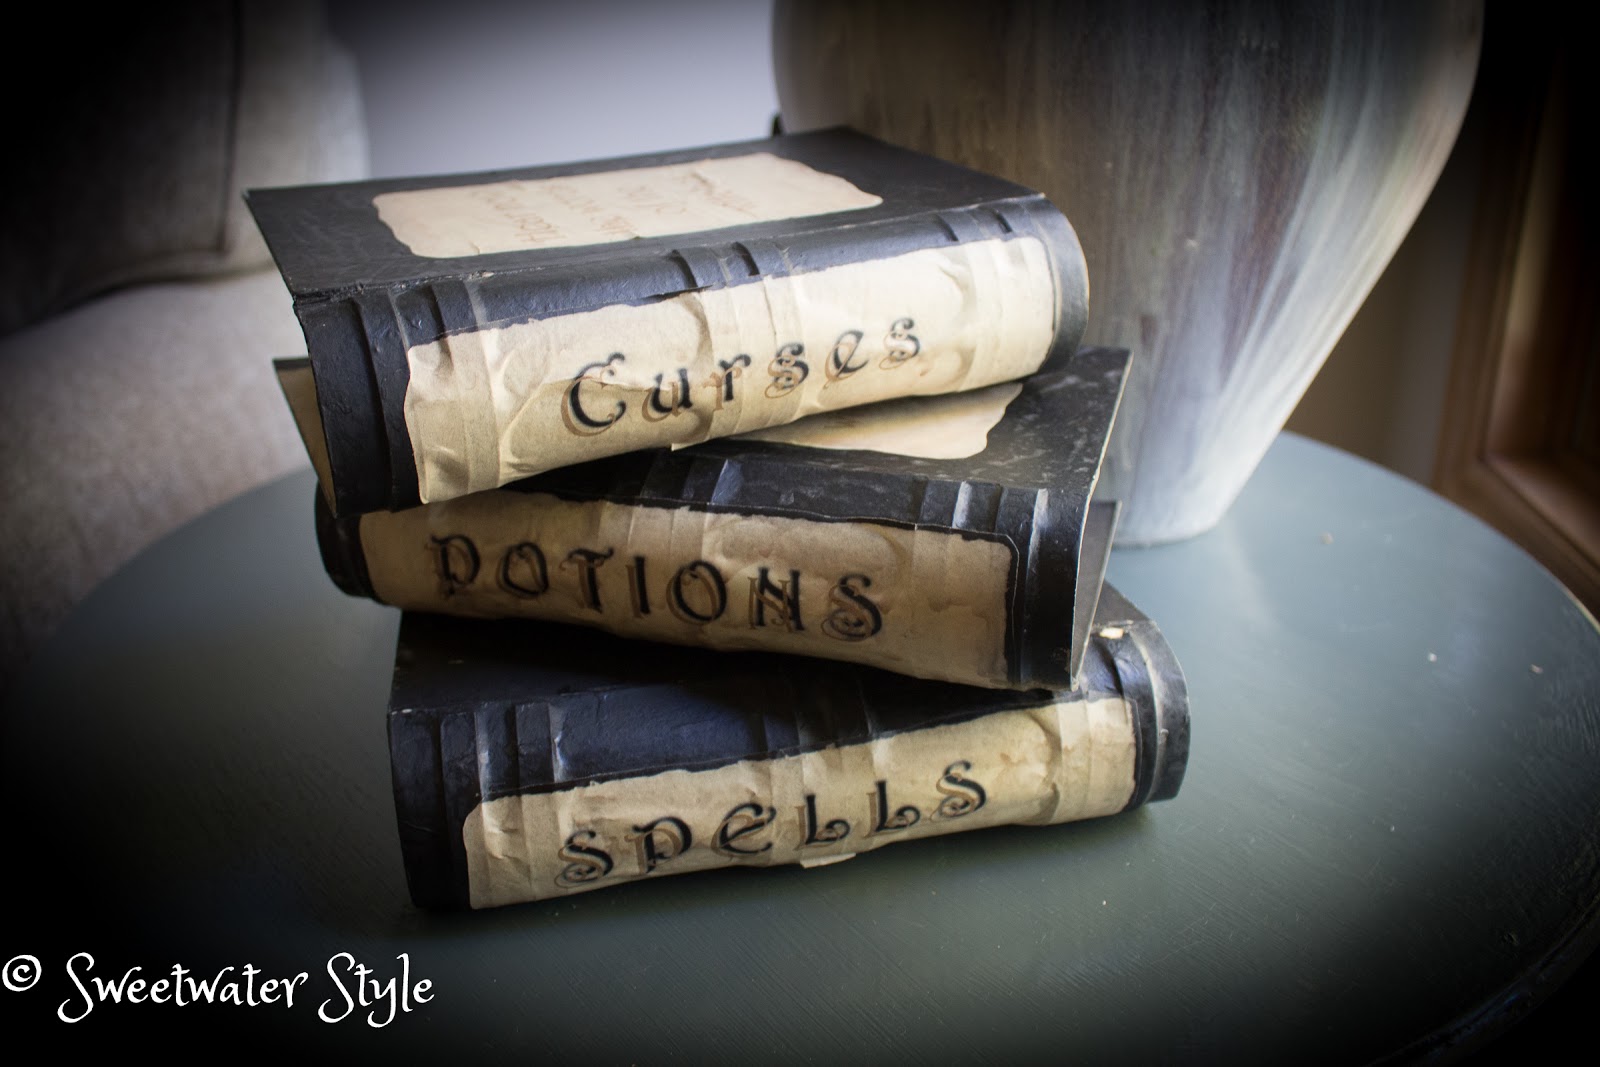
A trip to the craft store is the start of this craft project.  These little books tucked on a shelf or set on a table are a subtle seasonal touch.  TUTORIAL HERE
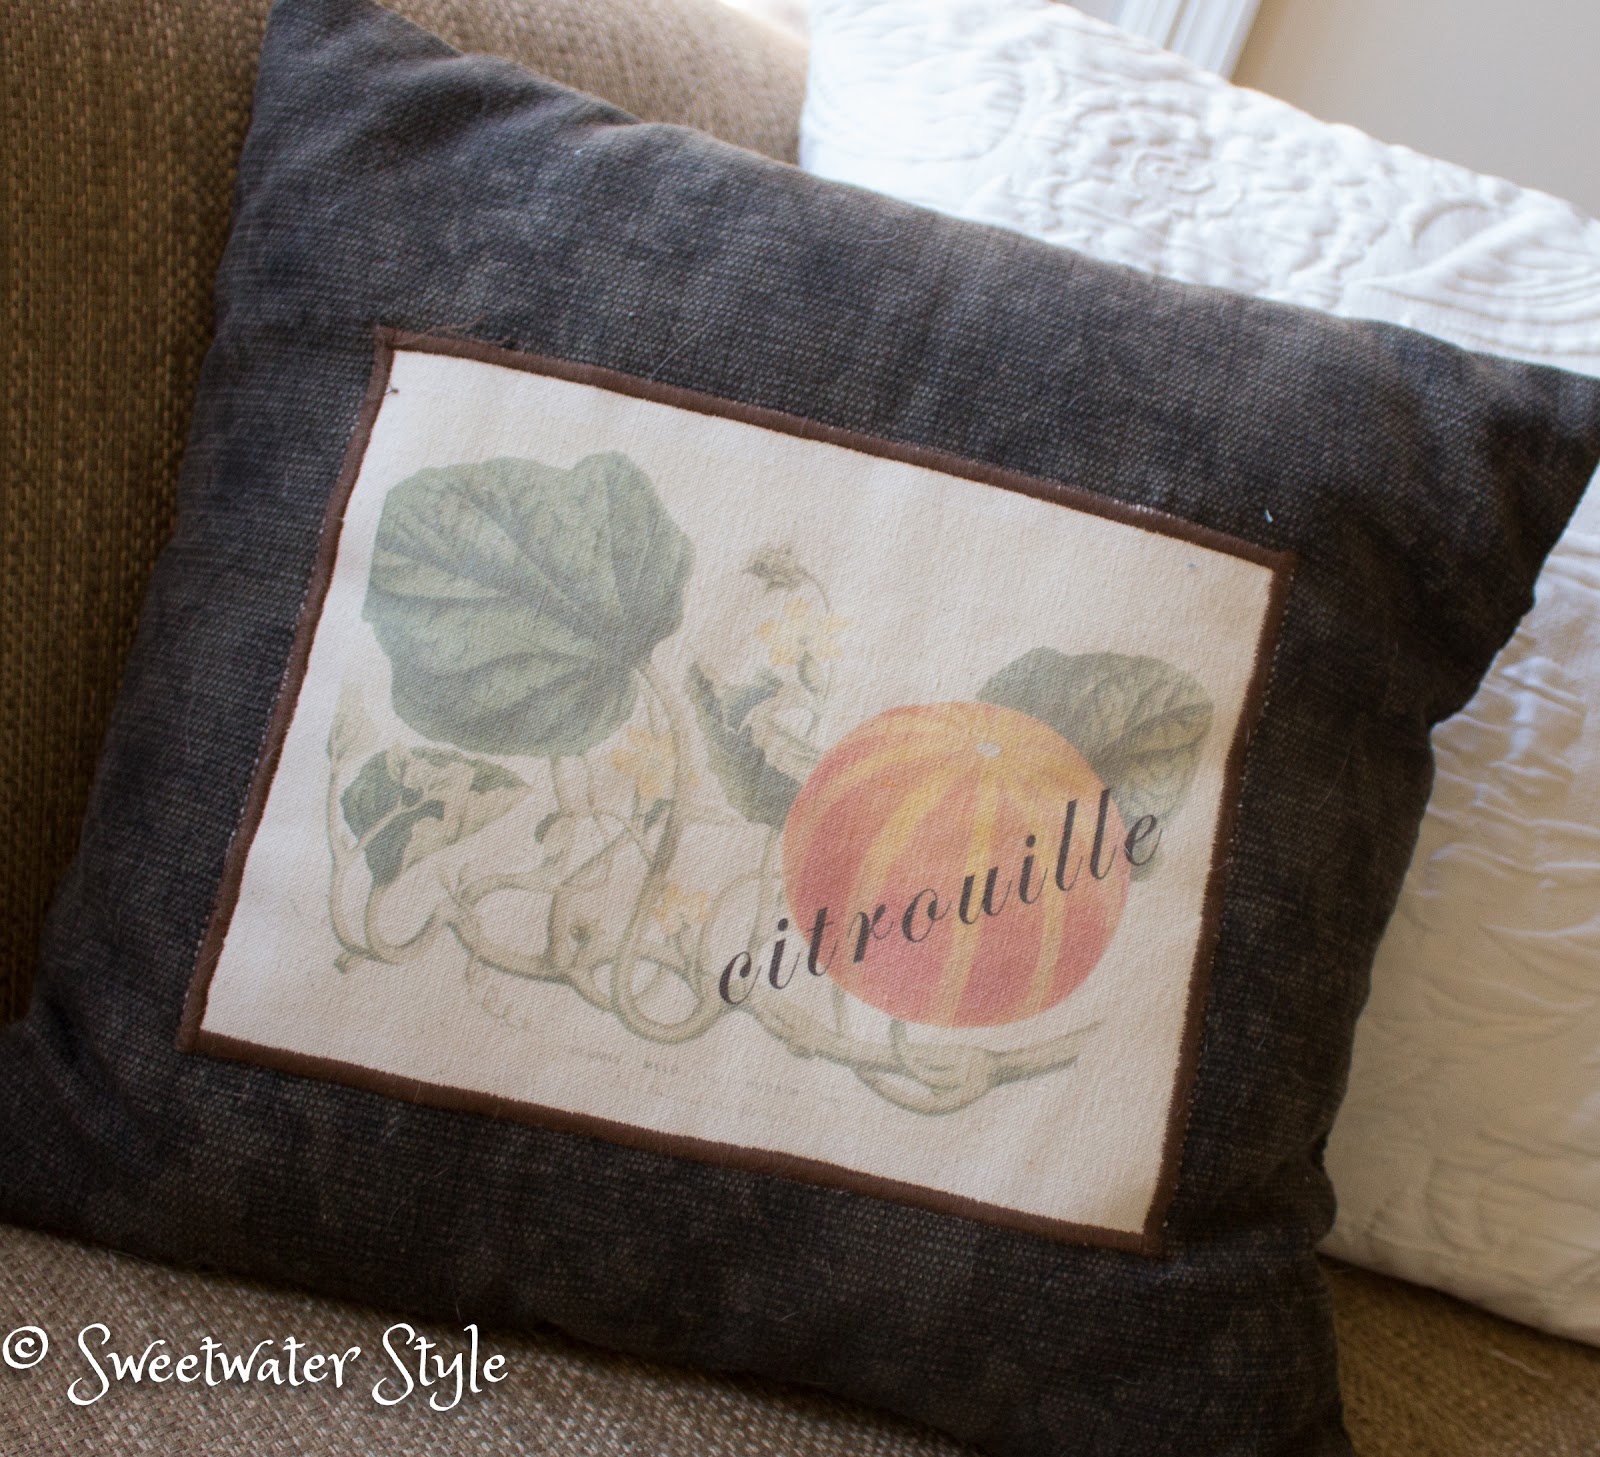
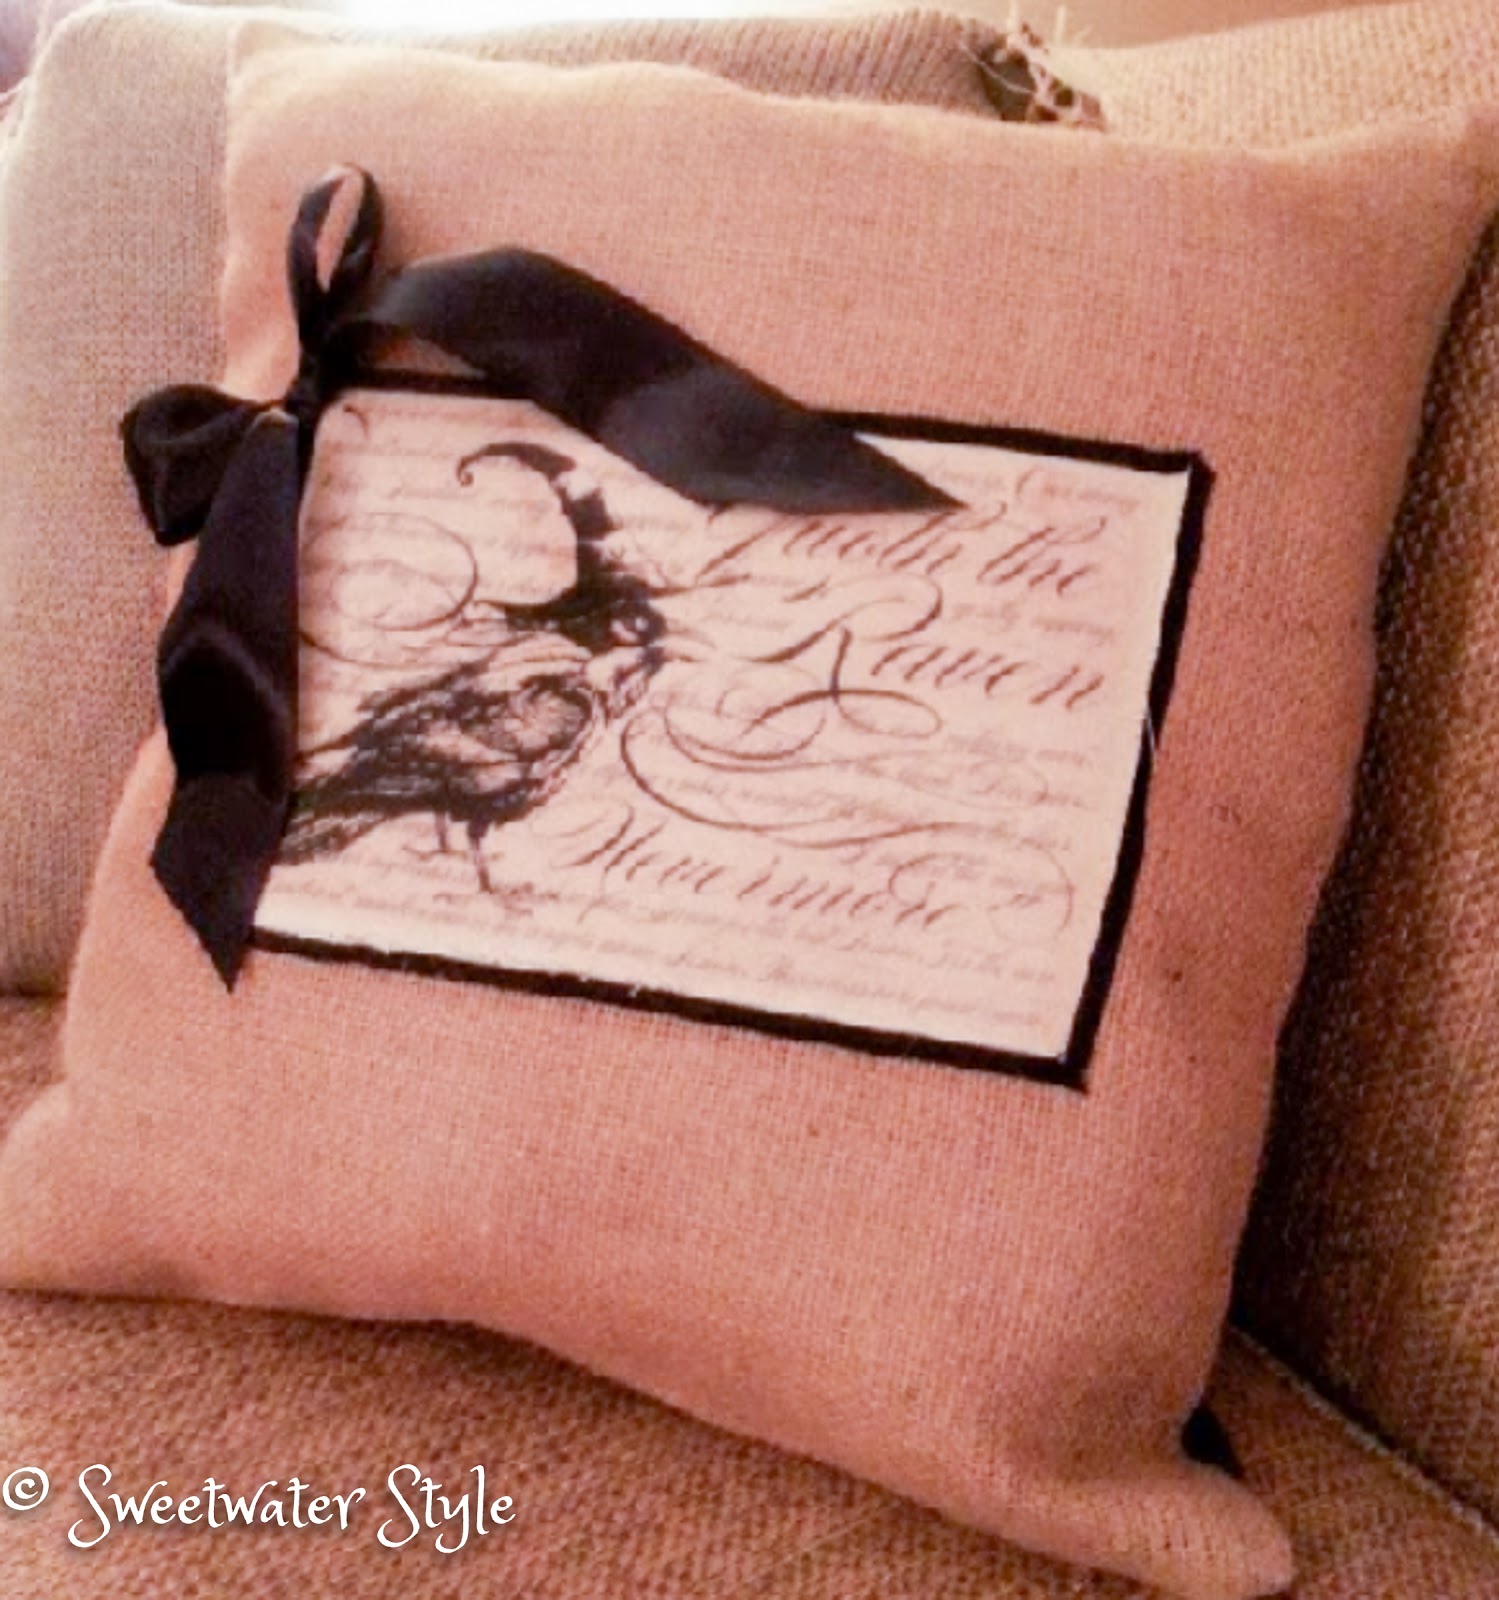
Don’t Forget Accent Pillows!
A few whimsical pillows can add a touch of seasonal decor too.  If you have never tried printing images on canvas using your inkjet printer…you really should check out these directions.  The possibilities are really endless.

So there you have it….a few little ideas that might inspire you to get your Halloween on in a tasteful way!


Have a Wonderful Day!  It is gorgeous outside today….maybe a trip to a pumpkin patch is in order…oh wait…I seem to have ENOUGH pumpkins!

Pillow Knock-Offs Summer Edition

One of my favorite ways to give a quick fresh look to a room is with new decorator pillows.

I must not be the only one….just take a look at HomeGoods or Target and you will see bunches and bunches of pillows that have fun seasonal motifs.

Now….I guess giving a fresh look to a room for around $30 seems like a deal.
But if you follow this blog….you know I think that is WAY too MUCH $$$ to spend.

Come along and I will show you my inspirations from the stores….
and then….
My KNOCK OFF versions of the same pillows.

source

 This nautical inspiration is really fun.  But it made me “Crabby” to think about hand painting something like this.

Source

I love this simple burlap pillow and it is definitely on my to do list….

Target.com

But this charmer from Target is the one that really caught my eye!

Who doesn’t like lobster?

The red color is perfect for the blue and white decor in the lower level.

I used my Cri-Cut and Sure-Cuts-A-lot program to create a lobster stencil!

The stencil is done on canvas with red acrylic paint.

I went all fancy and did red cording around the edge.

The navy and white stripe fabric is left from my DIY Ironing Board Cover.
And….oh my….I actually put a zipper in the back….wasn’t I ambitious?

Since everything I used was already in my “stash”…this cost me nothing.   If you started from scratch, you could probably do this for under $10.

Zazzle.com

I have always loved those vintage postcards that say “GREETINGS FROM….”

Zazzle has done a pillow with this theme.

HMMMMM

I decided to commemorate our fun trip to Savannah, Georgia this past winter.
Some simple Google Image Browsing and I found this great vintage poster.
My apologies….I didn’t save the source….!!!

I used the “Print on Fabric Using Your Printer” technique to create this fun pillow.
Using an machine applique stitch around the print is a clean way to attach the printed fabric.

This next Knock-Off isn’t exactly a Summer theme….
I am continuing to work on the Kate Spade Inspired Guest Bedroom.

source

I came across this pillow when I was looking for ideas.

I had the green and white striped fabric.

It was pretty darn simple to create this knock off.

It has a bed pillow for a form so that it is bigger and fluffier than the inspiration.

The better for cuddling a Grandboy!!!

So the next time you are in a store with a big display of accent pillows…..
Pause….say HMMMMM….and go home and create something!

Have a Wonderful Day!

Link Parties
Coastal Charm 

Lighten Up! Summer Look For The Couch!

Summer is really here!
Time for the couches at Sweetwater to change into their Summer wardrobe!
Summer calls for smooth, cool fabric and a lighter color palette!
It is pretty simple to make “pseudo summer slipcovers” with very little sewing!
I love how changing out JUST the cushions on the couch creates the Summertime feel I am after!

The couch in the lower level family room is one of those oversized monsters….and it is a solid navy blue! But it was a great Craig’s List find and is super comfortable!
Add insult to injury and you see that the carpet is navy blue too!  Sometimes I wonder where my decorating sense is!!!!  
 
The solution for “lightening up” the sofa is a set of “pillow shams” for just the back cushions.
If you need a tutorial for the pillow sham process….hop over to this post on NO BIG DILL!
The cushions are just big pillows with no shaping at all….so this technique works really well!

I had enough fabric to use my “almost no sew box cushion” technique for the window bench…
…you can find a tutorial for making these on the link!

It isn’t “exactly” a porch swing…..but it has a lazy summer feel!

I liked the new look of the couch so much that I made winter season covers too!

Now it is a matter of a 15 minutes to go from Winter “cozy” to Summer “breezy” !

The couch in the family room is also sort of “dark”!  The chenille cushions have a soft and warm feeling during the cool months!

But once again…it seems like they need a lighter touch for the summer.

This is where the pseudo part of the slipcovering comes in!

I made big form fitting (like really tight!) tubes of fabric for each of the six cushions!
The fabric is a nice stretchy bottom weight duck!
The stretch is important because it shapes well to the cushion and looks nice and taut!

The bottom cushions on the couch are pretty simple to do…..each end is just tucked in tightly with some gathers on the corners!  This means NO sewing except the long seam for the tubes!
It is also great because taking the covers off to launder them is a simple matter!

The back cushions of the couch are a bit more problematic….because they have an angles shape to them.

I tried tucking the fabric in on them as well…but didn’t like the result!

I uses the wrapping and hand sewing technique shown here  to get the nice tight look I was after! Basically…you just fold the corners in like you are wrapping a gift!

The final result is super comfortable and cool to sit on when it is hot and humid!

Is it perfect?  Not by a long shot! 
But the moral of this story is NOT about perfection!
It is about “livin’ easy” !
I found some other summery looking slipcover looks that might inspire you to lighten up your own couches!

 This is a cover from Pottery Barn that is drop cloth weight…..hmmmm….bet it would be pretty simple to drape and tuck something like this!

Source

Source

  This look would be easy enough to create with a purchased coverlet and pillow shams.

I would love to hear from you about the ways YOU lighten up for Summer!
Have A Wonderful Day!

Link Parties
Bowdabra 

Fast No Upholstery Tricks to Update Your Couch!

The couches at Sweetwater are in pretty good shape.
The rough and tumble wear from kids is not an issue in our house anymore…
Well….except for Marvin!
But through the years there have been times when a couch looked pretty shabby….
and…there was NO budget for a new one!
That’s when I learned a few tricks to do a couch update on a budget!
In fact these tricks might even be able to salvage this couch…..


well….maybe not….but I bet I got your attention!
People think I know how to upholster furniture….I do….sort of!
I do a combo of slip covering and upholstery!
And It works pretty well….
remember the couch we recovered in Polar Fleece?

Well….that one wasn’t shredded….but it was pretty out of date!

This was a case of ALMOST reupholstering because we actually took the old fabric off and did some more detailed stapling and sewing…. worth it but a LOT of work!  It was great that I had an awesome and fun partner to work with!!  That made the process worth a laugh or two along the way!
I know….I know….I promised you NO UPHOLSTERY tricks….
The cushions on the bench are an example.
I get a real giggle whenever I look at the stats for my blog…

This post

ALMOST NO SEW BOX CUSHIONS  has gotten over 15,000 hits if you can believe it!!!I guess the idea of

NO SEW is pretty popular!

Those box cushions aren’t the only ALMOST NO SEWing tricks up my sleeve!
A couple of years ago I sewed some slipcovers out of sheets to make the dark colored couch feel a little more summery!


This project involved quite a bit of sewing….
When I got the slipcovers out this year, they looked a little shabby and I just wasn’t in the mood to SEW…or not so much anyway!

My solution…..

  • I bought 10 yards of some nice Khaki colored stretch twill…
  • I cut pieces to fit around each cushion with lots to spare.
  • I stretched the fabric tightly around each cushion and sewed ONE seam in the back for each.
  • On the bottom cushions….the fabric just tucks in tightly to make a smooth “slipcover”.
  • On the back cushions…the same technique as the box cushions…just wrapped like a package and slip stitched closed.


They turned out great….super cool and comfy to sit on….and the stretchy fabric is great for getting a tight fit!  All in the space of about 2 hours worth of work….not including the hours I spent browsing in the fabric store!I especially like the fact that they are easy to remove to wash….just in case!!

I used the leftover fabric to make some cooler feeling pillow covers for the chairs in the living room too!


I used the “pillow sham” Technique for these!
Which like in the kid’s book…If you Give A Mouse a Cookie….
leads me to….
If I tell you about one project….
I will probably need to tell you about another one that fits the
NO SEW theme….
Since I always buy WAY too much fabric….
the extra blue and white fabric from the box cushion project resulted in a summery look for the basement family room couch cushions last summer.
The covers are on the couch right now….
BUT…
that project led to the Winter Warm Up Look using some yummy red print…
using the same
ALMOST NO SEW technique….
The box cushions and couch cushions for $35 and a couple hours of work!
And when the weather turns cooler….
they are on the shelf ready for a 10 minute swap out!
So if your couch needs some sprucing up…..or if you just like changing things up once in awhile….
You don’t need to spend much money….
You don’t need to spend much time….
You don’t need to wait…

All you need to do is ALMOST NO SEW something!

Have a great day!


Computer Print on Fabric! For a Pillow

These beautiful pillows really appeal to me!  

I love the vintage botanical look of them.
I love the feel of fall and Halloween in an elegant look!
I did not love the price….

$100 for the Pumpkin Pillow from Burke Decor

$100 for the Sunflower Pillow from Burke Decor


a>

Here is the DYI version I made from fabric remnants I had on hand.
I used free vintage botanical images and printed on fabric with an inkjet printer.
Let me show you how!

The Vintage Printable Website has an amazing array of images that are in the public domain….and the librarian in me loves copyright free images! 
I chose the pumpkin for my pillow and simply took a screen shot of it.
I used a graphics program to add some text….the french word for pumpkin.
Then I printed the image on lightweight canvas that I ran through my inkjet printer.
I adhered the canvas to freezer paper before I printed.
Simply cut a piece of fabric that is 8 1/2 by 11 and iron it to the shiny side of the freezer paper.  
Then after you print, tear off the paper and you have a beautiful print of any image or words.
Here is a tutorial from The Pine Cone Tea Cup if you need specifics.
I wanted a pretty casual look for our family room.
I used a piece of rust colored fabric for the backing.
I center the canvas print on it…and ran some pretty plaid ribbon over the edges.
I used the pillow sham back to make it really simple.
You know the drill…
  • right sides together
  • trim the corners
  • turn right side out
  • iron
  • insert pillow form

(but seriously, if you need instructions on how to make a pillow….let me know and I can be more specific)

Enjoy!

Inspiration: $100 
Knock-Off- $0 if you have a cupboard full of stuff
$20 if you have to buy freezer paper and ribbon and fabric

Now that fits the definition of Sweetwater Style!
Bet you can do this too!

Partying Here:


Delicate ConstructionLadybird LaneWhipperberry


Polly Want a Crafter Coastal Charm


Sew Much doWow Me Wednesday


My Girlish Whims

Weekend Wander
Naptime Crafters

Point of View: A Creative Collaboration,a creative collaboration,point of view,point of view a creative collaboration