
 |
| Source |

I want to show you a clever trick to cut down on the mess of opening gifts.
It is really simple.
Wrap the top and bottom of the boxes with as many gifts as you can,
Here is a step-by-step if you need it.
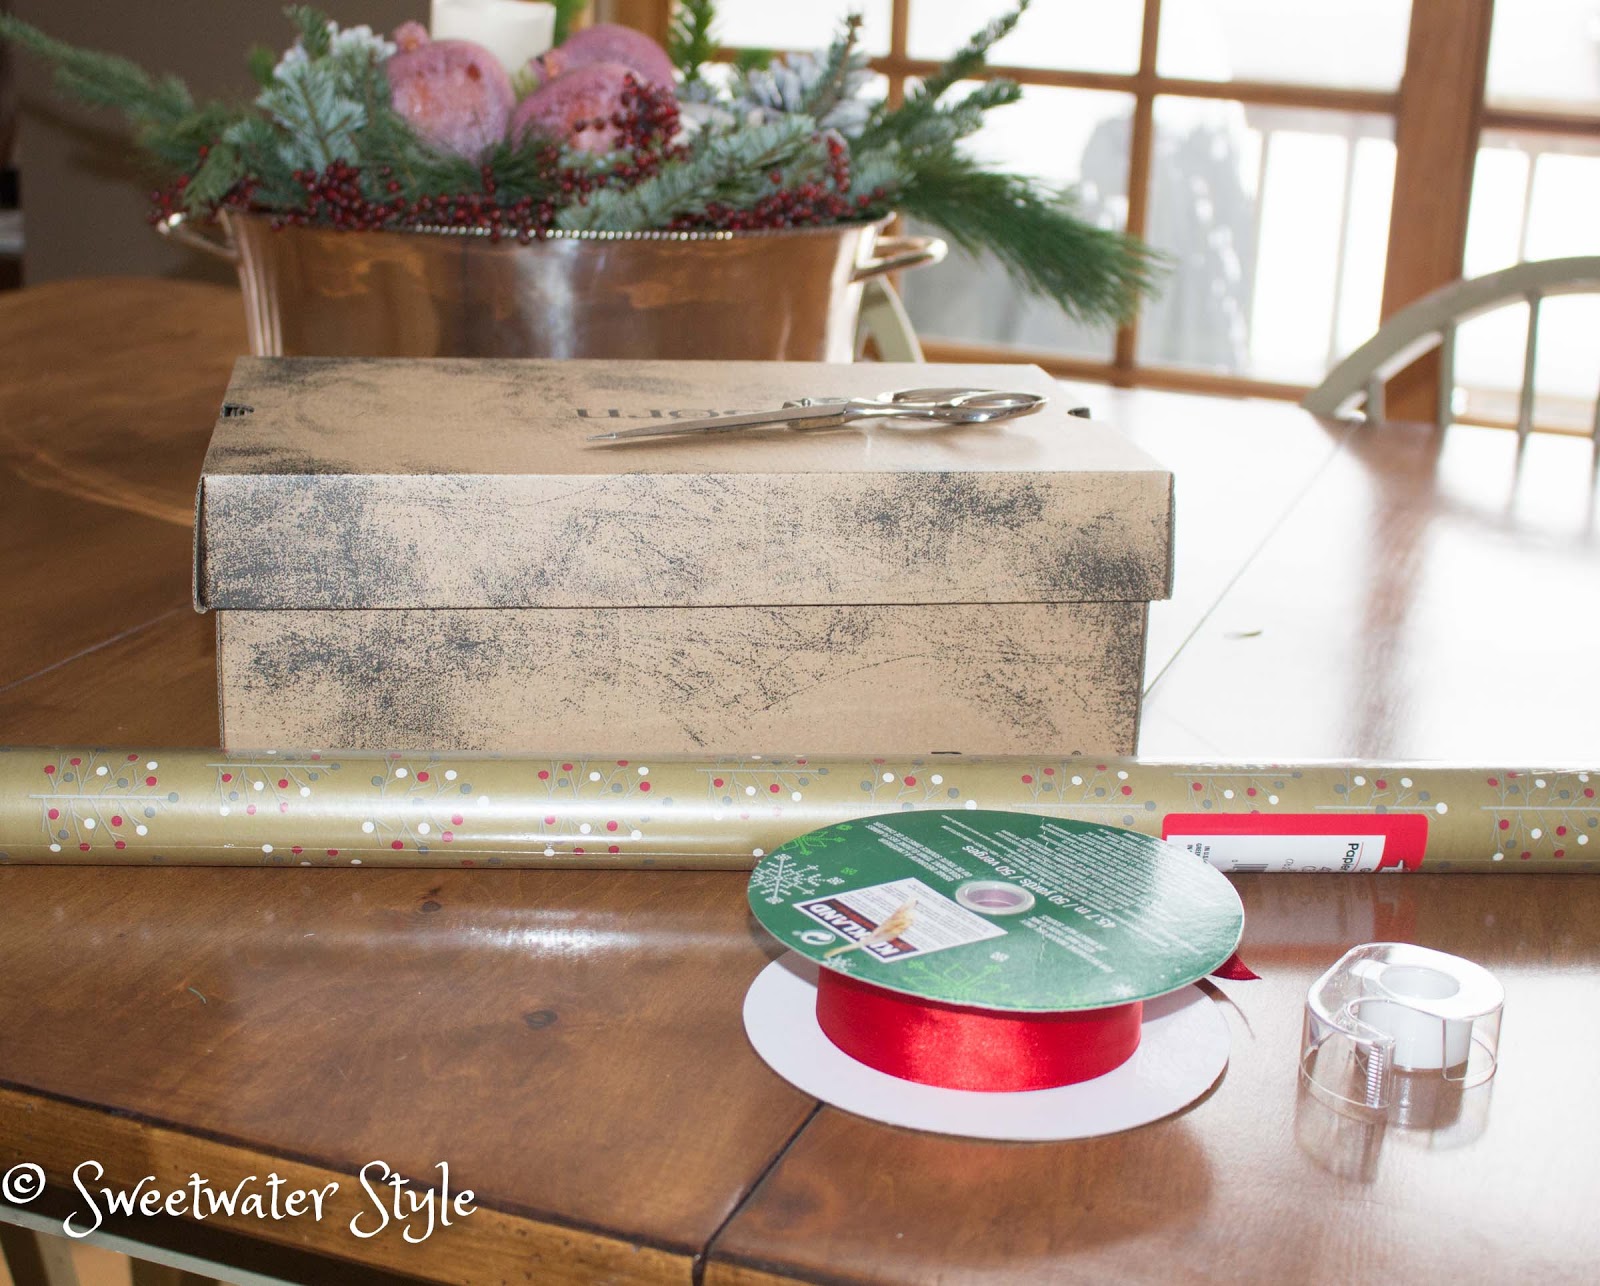
This is a nice sturdy box with a lid that only comes down part way. Those boxes that reams of paper come in are great for bigger things.
BUT…you can do this with the fold up shirt boxes you get from the department store too!
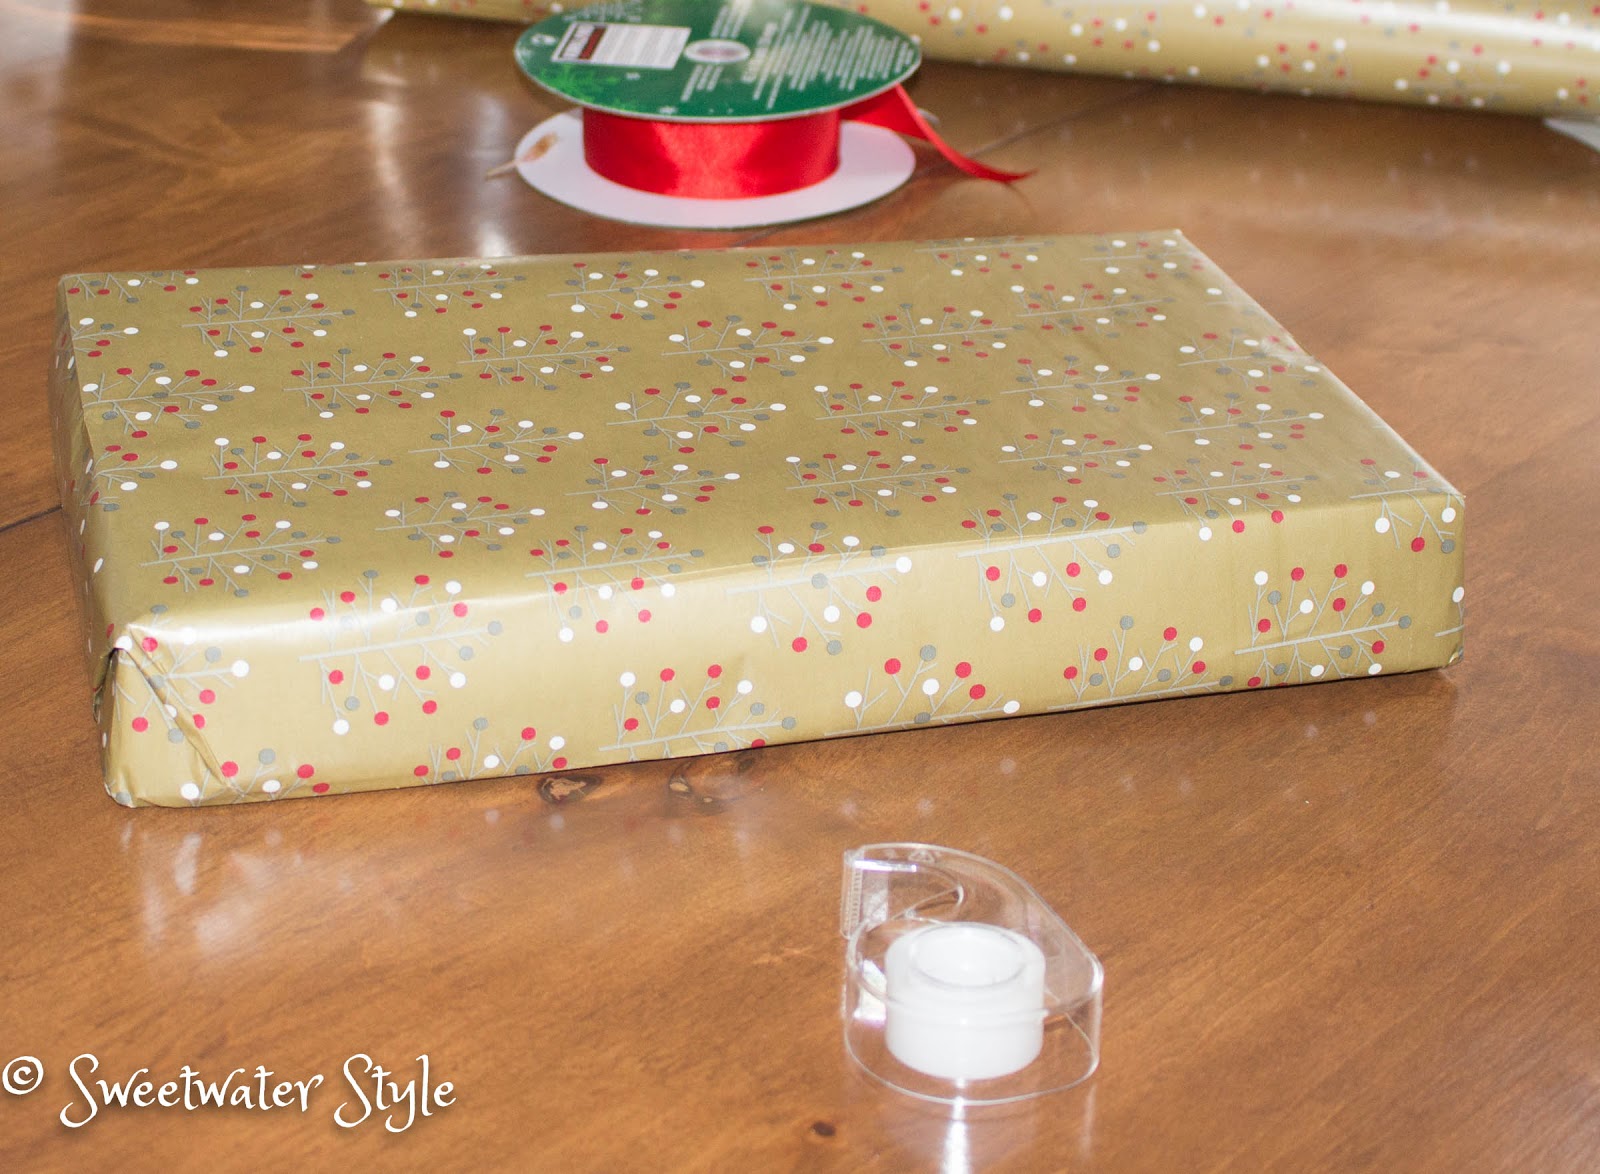
 Step 1: Lay the lid on the paper and cut the paper. It should cover the long sides with about an inch extra to fold over the top. Leave the short ends long enough to fold up and over the sides with a slightly longer overhang, about 1-1/2 to 2 inches.

Step 2: Fold the long sides up and over the lid. Use a piece of tape to attach the paper to the inside edge of the lid as pictured and repeat on the other side (just one piece now to hold in place).
Step 3: Take the end sections and fold just like wrapping a regular box: Bring the edges in and fold as pictured. then make creases and fold the edges that stick up over and inside the box as shown.
Step 4: Tape the first folds to the inside lip of the lid. Where the side and end papers meet in the corners is the only tricky part, but just tuck and fold until flattened and then place a piece of tape to hold. Continue to fold and wrap the end just like a regular box, but take extra time folding and creasing so it will lay flat.
Step 5: When finished folding the end, wrap it over the lid edge and secure it with tape.
Step 6: Repeat with the other end.
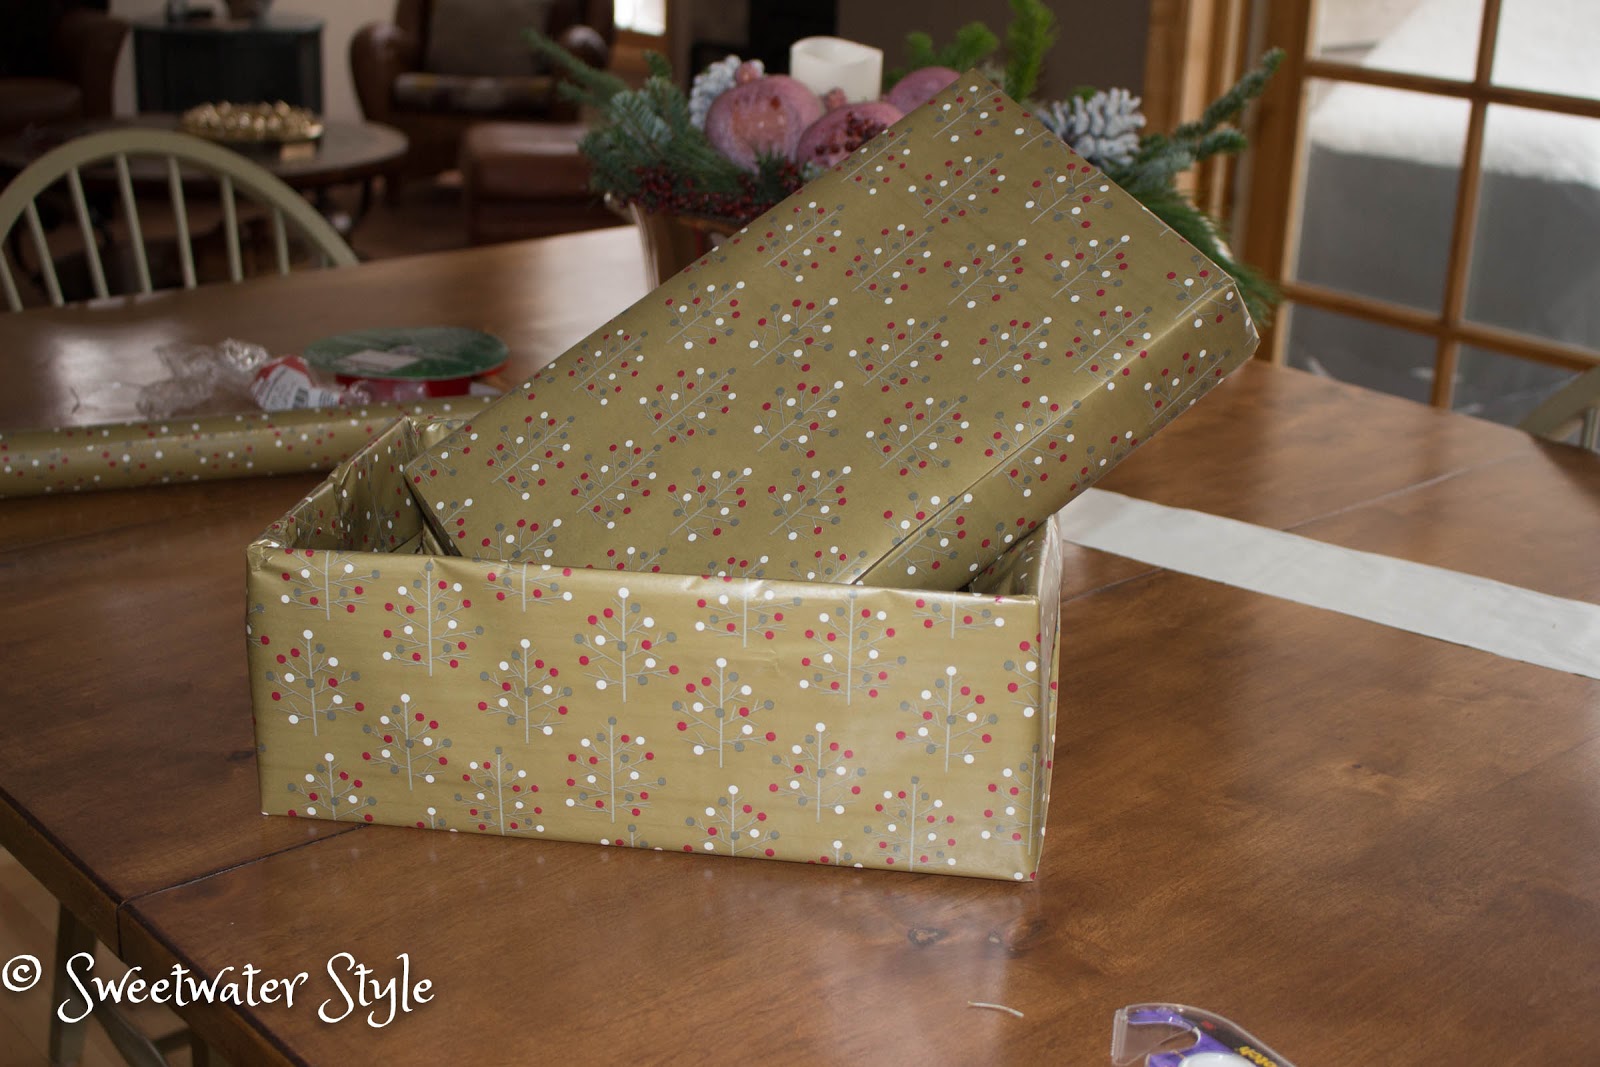
Step 7: Repeat all the steps with the bottom of the box. OOPS on this example, I didn’t make it long enough to tuck inside….but the top will cover it.
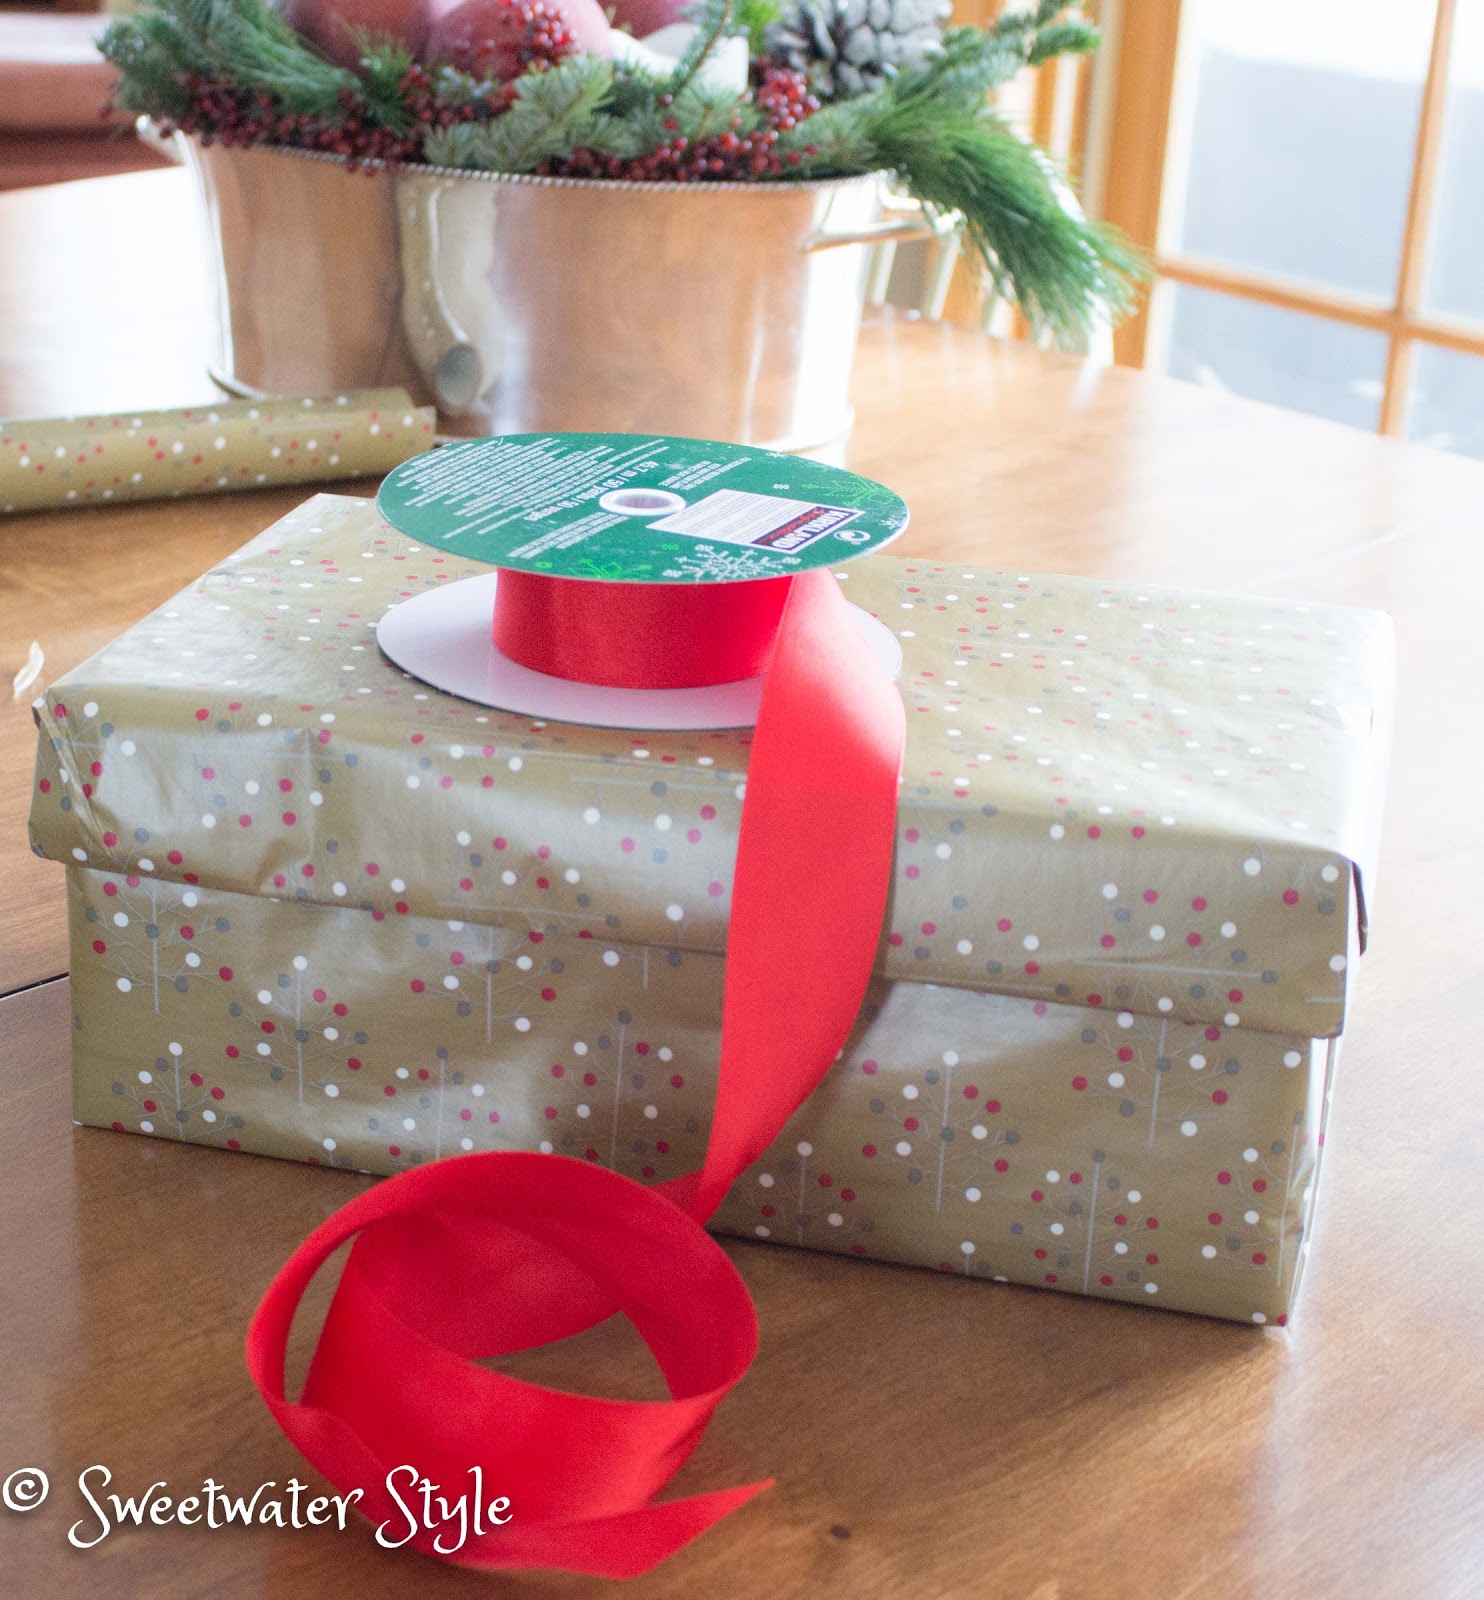
Simply make a crossed wrap and tie a simple bow.
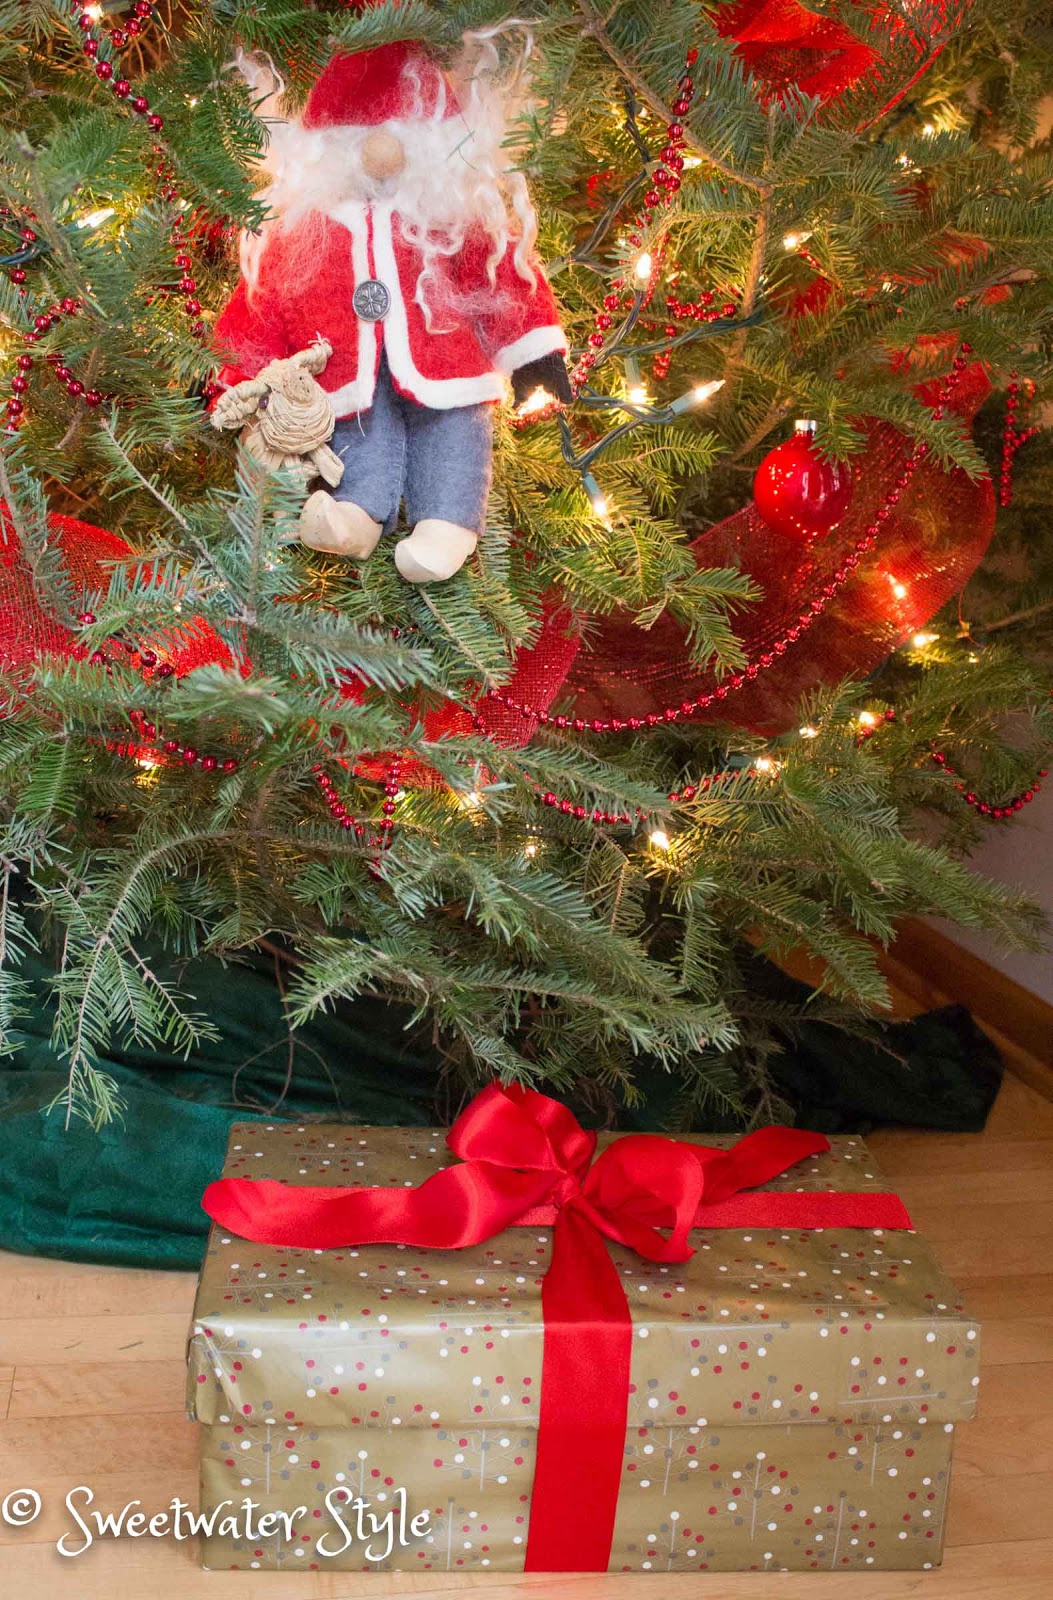
And when it is time to open gifts……
A pull on the bow…..
A lift of the lid….
NO MUSS
NO FUSS
Then when everyone is ready to head home….the covers go back on the boxes and all the mess walks out the door instead of needing to go into the trash!
Simply Genius!
The thermometer is reading -23 degrees and we have a bunch of people coming for a Holiday Open House this afternoon…HMMMMMM!
Have A Wonderful Day!

Link Parties
Share It One More Time