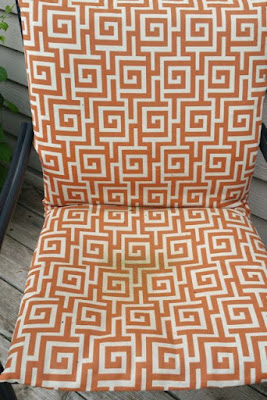
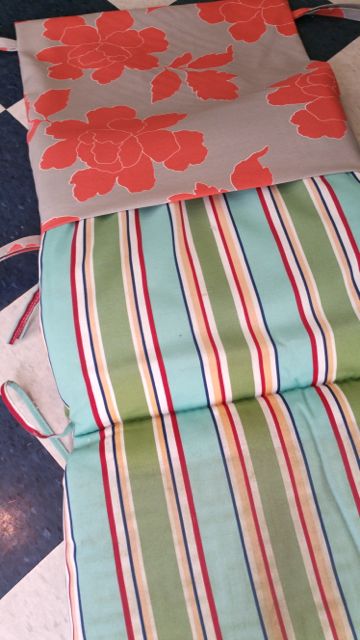
I posted about these cushions for the patio chairs when I made them 2 years ago.
I noticed last week how much the elements have taken a toll on them.
YIKES!
And to tell you the truth….I am kinda “over” the Greek Key design.
It was time for a refreshed look for these babies!
When I shop at the fabric store, there are always wonderful fabrics that “call” to me. I see things that I just know will be perfect for some project.
This is a perfect example of that!
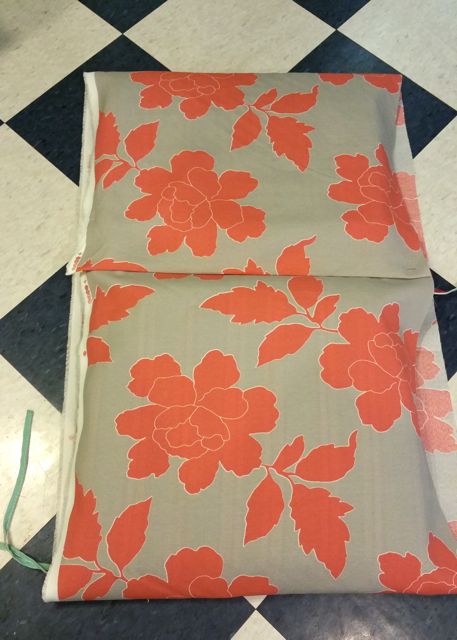
Last Summer I found this fabric on the $5 a yard shelf. I bought 2 yards.
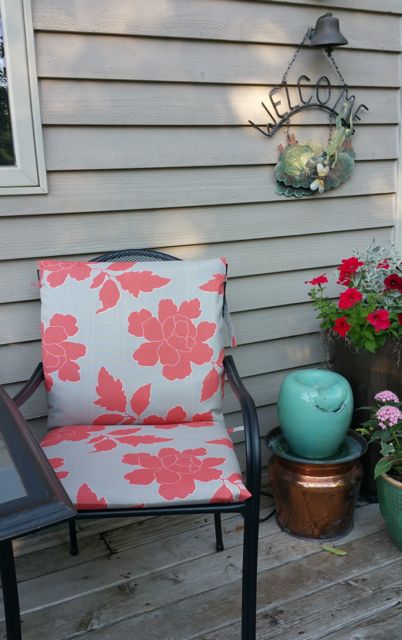
I fell in love with the gray background and soft orange floral.
Two yards of fabric is a nice amount…..it is almost always enough for most projects. And…..$10 always seems like a reasonable expense.
In the case of the new covers for the chairs…it was exactly the right amount.
Since the old cushion covers were made with the “pillow sham” technique, it was a simple matter of slipping them off and taking those nasties to the garbage can.
There is no need for a pattern when you do this….for heaven’s sake…it is just a rectangle!
It does have to be the right size….so just use the old cushion to guide you when you cut.
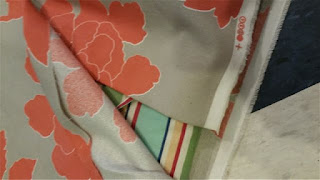
See how the fabric is wrapped around and folded to join in the center back of the cushion.
The cushion needs ties on the seat base and top.
Cut a long strip of fabric about 2 inches wide.
Fold both sides in and press flat.
Then fold it over to create a nice strong flat tie.
Stitch along both edges close to the edge.
Cut the long strip into 4 equal lengths that can be folded over.
You need 2 ties for the base of the cushion and 2 ties for the top.
Here is how the folded edges of the fabic come together in the center of the cushion.
The ties get pinned in place with the ends facing in and the folded edge along the edge so that your stitching will catch them.
I should have taken a picture of how you turn the fabric right sides together to actually do the sewing….but you probably figured that out all by your lonesome!
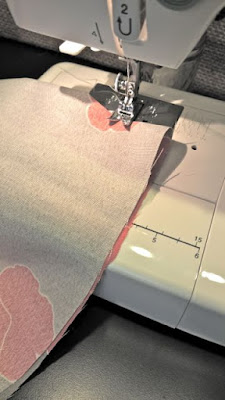
Stitch along each side straight through all the ties and folded “sham”.
Turn the cover right side out and give it a good ironing to flatten out the seams and the corners.
Slide the old cushion into the new cover just like you would put a pillow in your bedsham!
These cushions aren’t too thick so it is pretty easy. If your cushions are thicker….just keep pushing!
I love that I got exactly the look that I was after…
I love that I didn’t throw away perfectly good cushions…
I love that I only spent $10!
I love that my fabric addiction paid off!
Have A Wonderful Day!


