Don’t you admire/hate those people who have all of their holiday shopping done before Halloween is past?
I know I should be doing this….
BUT
Somehow…I really don’t get in the spirit of shopping until at least Thanksgiving.
I do start to put together an essential Holiday Tool Kit to have ready for the hectic holiday decorating, wrapping and shopping!
I thought I would share my “gotta have” list with you. I would love to hear what your essentials are.
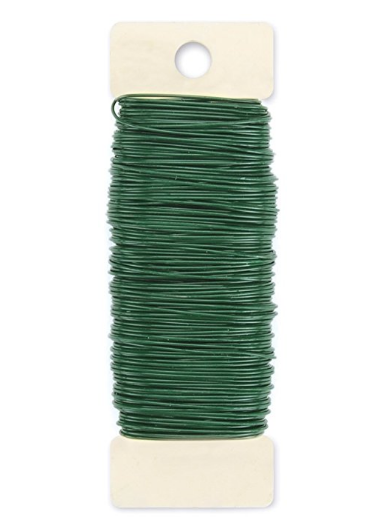
Paddle Wire
You won’t believe how many times you will use this.
It costs about $3.
I keep a paddle in the craft room and the junk drawer.
It is great for hanging decorations….without damaging surfaces.
It is the way to secure the center of a fancy bow!
Paddle wire is available at craft stores and on Amazon.
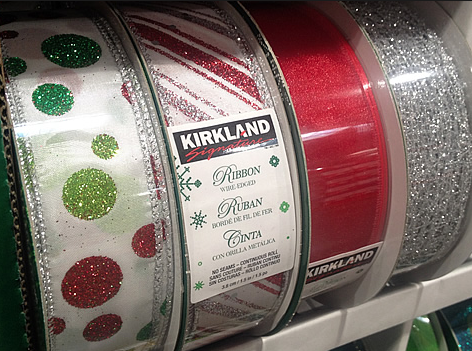
 Wired Ribbon
Costco has 50 Yard spools of wired ribbon for $6.99. I don’t think there is a better deal out there.
This ribbon works for everything.
I always buy a pure red and a burlap look.
You won’t believe the ways this will work in your holiday wrapping and decorating.
Here is a link to a tutorial all about tying fancy bows.
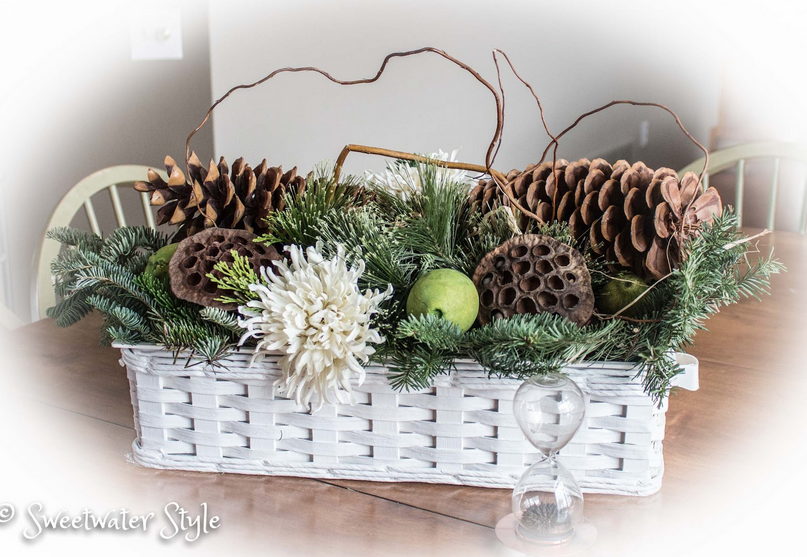
Pine Cones
 Pine cones are accents that work in November as well as December…and even up until Valentine’s Day.
 If you have pine trees or access to them…..start collecting all sizes of pine cones. We have trees with those tiny “mini” cones. I gather tons of these to use as filler.
Start watching at the grocery or craft store. You can find deals on those wonderful cinnamon scented cones. Instant Holiday atmostphere is just $5 away!
If you feel like splurging….invest in some giant Sugar Pine Cones. I have been able to order them in bulk for around $3 a cone….but even at twice that….they have a dramatic impact. I think this arrangement could work from November to January.
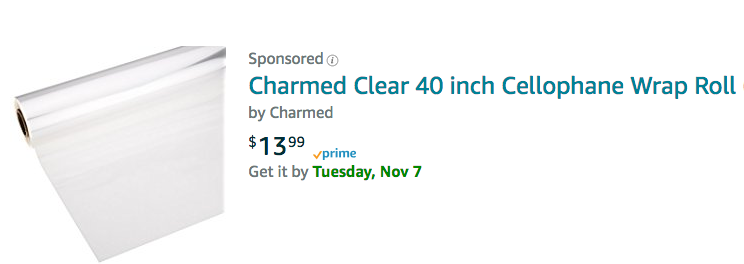
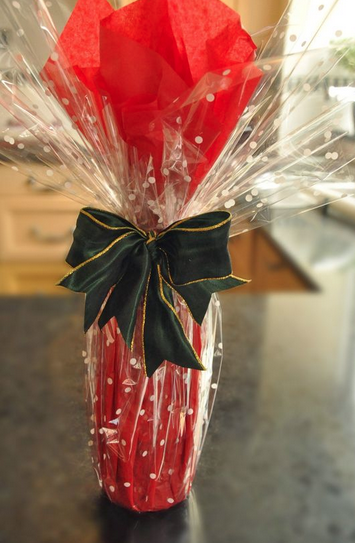
Cellophane Wrap
I love to use this simple clear cello wrap to dress up a hostess gift. If you buy food grade…it can make that home baked treat look pretty upscale. If you have some on hand you can add some instant glamour without much expense or fuss.
All Kinds of Tape/Adhesives
This is the time to buy those 3 packs of clear tape both single and double stick. The ones at the dollar store work great for most things.
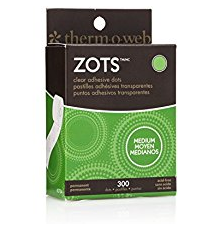
Zots…are great for sticking paper to paper. You can also use them to put paper on glass….easy to remove.
Command Strips…great to have on hand to temporarily put up holdiday themed art.
Spray Mount Adhesive….make sure to have a full can.
Modge Podge…even a small bottle from the dollar store may come in handy.
Picture Frames
Start gathering small sized frames from the thrift store. You can frame cute family photos with a holiday theme or a beautiful holiday card from the past! Print out a favorite quote captured from the internet and present it in a frame. (wrap it in cellophane for a classy touch)
Those are just a few of the things that are in my arsenal.
I know I won’t have the ambition to get the big shopping items purchased before mid-December….but I can be ready to do some small things.
The whole idea is to have things on hand so that you don’t have to take time out to go to the store when inspiration hits you.
What are the things you deem essential for your holiday preparations? I would love to hear from you!
Have a Great Day!

 Wired Ribbon
 Pine cones are accents that work in November as well as December…and even up until Valentine’s Day.
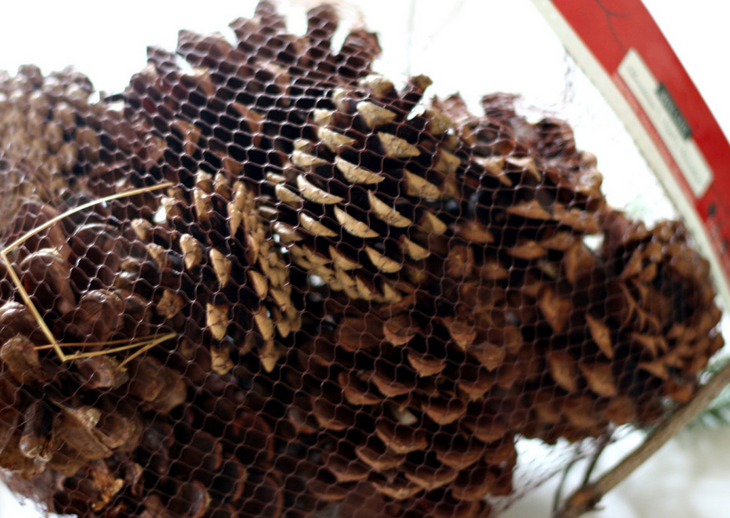 If you have pine trees or access to them…..start collecting all sizes of pine cones. We have trees with those tiny “mini” cones. I gather tons of these to use as filler.