thrift

How To Cut Your Own Custom Picture Mats

Custom framing is soooo expensive!
Even when you take advantage of deals at the frame shop, a typical framing job will cost you a bundle.

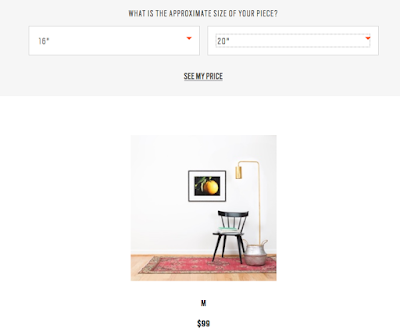
I found this great website that has a princing estimator built in: https://www.framebridge.com/pricing
I ran the numbers for a 16 x 20 print….

YUP….$99!  Now that might seem reasonable to you….but NOT to me.  Especially because I am someone who wants to change out the stuff on my walls a LOT!

Here at Sweetwater, I have found a way to mat and frame things without spending this kind of money.

Sometimes you have to spend some money to save some money.

This post is all about that!

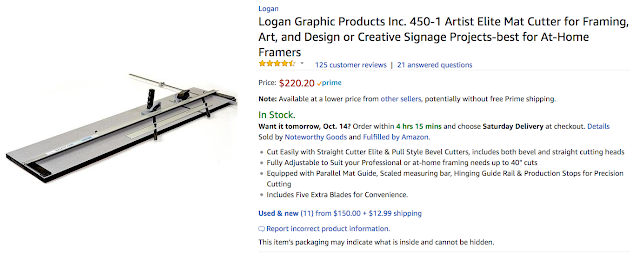
A few (or maybe many) year ago, I invested in a professional mat cutter like this one.

Okay…..$220 seems like a lot of money…..but remember how much ONE 16 x 20 picture cost?

You also need to buy matboard and frames.
I buy matboard at Dick Blick.  A 32 x 40 inch piece costs between $8 and $10 depending on how fancy it is…..
I buy my frames at the thrift store.  The array is pretty amazing.  You look at the FRAME not the ugly art that is in there.

Any new tool can seem intimidating…..but once you learn the basics….you can mat and frame your piece in less than 30 minutes.

So let’s get started on the tutorial!

I was “just gonna” go down to the craft room and do a step by step photo shoot for you….
And then I realized that….hmmm…..somebody probably already did that on YouTube!
Watch this and see how it is done!
(this is the link if the video doesn’t load)  https://youtu.be/PT1n0r_87tQ


It really isn’t that difficult after you have practiced a bit.

Now the fun begins!
With a few pieces of mat board and some thrift store frames….the sky is the limit!

Framed Projects Around Sweetwater

A spooky photo of a graveyard in a thrift store frame.  Instant seasonal decor.
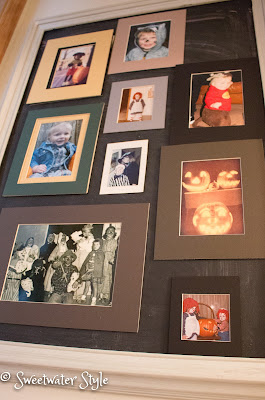
  Favorite photos from Halloween past.  Mats only….displayed on the big chalkboard in the stairwell.
 

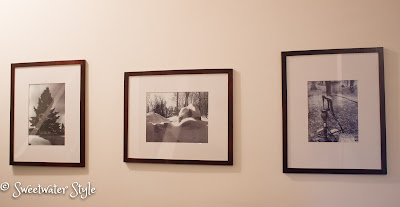
 Gallery style display of photos taken by the Sweetwater Son.

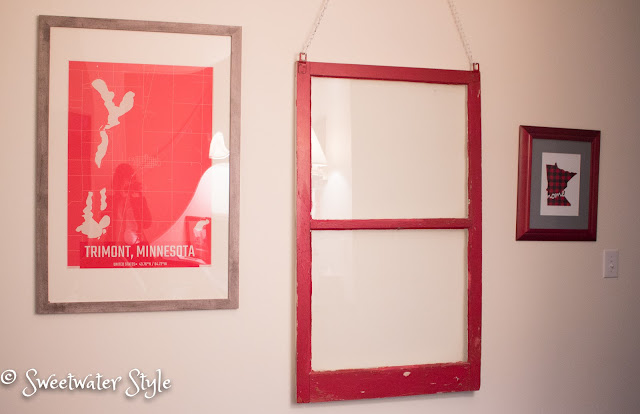
 This old window is from the childhood home of Mr. S.  The poster was a gift from the Sweetwater Daughter and SIL.  The Minnesota Home print from the Sweetwater Son and DIL.
My family always gives me fun things to frame because they know it can be done inexpensively.

Nobody wants to see ALL of our vacation photos….but making a quick collage is a fun way to display just a few.  This is an unframed mat with a foam core backing.  The back has magnets that let it hang on the refrigerator.  A quick way share without “oversharing”.  BTW….Ireland was amazing! 
This is a tea towel that I picked up in a fun boutique on a trip to Florida.  It can easily be switched out when I want a new look….or find a new tea towel!

More Minneapolis themed art….would you believe that I actually took the top photo….good for me!

A cluster of framed posters and photographs lean against the wall on Mr. S’s desk in the office.
I love the look of the vintage posters….The blue and green one was purchased on a trip to Voyageur National Park.

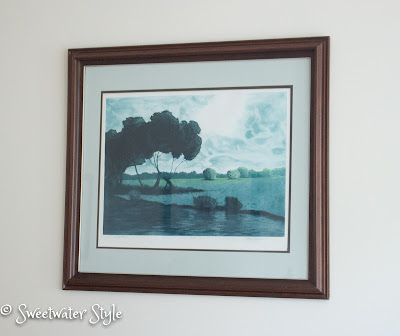
We have had this chalk pastel for many years.  I love being able to change the mat color to coordinate with what ever decor scheme we have.  No need for new art…..just $10 for new mat board.  I am always amazed that you can find a color in your favorite image that goes with any scheme.
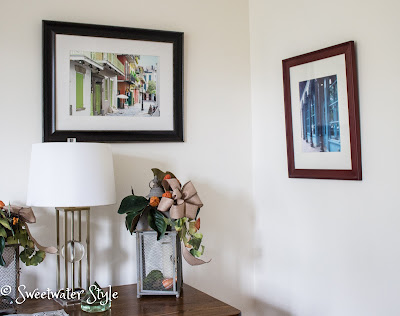
These white mats look nice with the off white walls.  This is another photo by me and the New Orleans scene is another we purchased at an art fair in Memphis….go figure. 

These are just a few of the ways I have used the ability cut custom mats….
Even better….
Now that people know that I have the mat cutting system…they come over and either mat their own things or let me do it for them.

I always tell folks….”I MAT FOR WINE”….

Hope this inspires you to spend some of your crafting or decorating budget on a mat cutter….you will be glad you did.

Have a Wonderful Day!

Goodwill Girls Gather for Giggles and Goodies!

Three girlfriends joined me yesterday for some thrifting fun at the Hopkins Goodwill Store.

We did have lots of giggles and found some goodies  too!  

Then we went down the block to recover from all our hard bargain shopping on the patio at Pizza Luce.  Over some delicious food and refreshing beverages, we congratulated one another on our great finds.
What great finds? Read on to find out!

Shame on me….I did not take pictures of all the loot we scored.  You will have to be satisfied with a few photos and a list.

These 3 Pyrex Nesting bowls look like a still life filled with fruit.
I am loving the look of the new lamp and shade….
but am jealous of the rose bouquet, somebody must have had an occasion to celebrate.
This berry bowl was a steal for $2. 
When this cute sundress was just a tiny bit tight on the top for one of us….it worked for me! But not to worry-she found a different cute dress-so it all worked out!
Now I have enough pasta bowls to have a really big party!
A hanging jewelry box with a photo display, some silverware, another dress, 6 plates that coordinate with my daughters wedding china, an old ceramic planter, some black wrapping paper, a vase for a baby shower, a coffee table soon to be redone and on and on and on….
(a note to my fellow Goodwill Girlfriends-comment with stuff I forgot to mention)
I learned some things too! For instance:
Friends don’t let friends by candle sconces that will take too much work to make nice and are probably ugly anyway.
Friends tell you that you can take a risk on a dress if it is only setting you back $5.
Friends have the supplies at home to help you fix up your lamp….and give you the encouragement that it is worth fixing.
Next time we will take more pictures.
Next time we will add the total amount of money we spent so we can really gloat!
I bet our lunch tab wasn’t too much less than our total Goodwill charges!
So the next time you go to Goodwill-just follow the sound of all the silly women giggling in the aisles-you will probably find us!  Do you think they have bouncers-I hope not!

Take a minute to check out the fun ideas on the Link Party at 504 Main

504 Main

Make A 1Hour Project-Throw Rug from Upholstery Fabric

I am trying hard to post every day, but yesterday life got in the way- in a good way!  I spent the day taking mom to a Dr. appointment, some yard work and then a great outing with a girlfriend at the Guthrie.  We saw an amazing production of HMS Pinafore (there is a little video clip at this link).  But the best thing about the evening was the great conversation with a friend!

$7 Sweetwater Style Solution

Now to the project!

$210 Trina Turk Inspiration
Our powder room is very very small. Finding a throw rug to add some color was a real challenge. A 3×5 is too big and tiny bath rugs looked too “bathroomy”. 
Here is my no sew, fast and easy solution.

My inspirations from Clayton Gray Home

Trina Turk Rugs-all in the $200 range

Now Look again at my no sew version that cost $7

This rug is actually one I made about 6 months ago….but when I washed it last week it totally fell apart.  I had used fusible web to bind the edges to the backing and the washer dissolved this, leaving me with a big messy unraveled piece of fabric that I loved too much to throw away.  So, not wanting to sew through something so thick, I opted for my trusty glue gun! (Have you ever gone to the website called “A Girl and a Glue Gun“?)
Follow along and you can do this too! 
If you don’t have a stash of fabric-get yourself to a outlet fabric store like Mill End Fabrics or SR Harris that are in the Minneapolis area.

I assume you have a glue gun…you are reading this blog aren’t you ?

Look around for an old rag rug that you don’t like. If you need to buy one, look for the cheapest one you can get.  (Goodwill maybe?)

 Remember, I had a very unraveled edge on the fabric, so I serged the edge….you don’t need to do this.  Just cut the fabric about 2 inches bigger than the finished rug size.

 Cut the rag rug to the exact size of the finished rug./

 Fold over and iron the edges of the upholstery fabric.  Miter the corners to make it look really professional.  I actually moved the iron to the table to do this on a large flat surface.  Work around the rug…fold, iron, glue.  This will let you adjust size as you work.


I have made rugs like these without the rag rug backing and it DOES work.  The rag rug makes the rug feel a lot more stable and keeps it in place on the floor.  I also put some rubberize shelf liner under the center of the rug to avoid listening to John scream when he slips on the rug!!!

 Don’t you think this pillow from the same Clayton Gray site really mimics my fabric color and design?

Hmmmm….
I have a leftover rag rug piece from the project. Maybe I will go look through my fabric stash and see if there is something that would make another rug.
Later!


Check out this Link Party Beyond The Picket Fence