Cornucopias or a Horn of Plenty are the epitome of Thanksgiving decor.
I put one together each year….
Every year it looks a little different.
Here is a trip down memory lane to see the last couple of years of Cornucopia Design!
 |
| How to Arrange a Cornucopia Tutorial |
 |
|||||
| The Cornucopia done for a silent auction last year |
This is the one that sat on the dining room table last year…..and the post about it HERE gives the history of cornucopias as well as some tricks for doing the arrangement.
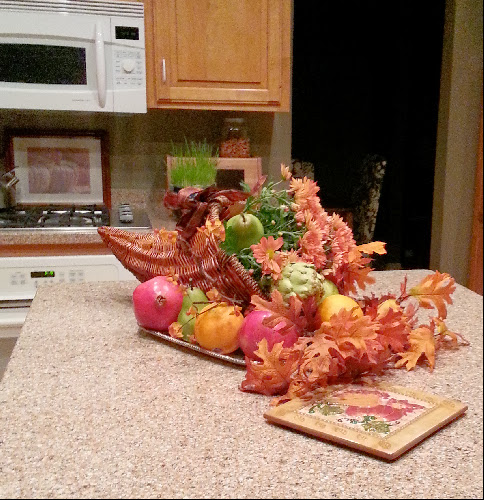
This year…..I had a new wicker cornucopia….from GOOD WILL of course…
I saw a lovely mum plant in the grocery store that was the perfect orange color for the kitchen….
HMMMM….I knew that it would be a great base for Cornucopia 2013!
I began by putting the mum plant into the center….yeah I know it is on it’s side…but it is freshly watered and will only need a drink every week or so….and because the whole thing is on a tray it will be simple enough to lift it up to water! (at least that is the plan 🙂 )
I decided to use the real fruit that is always just sitting around….and yes….we will eat this and replace it with more! By the way….those pears are actually FAKE….I bought a whole bag of them at GW for $7….they look amazingly real! Mr. S even tried to eat one the other day!!!
The real trick for doing this is to put the whole thing on a base….this year I used a silver tray because of the whole thing with watering the fresh plant. The reason for the base….is to be able to move the arrangement when it gets in the way….which since it is on the kitchen island is whenever we want to cook!!!!
Link Parties
From Dream to Reality
Made in a Day


