Recovering an ottoman can seem like a daunting project!
It doesn’t have to be!
If you have an hour….
If you can sew a straight seam…
You can do it!
You can do it!
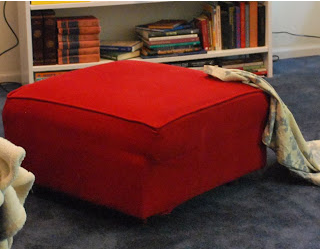
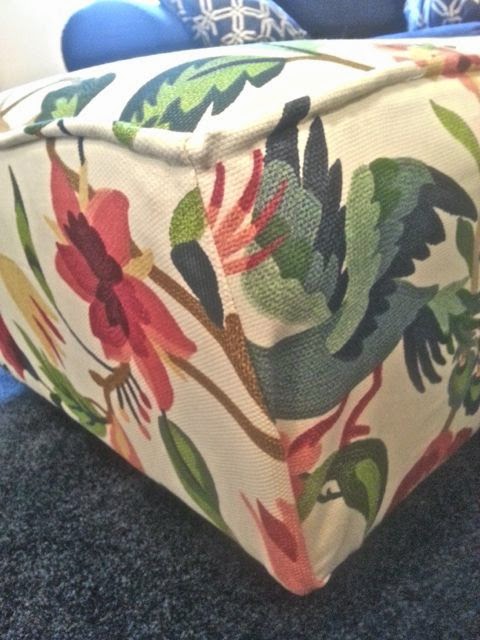
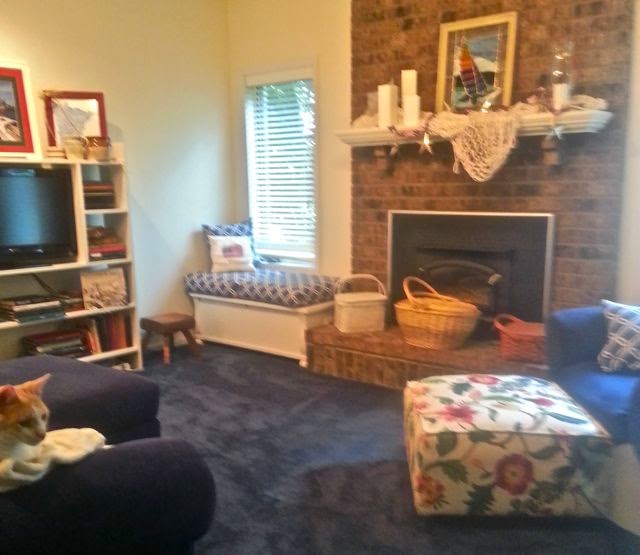
Would you believe THIS….?
looked like THIS just a couple of days ago……?
I think I recovered it (poorly) over 15 years ago and it was time for an update!!!
The process was pretty simple….but of course I forgot to take pictures!
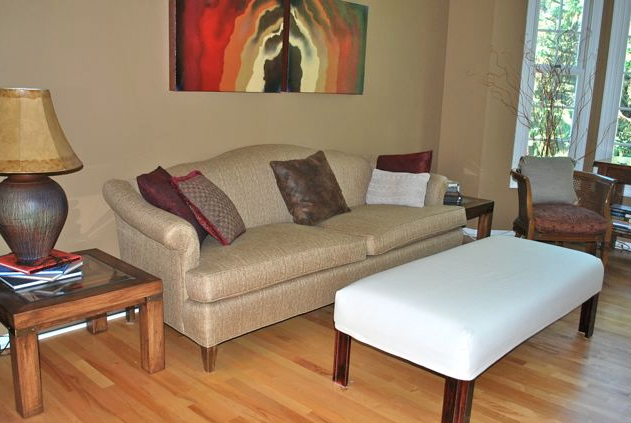
If you click on this post you can see the project that I did for the ottoman in the living room….
The crisp cotton slipcover is simply pulled over the existing print upholstery for a new look.
This one is not attached on the bottom….just neatly hemmed.
It can be easily removed and laundered should it get dirty!
The process outlined in the post is the same that I used for this ottoman slipcover project except for the finishing on the bottom.
The seam from the mitering runs along each corner.
This makes the slipcover fit tightly.
Then I just tipped it over and stapled the bottom edge of the fabric under the edge.
I am always so glad I have my trusty air compressor and stapler when I do these quick projects.
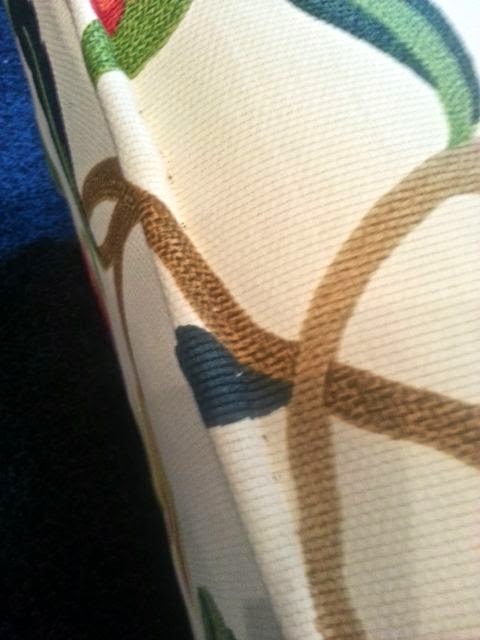
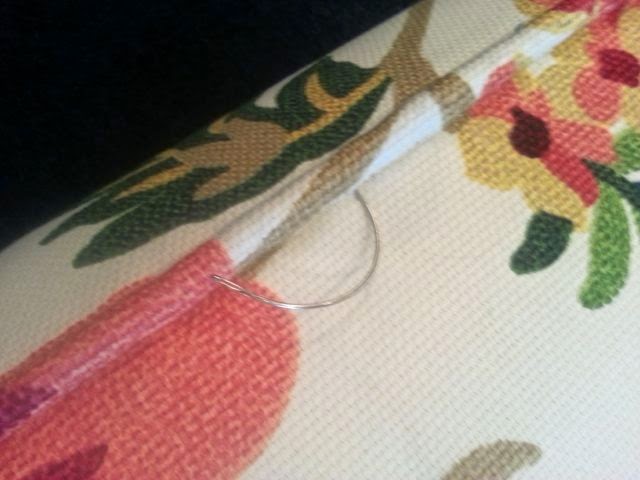
You might have noticed the “welting” along the top of the ottoman!
It isn’t REAL welting….which would take some fair amount of sewing….
which I DID NOT want to do!
Look really close and you will see the little stitches….yes hand stitches!
I used my trusty curved needle to stitch the “Faux” welting by hand!
Now….you might think this was a bit much….
but in less than the time it took to watch an episode of Suits….
I had a newly updated ottoman!
I think Marvin approves!
So the next time you see a nasty looking ottoman in the thrift store….
(or in my case….the basement)
Get yourself to the fabric store and try this for yourself!
Have a Great Day!


