Your vocabulary lesson for today…
Is this gorgeous window topper a Pelmet or a Cornice Board?
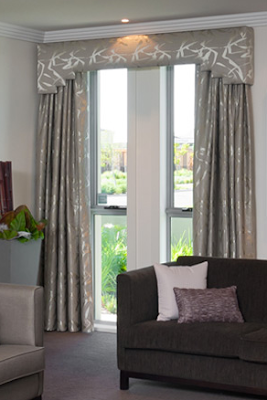 |
| http://www.bettahomefurn.com.au/pelmets.php |
Wikipedia to the rescue:
A pelmet (also called a “cornice board”) is a framework placed above a window, used to conceal curtain fixtures. These can be used decoratively (to hide the curtain rod) and also help insulate the window by preventing convection currents. It is similar in appearance to a valance, which performs the same function but is made of fabric. A pelmet can be made of plywoodand may be painted, or fabric covered.
So now you know….
but whatever you call it….this simple treatment is an elegant way to finish off a window.
And Lord knows that everyone wants to prevent convection currents….whatever they are!
The curtains in our Master Bedroom have been the same for a long time….not Sweetwater Style! It was time for an update!
There are lots of posts out there about DYI Cornice boards….but this one is simple and easy to follow….
so I DON’T HAVE to write a tutorial for my post! Thanks Heather!
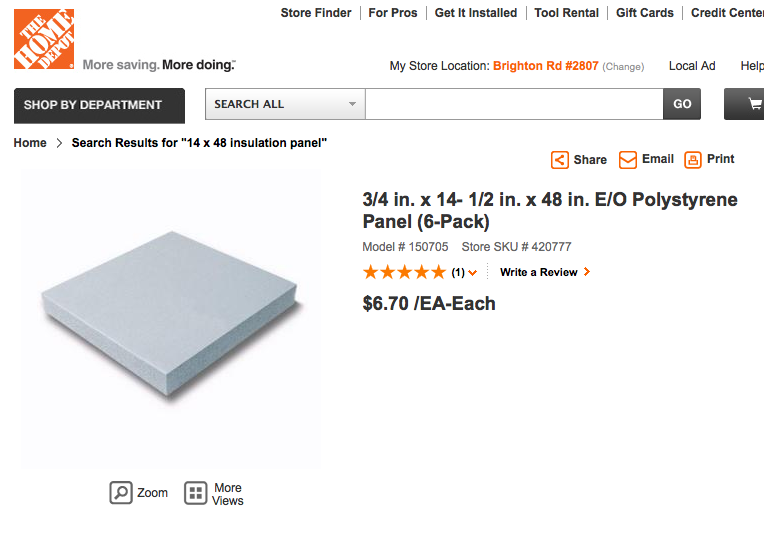
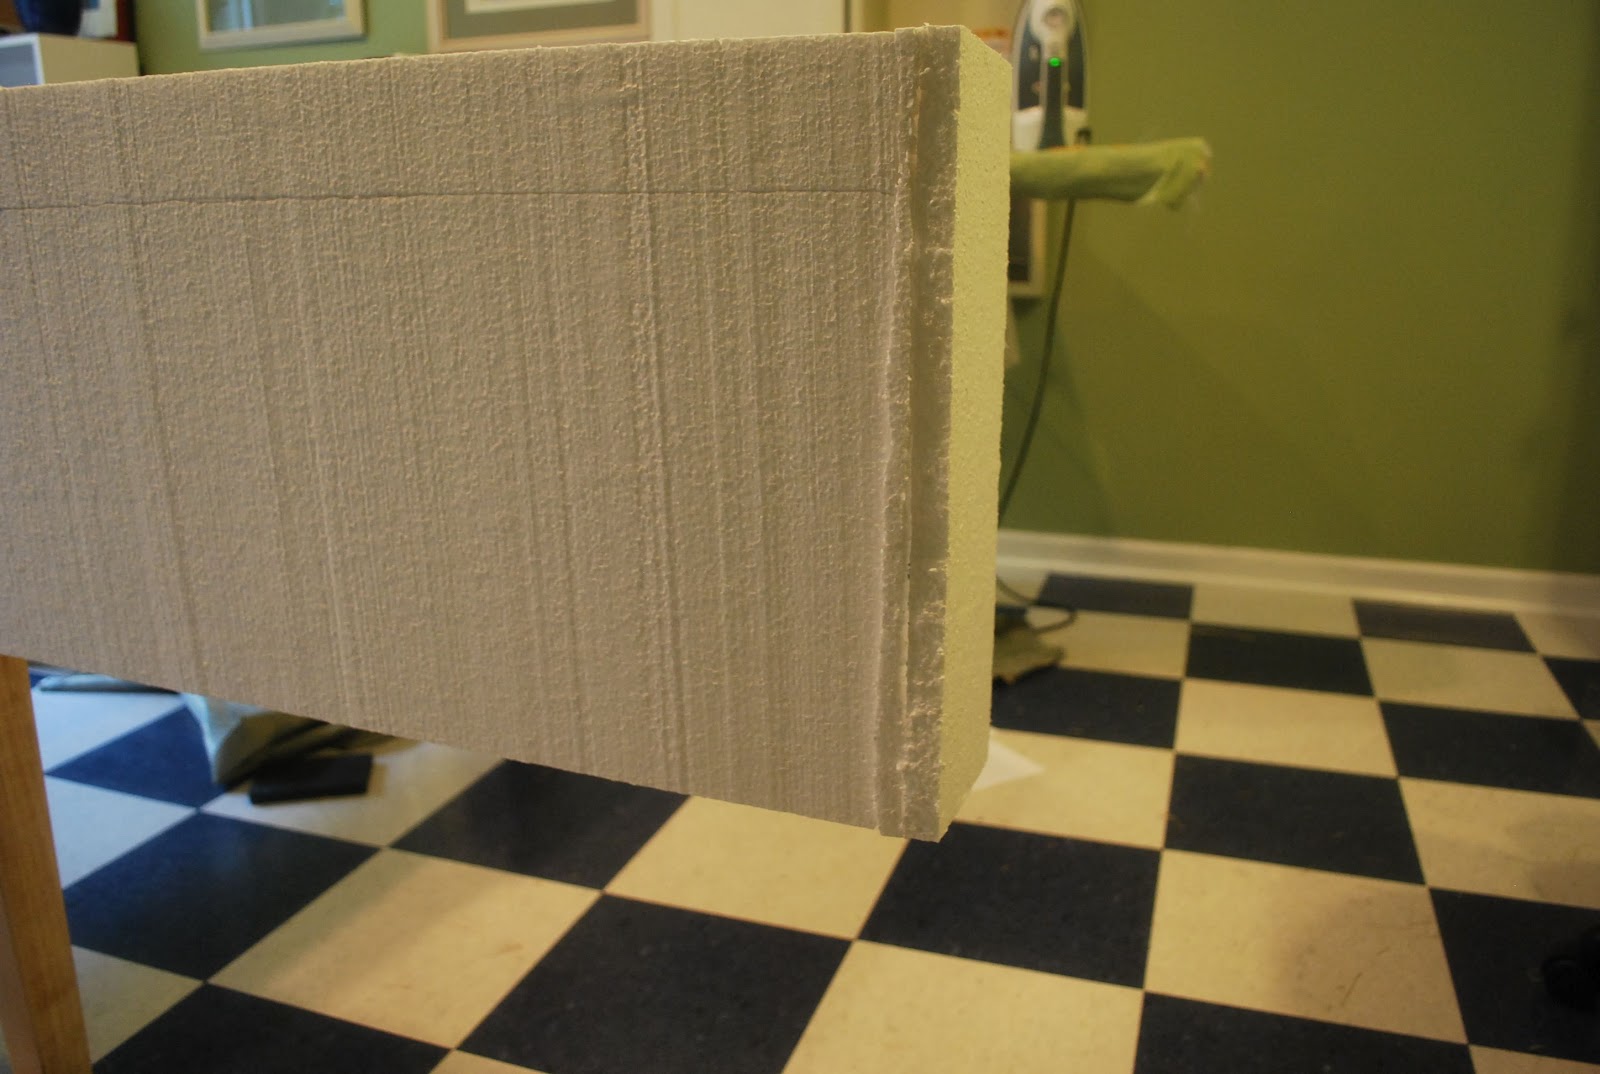
So off to HomeDepot to get the Polystyrene….can you believe how cheap it is?
I only needed 2 of the 6 panels…..so more projects will come I am sure!
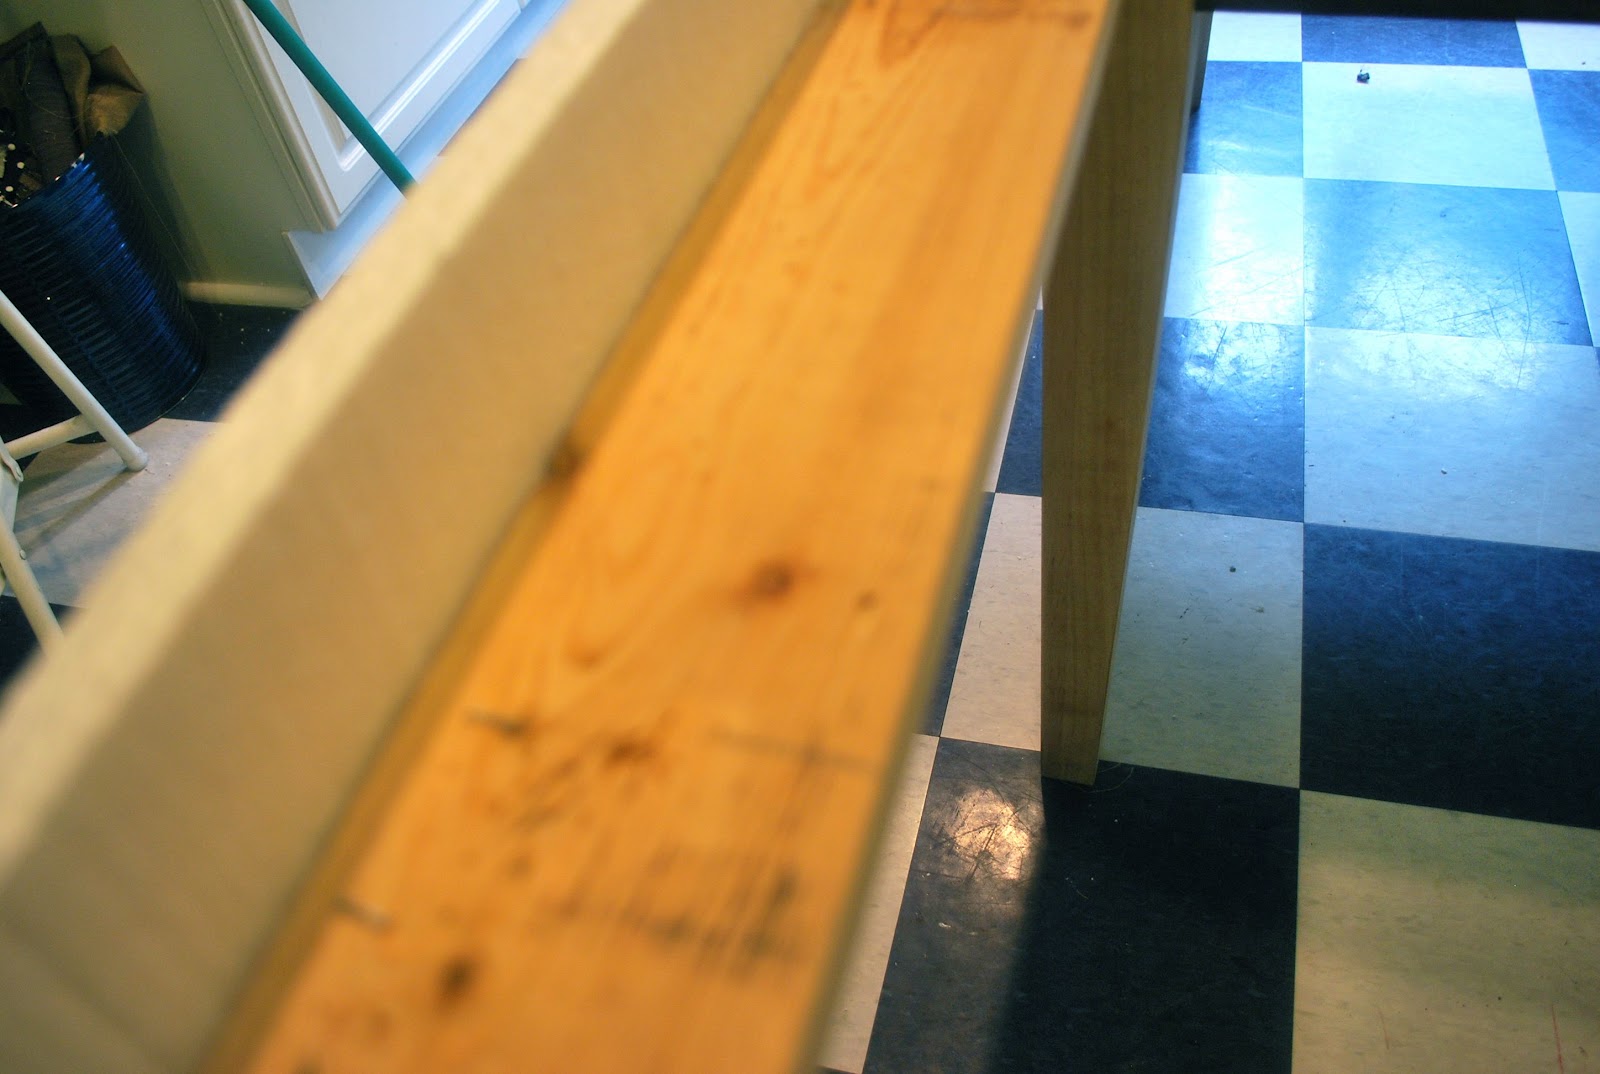
Our old drapes were attached with a 1 x 4 board attached with simple L brackets.
I had Mr. S. take them down….and I just reused the board as the base for the cornice.
I like the solid base of the board….
First I tried using construction glue that I had….but it actually melted the polystyrene…who knew!
So….
I did what any good crafter would do…
I got out the glue gun!!!
It worked perfectly!
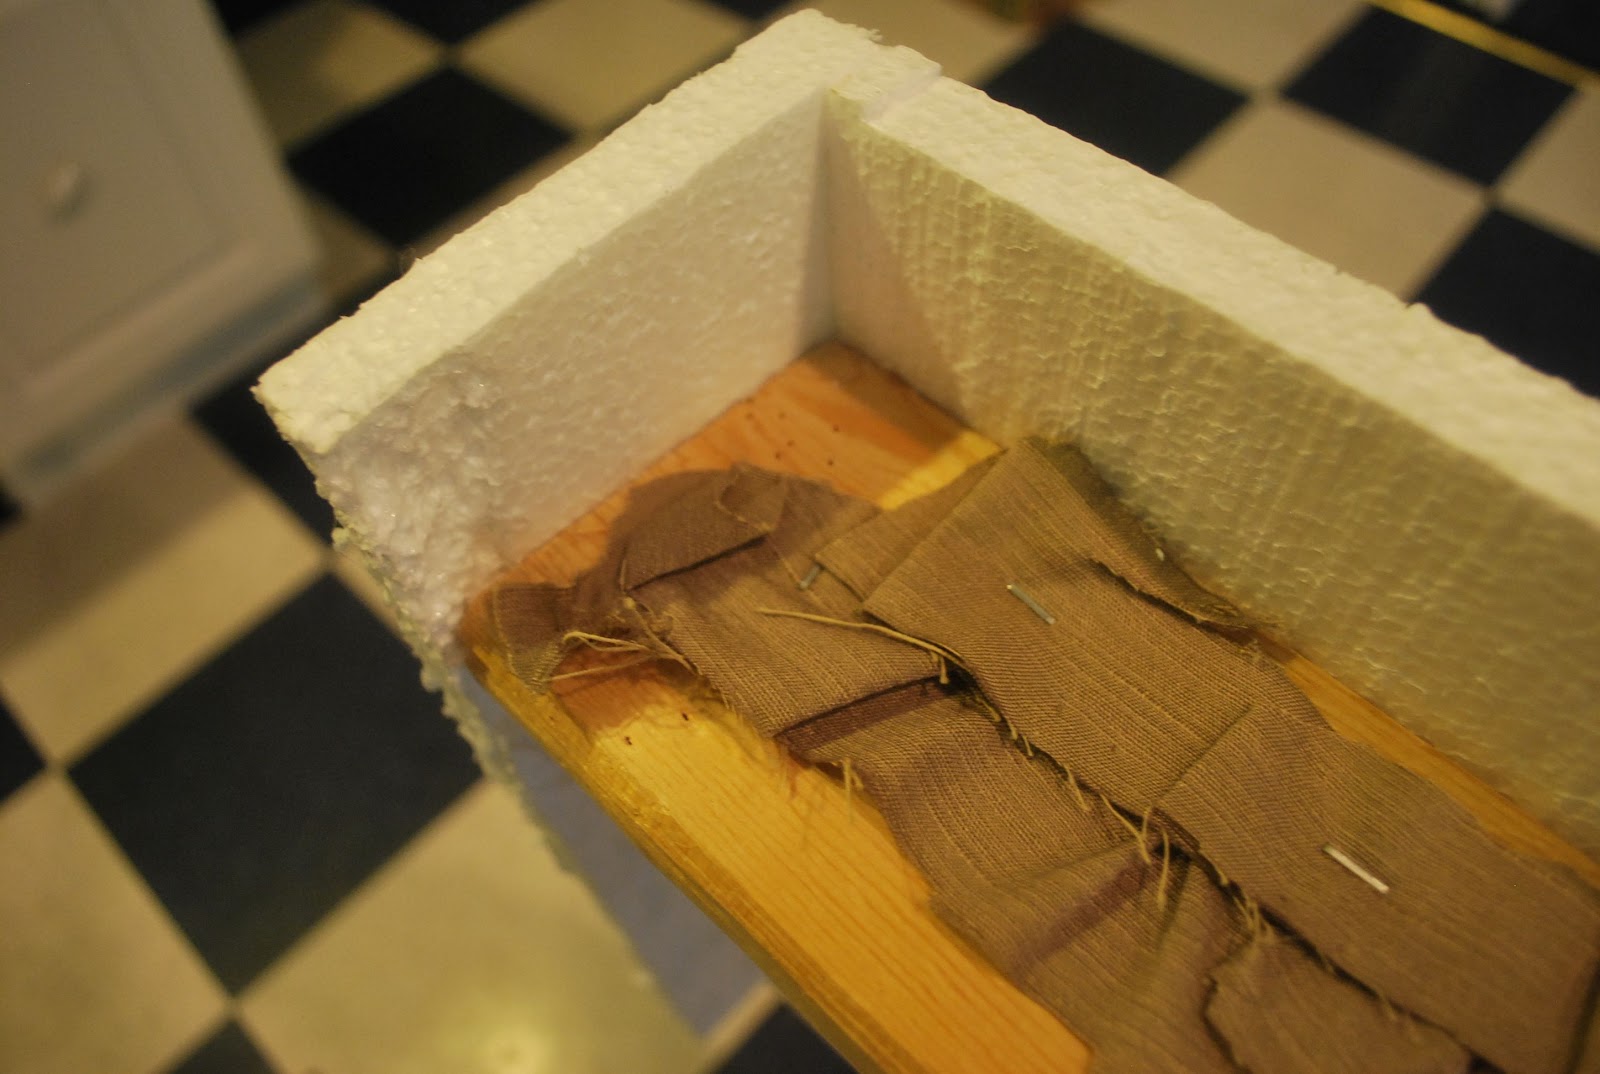
I glued the pieces to the board along the front and the return.
The board is actually running about 2 inches below the top of the foam to allow the board to sit on the existing brackets…
Now if you think I got it straight the first time…think again….
Oh well….it is straight NOW!
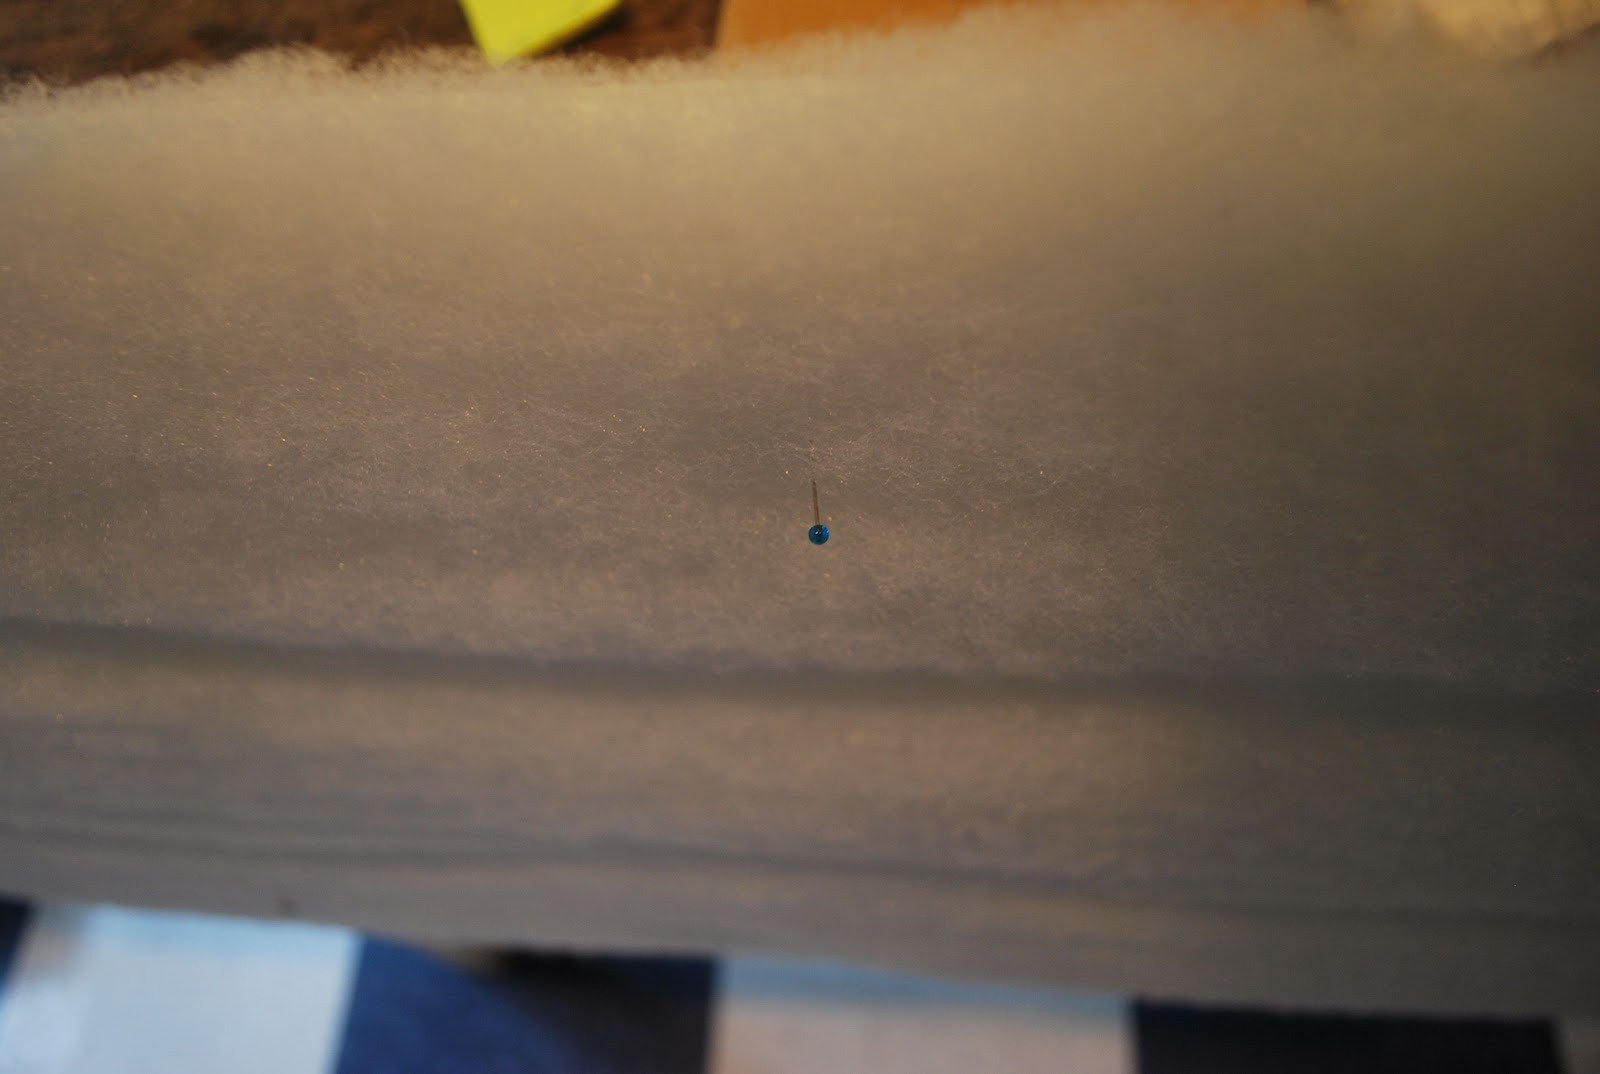
I used quilt batting to cover the whole thing. I just stuck straight pins in to attach this….
The pins need to go in at a diagonal or else they stick through and you end up poking yourself….(I speak from experience here)!
Now I was ready for the fabric….
The Sweetwater Daughter donated a yard of fabric she had in her fabric stash that was just perfect.
It needed a seam in the center….(So that is the Almost part of the NO SEW deal).
I am sure you could use fusible web to attach it and make it TOTALLY NO SEW!
I was going to do more straight pins….
Then I tried thumb tacks….
Then I realized that the glue gun was already warmed up….
That process let me pull and adjust the fabric and gave it a good strong bond….
Gotta love that glue gun!
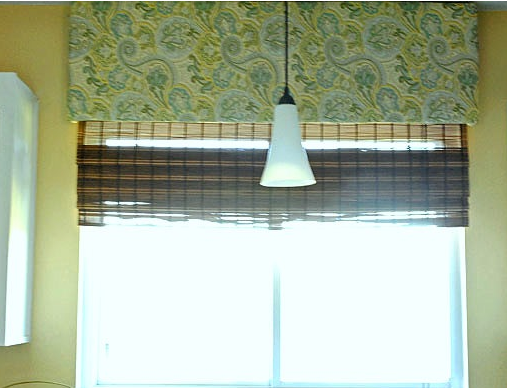
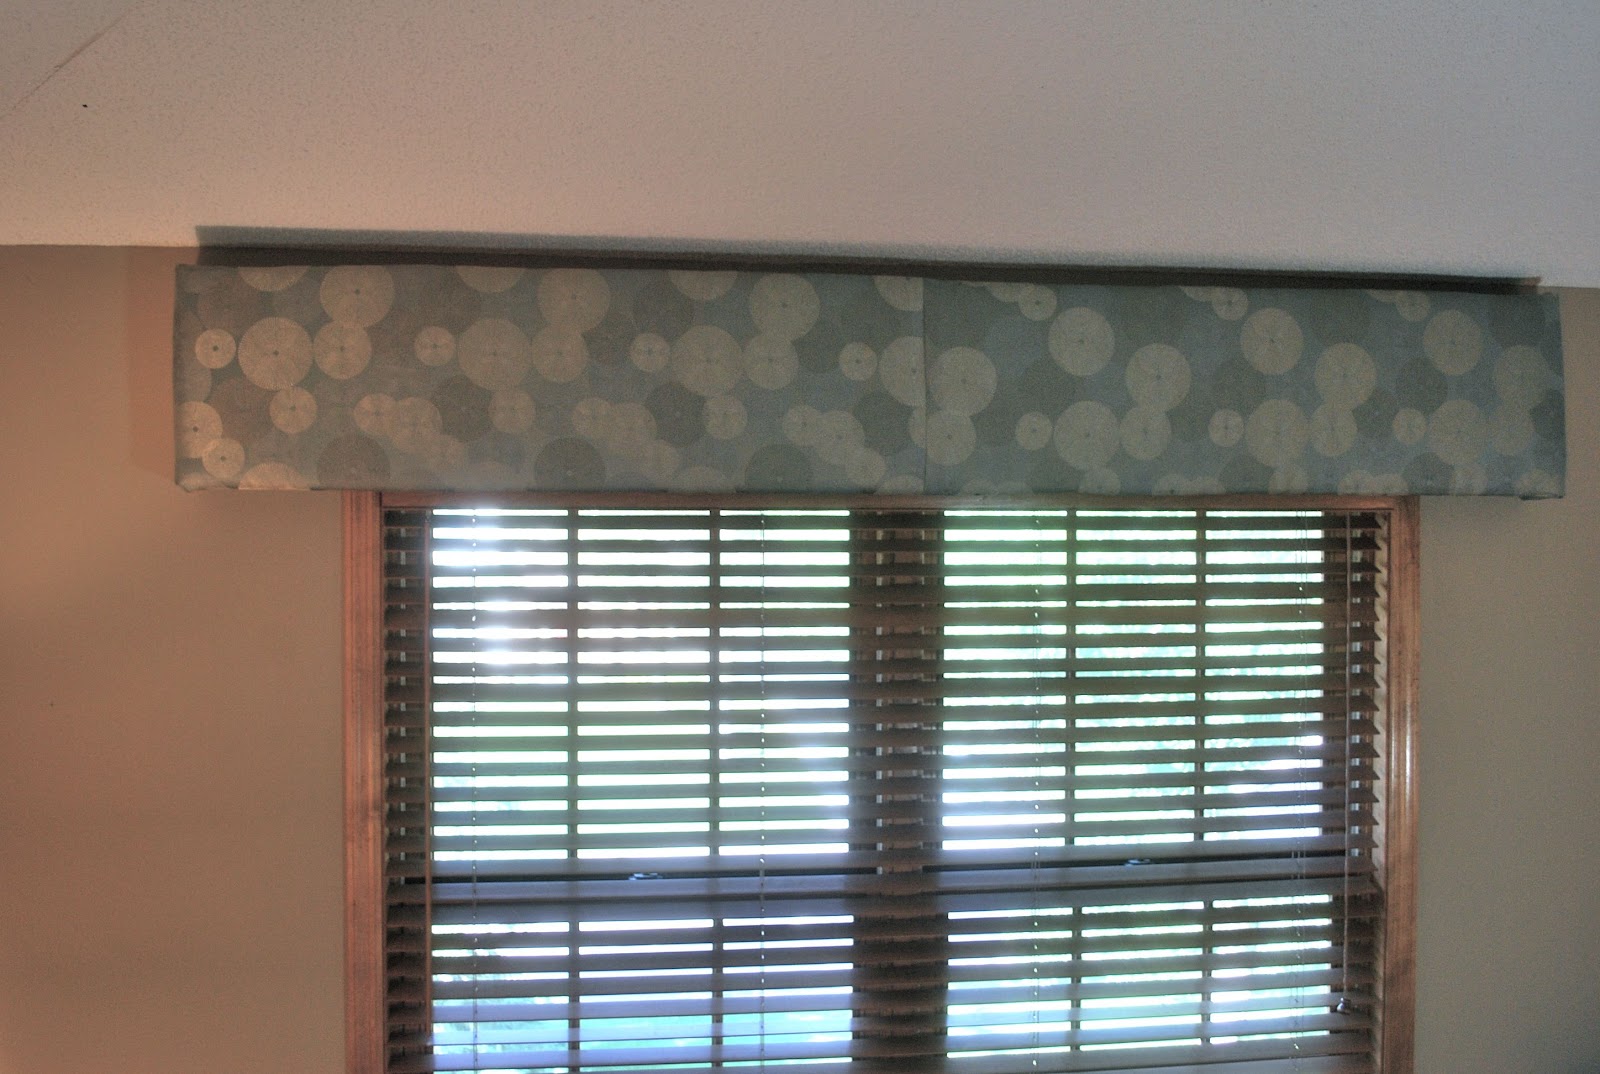
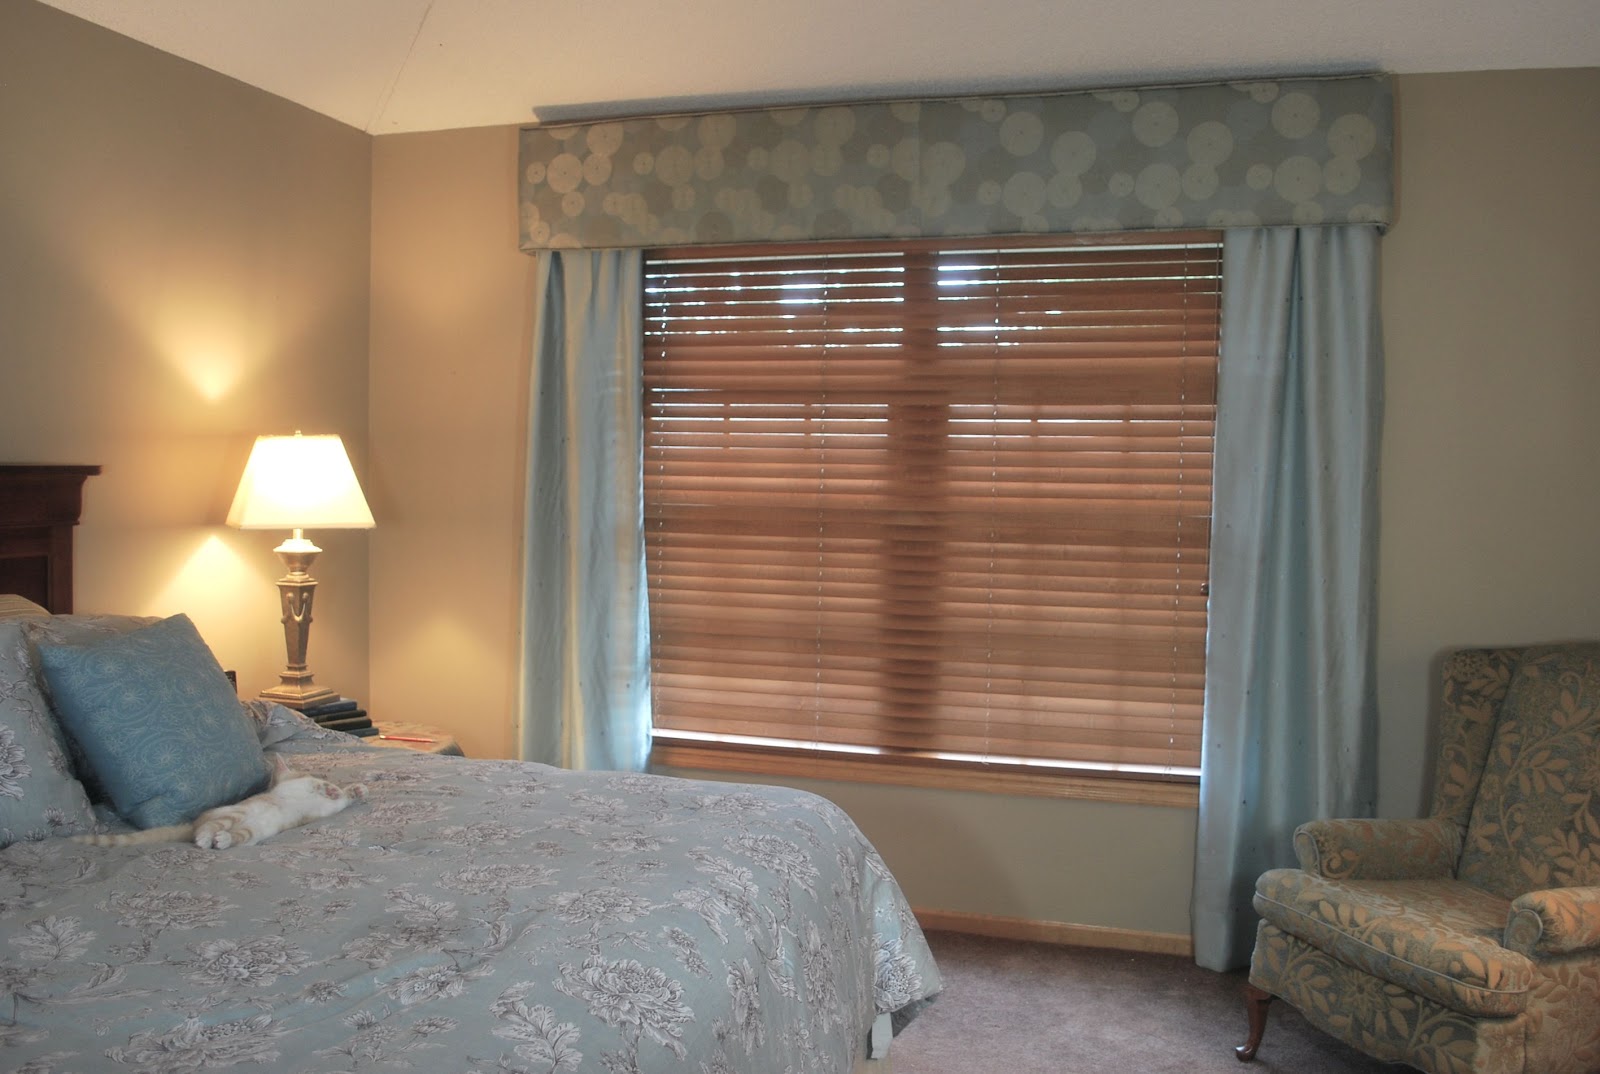
I put the finished valance up on the L Brackets and here it is…..
It looked OKAY….but I didn’t LOVE it!
The fabric was perfect….but the proportions were off because of the extensions on the side.
HMMMM….I did want the width to make the window look bigger….HMMMM!
The moral here is that I didn’t HAVE to settle…
AND
I didn’t have to do anything for a few days…
SO….here is the rest of the story!
I was at the fabric store and scored 2 and a half yards of some lovely blue fabric for $5 a yard.
I cut the fabric in half lengthwise….and hemmed the sides and the bottom. (I used the machine but again you could use fusible hem tape.)
I was very glad that I had not screwed the L Bracket to board yet….the cornice just lifted off.
I just pinned the curtain panels to the inside of the cornice….
The proportion is right now….and like the lighter fresher color.
Then I decided to get really “fancy”….
However…there is sewing involved!!!
I decided to make some welting out of the last of the cornice fabric.
I used the glue gun to attach it to the top and the bottom of the cornice.
Now…I am satisfied!
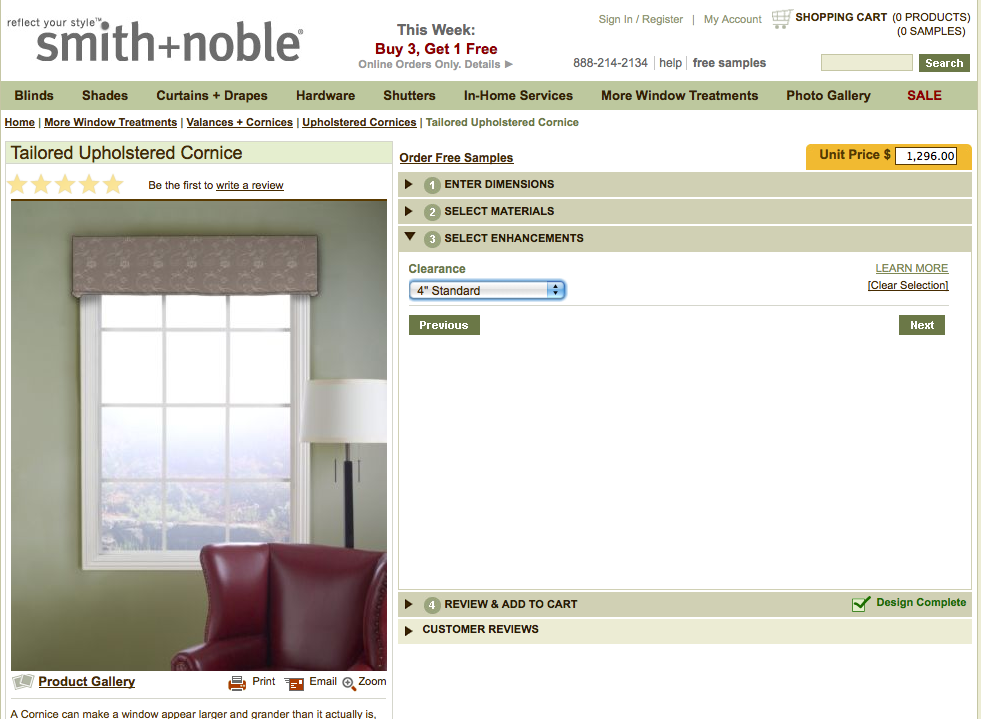
Just for a giggle look at these screen shots from websites where you can enter your window dimensions and order a custom cornice!
Yep….only $1294 for a cornice for my window….but hey if I bought one this week I could get another for free!!!!
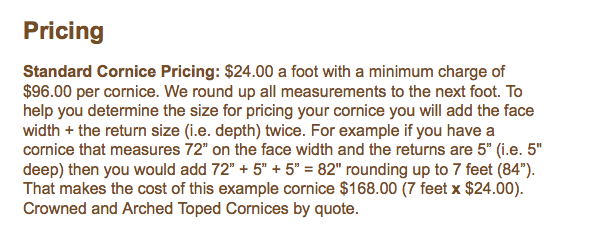
At this site I would “only” have to pay $24 a foot…that would be $250 at this site!!!
a little problem solving….
some trial and error…..
I got the same look for around $20!
Well I might be impressed….
And hey….you might be impressed…
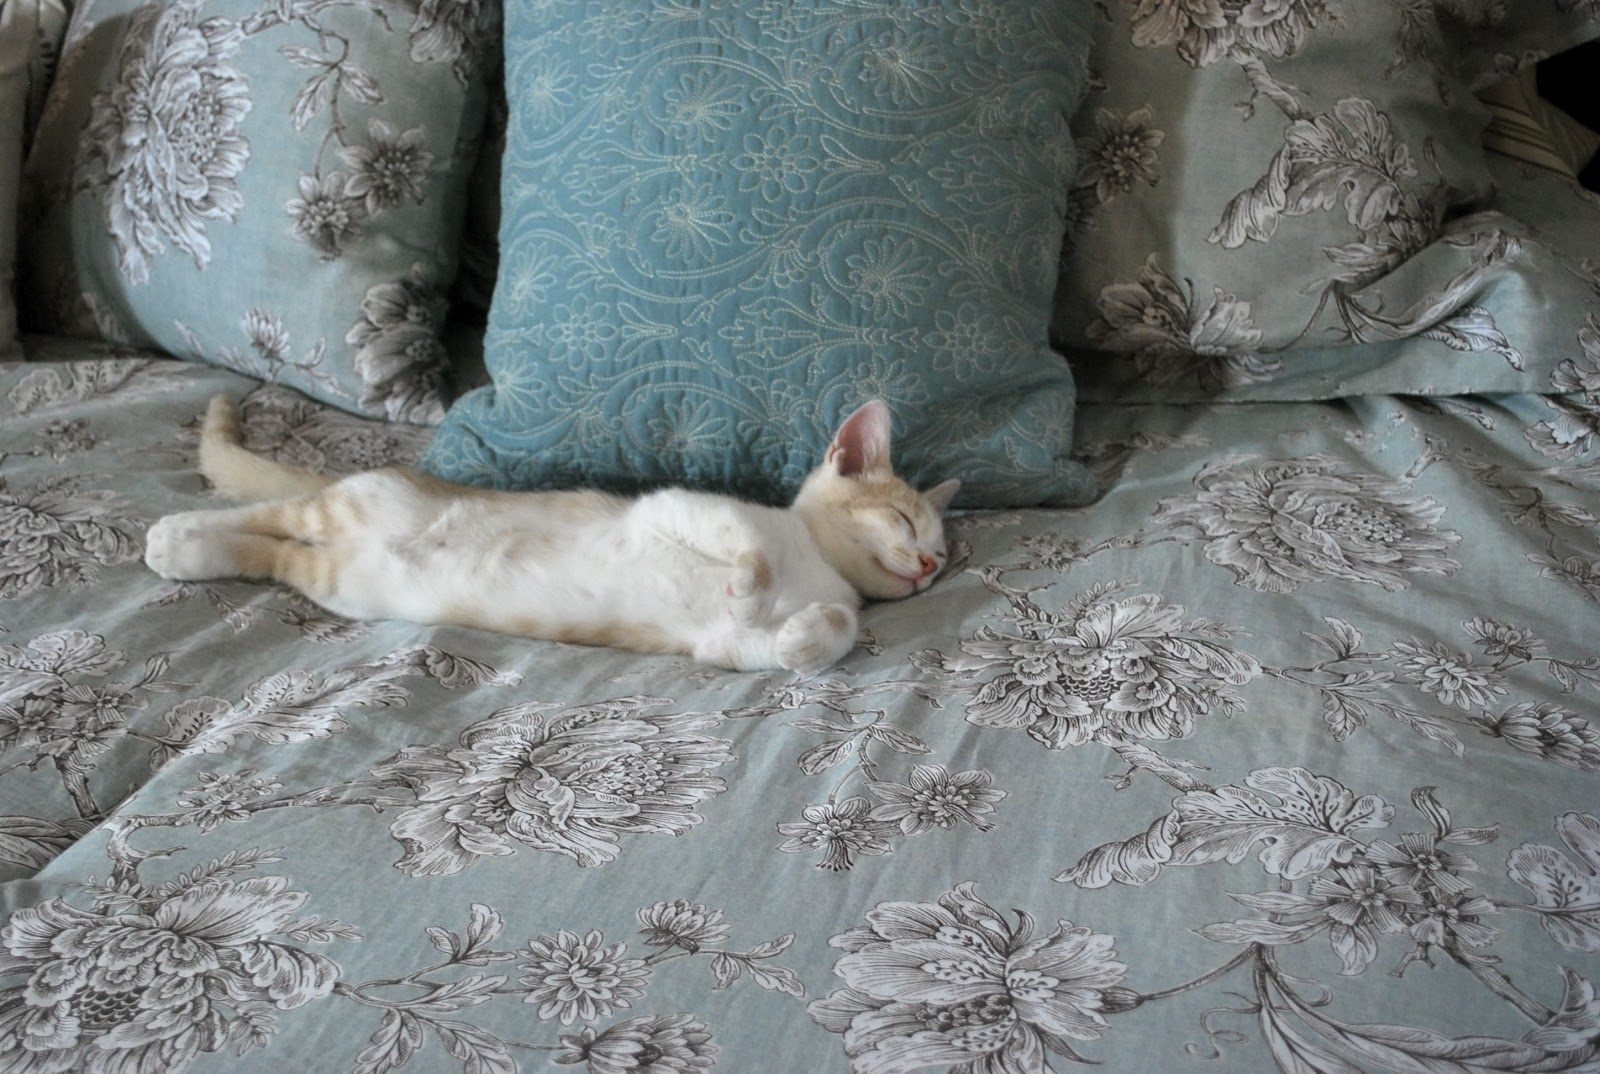
But Marvin is LESS than impressed!
Have a great day!


Your look is very nice!! Thank you for sharing.